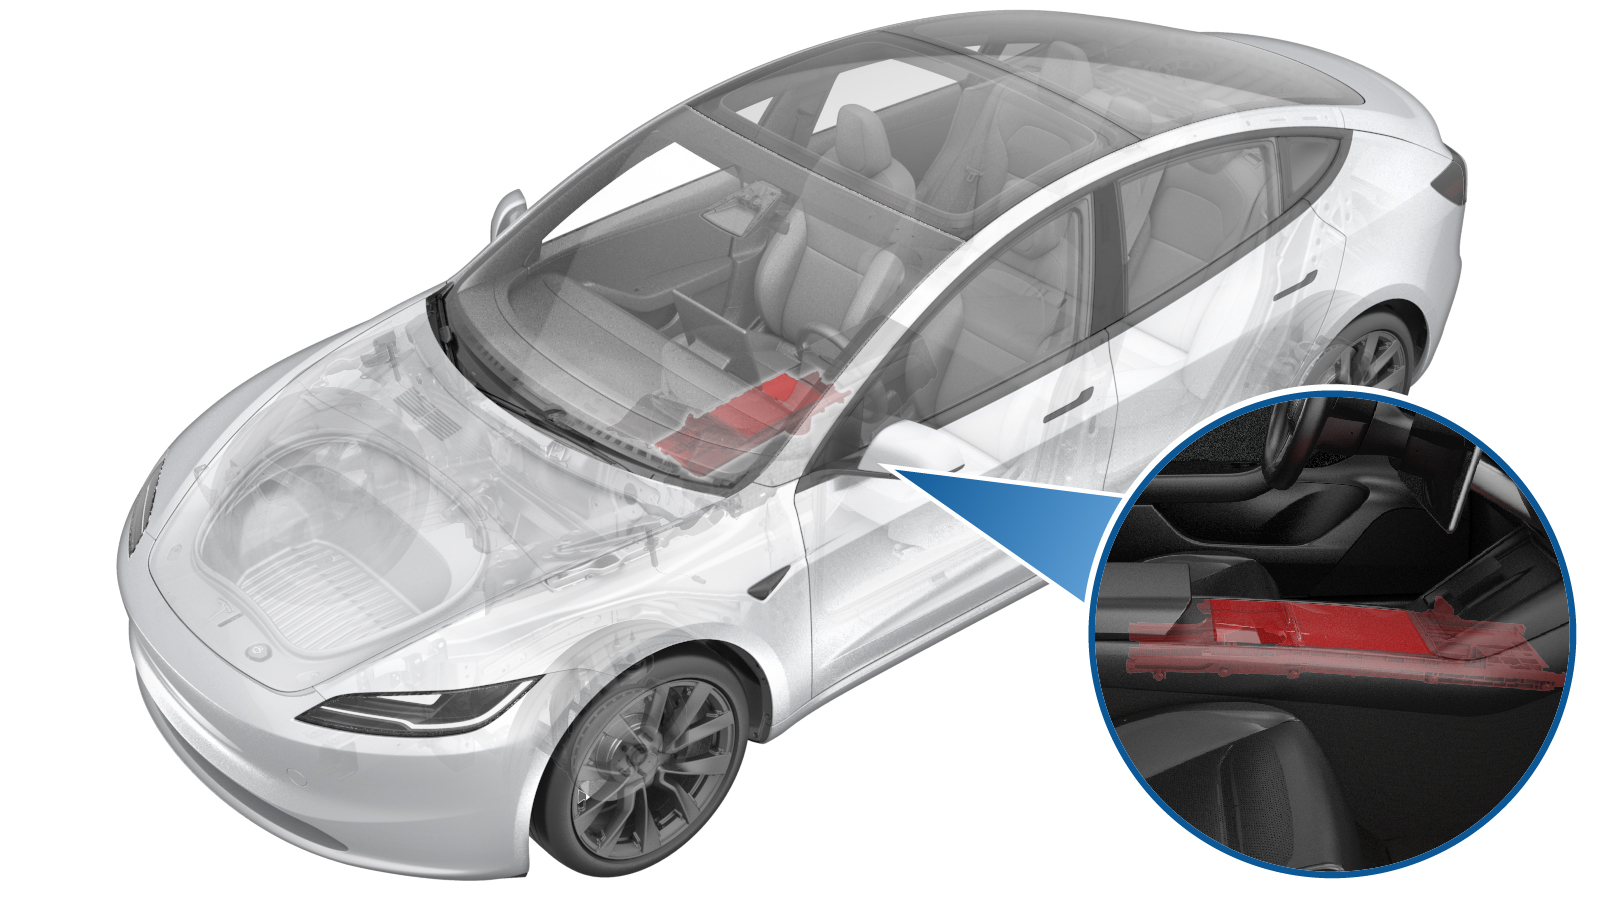
Sliding Door Assembly - Center Console (Remove and Replace)
 Correction code
1519010612
FRT
0.42
Correction code
1519010622
FRT
0.60
NOTE: Unless
otherwise explicitly stated in the procedure, the above correction code and
FRT reflect all of the work required to perform this procedure, including
the linked procedures. Do
not stack correction codes unless explicitly told to do so.
NOTE: See Flat Rate
Times to learn more about FRTs and how
they are created. To provide feedback on FRT values, email ServiceManualFeedback@tesla.com.
NOTE: See Personal Protection
to make sure wearing proper PPE when performing the below procedure.
NOTE: See Ergonomic Precautions for safe and
healthy working practices.
Correction code
1519010612
FRT
0.42
Correction code
1519010622
FRT
0.60
NOTE: Unless
otherwise explicitly stated in the procedure, the above correction code and
FRT reflect all of the work required to perform this procedure, including
the linked procedures. Do
not stack correction codes unless explicitly told to do so.
NOTE: See Flat Rate
Times to learn more about FRTs and how
they are created. To provide feedback on FRT values, email ServiceManualFeedback@tesla.com.
NOTE: See Personal Protection
to make sure wearing proper PPE when performing the below procedure.
NOTE: See Ergonomic Precautions for safe and
healthy working practices.
- 2025-10-22: Added code for the sliding door with screw-secured phone dock, and added the method of distinguishing between sliding doors with clip-secured and screw-secured phone docks based on the vehicle build time.
- 2024-09-05: Added link for removing Phone Dock (Screw) procedure.
- If the vehicle is built after March 3rd, 2024, the sliding door assembly should be with a screw-secured phone dock. Use correction code 1519010622.
- If the vehicle is built before March 3rd, 2024, the sliding door assembly should be with a clip-secured phone dock. Use correction code 1519010612.
Torque Specifications
| Description | Torque Value | Recommended Tools | Reuse/Replace | Notes |
|---|---|---|---|---|
| Screws (x10) that attach both sides of the sliding bin lid to the center console |
 1 Nm (.7 lbs-ft) |
|
Reuse |
Remove
- Remove the top face panel assembly from center console. See Top Face Panel - Center Console (Remove and Replace).
-
Remove the screws (x10) that
attach both sides of the sliding bin lid to the center console.
TIpUse of the following tool(s) is recommended:
- Torx T20 socket
-
Lift the sliding bin lid assembly up
and move it back slightly to release the connector and clips, and then remove the
sliding bin lid assembly from the center console.
Install
-
Position the sliding lid
onto the center console.
NoteEnsure that all connectors and clips are installed in place.
-
Install the screws (x10)
that attach both sides of the sliding bin lid assembly onto the center
console.
 1 Nm (.7 lbs-ft)TIpUse of the following tool(s) is recommended:
- Torx T20 socket
- Install the top face panel assembly. See Top Face Panel - Center Console (Remove and Replace).