2026-02-20
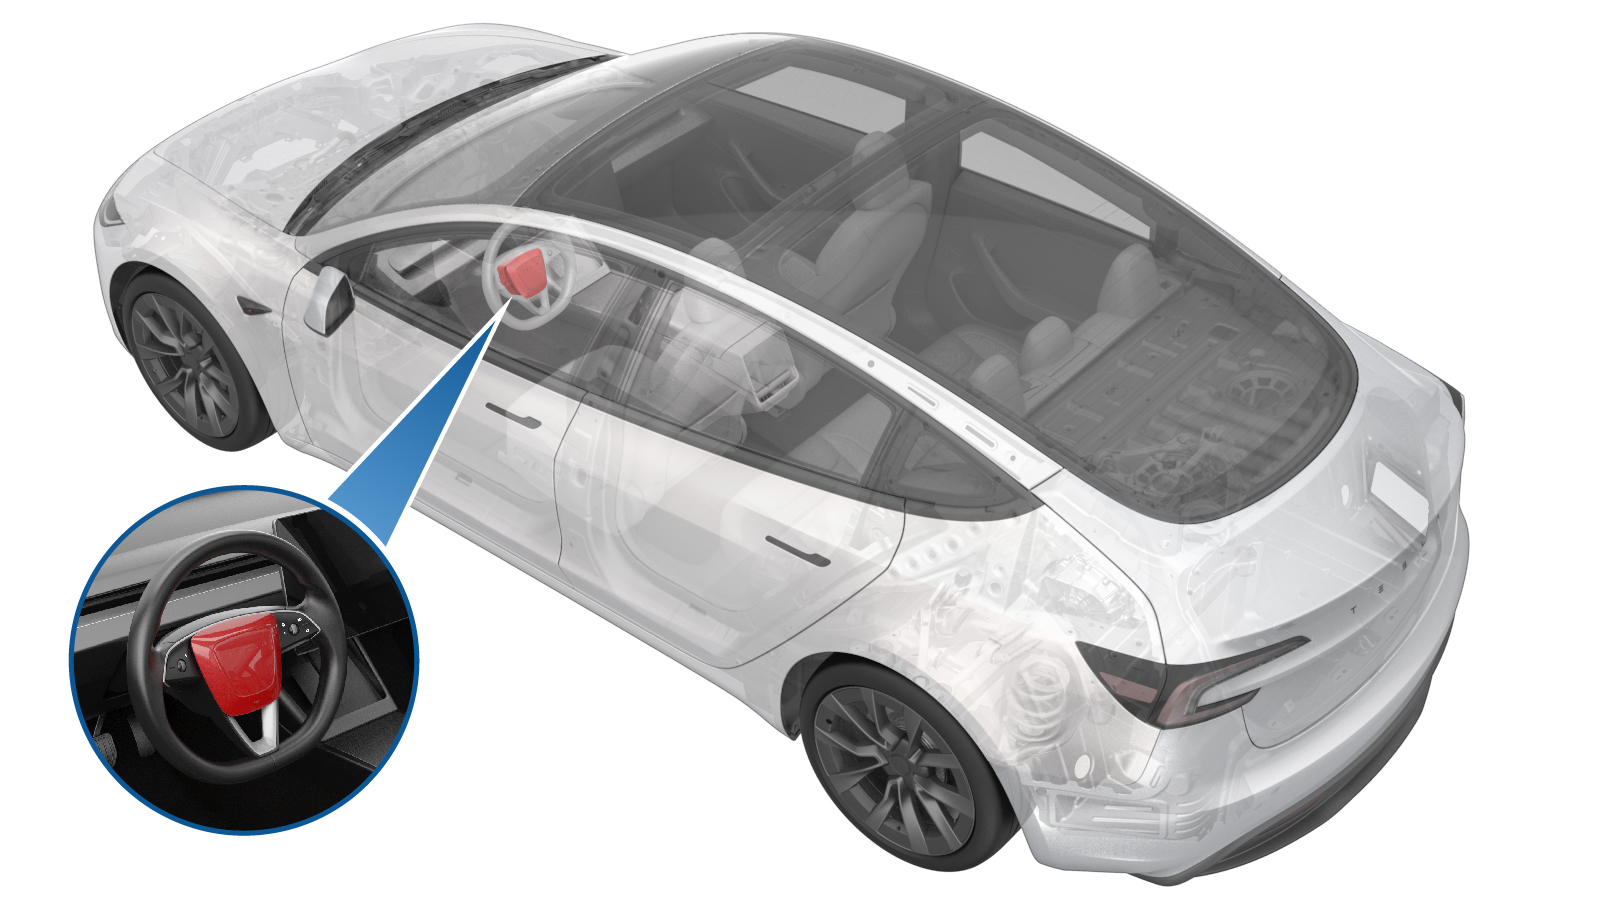
Airbag - Driver (Remove and Replace)
 Correction code
2001010052
FRT
0.12
NOTE: Unless otherwise explicitly stated in the procedure, the correction code and FRT listed above reflect all of the work required to perform this procedure, including the linked procedures. Do not stack correction codes unless explicitly told to do so.
NOTE: See Flat Rate Times to learn more about FRTs and how they are created.
NOTE: See Personal Protection to make sure you
are wearing proper PPE when performing the procedure below.
NOTE: See Ergonomic Precautions for safe and healthy working practices.
Correction code
2001010052
FRT
0.12
NOTE: Unless otherwise explicitly stated in the procedure, the correction code and FRT listed above reflect all of the work required to perform this procedure, including the linked procedures. Do not stack correction codes unless explicitly told to do so.
NOTE: See Flat Rate Times to learn more about FRTs and how they are created.
NOTE: See Personal Protection to make sure you
are wearing proper PPE when performing the procedure below.
NOTE: See Ergonomic Precautions for safe and healthy working practices.
- 2026-02-20: Added note on using PROC_RCM_DISARM if using this procedure to diagnose the SRS.
- 2026-01-27: Updated the available region of the airbag removal tool from AU to APAC and NA.
- 2025-08-27: Added the airbag removal tool P/N 2098130-00-A (AU).
- 2024-06-10: Updated information on tooling used to release the airbag springs. Added caution on avoiding cosmetic damage to the airbag release holes.
- 2024-03-11: Updated tool information.
Warning
If using this
procedure to diagnosis the vehicle's Supplemental Restraint Systems (SRS),
disarm the RCM, which will prevent all airbags and pretensioners from deploying.
Re-arm the RCM after all of the vehicle's SRS components are re-installed.
Warning
Make sure LV
power has been disconnected for at least 2 minutes before disconnecting the
electrical harness from Supplementary Restraint System (SRS) components, such as
Restraint Control Module, sensors, airbags, etc. Failure to do so can result in
unintended safety system behaviors. For more information on SRS precautions, see
Airbag and Supplementary Restraint System (SRS) Precautions.
Warning
Supplementary
Restraint System (SRS) components can be hazardous if not handled properly. For
more information on SRS precautions, see Airbag and Supplementary Restraint System (SRS) Precautions.
Equipment:
- APAC / NA: 2098130-00-A AIRBAG REMOVAL TOOL
Remove
- Disconnect LV power. See LV Power (Disconnect and Connect).
-
Press the spring clips (x2) from the 2
access holes to release the driver airbag from the steering wheel, and then partially
pull the airbag away from the steering wheel.
CAUTIONThe material on the back side of the 2024+ Model 3 steering wheel is rigid and could be damaged by tools that are too large for the hole. If tooling is getting caught at the access hole, do not force it through.CAUTIONDo not insert the tool too far as the airbag electrical connector could be damaged.CAUTIONDo not remove the driver airbag from the steering wheel yet because the airbag electrical connector is still connected to the steering wheel.WarningNote how the airbag is attached to the steering wheel to aid in installation. Failure to fully seat both sides of the airbag can result in the airbag falling out or not performing as intended.TIpUse of the following tool(s) is recommended:
- Pin punch or any other straight tool that is 3 mm wide and at least 30 mm long.
WarningThe video(s) included in this procedure are meant as an overview for supplemental purposes only. Follow all of the steps listed in the procedure to avoid damage to components and/or personal injury. -
Disconnect the driver airbag electrical connector, and then remove the airbag from the vehicle.
Install
-
Connect the driver airbag electrical connector.
CAUTIONMake sure the harness does not get caught between the airbag and the horn.
-
Position the driver airbag assembly
onto the steering wheel so that the datums are aligned with the clips.
WarningThe video(s) included in this procedure are meant as an overview for supplemental purposes only. Follow all of the steps listed in the procedure to avoid damage to components and/or personal injury.
-
Press the LH side of the driver airbag
assembly into the steering wheel until an audible click is heard and the spring clip is
fully seated.
WarningFailure to fully seat both sides of the airbag can result in the airbag falling out or not performing as intended.
-
Press the RH side of the driver airbag
assembly into the steering wheel until an audible click is heard and the spring clip is
fully seated.
WarningFailure to fully seat both sides of the airbag can result in the airbag falling out or not performing as intended.
-
Perform a light pull test on the LH
side of the driver airbag to verify that it is properly secured to the steering
wheel.
-
Perform a light pull test on the RH
side of the driver airbag to verify that it is properly secured to the steering
wheel.
- Check that the gap between the driver airbag assembly and the steering wheel is consistent around the perimeter of the airbag.
- Connect LV power. See LV Power (Disconnect and Connect).