Door - Front - LH (Remove and Replace)
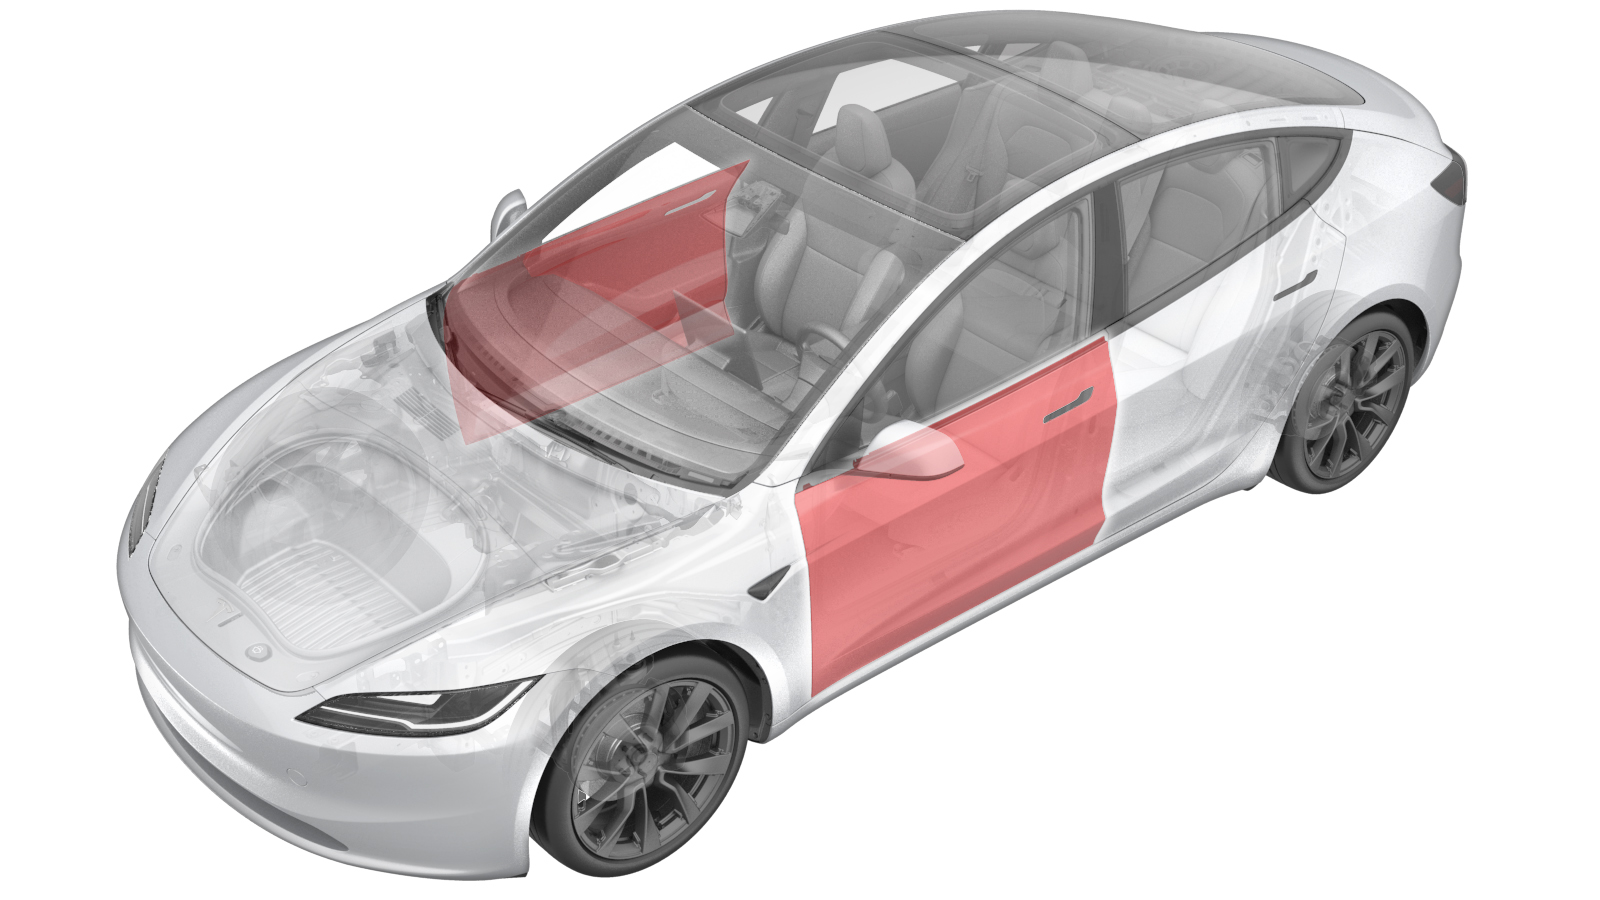 Correction code
1010025022
FRT
1.26
NOTE: Unless
otherwise explicitly stated in the procedure, the correction code and its
associated FRT reflect all of the work required to perform this procedure,
including the linked procedures. Do not stack correction
codes unless explicitly told to do so.
NOTE: See Flat Rate Times to
learn more about FRTs and how they are created.
NOTE: See Personal Protection to make
sure you are wearing proper PPE when performing the procedure below.
NOTE: See Ergonomic Precautions for safe and healthy
working practices.
Correction code
1010025022
FRT
1.26
NOTE: Unless
otherwise explicitly stated in the procedure, the correction code and its
associated FRT reflect all of the work required to perform this procedure,
including the linked procedures. Do not stack correction
codes unless explicitly told to do so.
NOTE: See Flat Rate Times to
learn more about FRTs and how they are created.
NOTE: See Personal Protection to make
sure you are wearing proper PPE when performing the procedure below.
NOTE: See Ergonomic Precautions for safe and healthy
working practices.
- 2026-07-22: Removed the step to pull the secondary seal away from the door.
- 2024-01-24: Added a note in case that the shouldered / tapered bolts are not allowing for successful adjustment.
- 2023-12-11: Updated correction code.
Equipment:
- 1454796-00-A TOOLKIT, WINDOW SWITCH
- 1079485-00-A 3/8in Crowfoot Open End Set
| Description | Torque Value | Recommended Tools | Reuse/Replace | Notes |
|---|---|---|---|---|
| Bolt that attaches the LH front door check strap to the vehicle |
 24 Nm (17.7 lbs-ft) |
|
Reuse | |
| Bolts (x4) that attach the hinges to the LH front door |
27 Nm (19.9 lbs-ft) |
|
Reuse |
Remove
- Open the LH front door and lower the LH front window.
- Remove the rear underhood apron. See Underhood Apron - Rear (Remove and Replace).
- Remove the LH door trim panel. See Panel - Door Trim - Front - LH (Remove and Install).
- Remove the LH front door outer belt assembly. See Seal - Outer Belt - Front Door - LH (Remove and Replace).
- Remove the LH front door inner belt seal. See Seal - Inner Belt - Front Door - LH (Remove and Replace).
-
Connect a window switch special tool (1454796-00-A) to the LH front door
harness.
- Remove the LH door glass. See Glass - Door - Front - LH (Remove and Replace).
- Manually engage the LH front door latch.
-
Disconnect the window switch special tool.
- Disconnect the LV battery power. See LV Power (Disconnect and Connect) (Modify).
- Remove the LH front exterior mirror assembly. See Mirror - Door - LH (Remove and Replace).
- Remove the LH front glass run seal. See Seal - Glass Run - Front Door - LH (Remove and Replace).
- Remove the LH front door closeout panel. See Closeout Panel - Door - Front - LH (Remove and Replace).
- Remove the LH front door window regulator. See Window Motor / Regulator Assembly - Front - LH (Remove and Replace).
- Remove the LH front door latch. See Latch - Door - Front - LH (Remove and Replace).
- Remove the LH front outer door handle. See Handle - Exterior Release - Door - Front - LH (Remove and Replace).
- Remove the LH front door check strap. See Check Strap - Door - Front - LH (Remove and Replace).
-
Use a clip prytool to release the clips (x9) that secure the LH front door
electrical harness.
-
Remove the LH front door harness from the side of the door assembly.
- Apply tape to the LH front fender.
-
Remove the lower bolts (x2)
that attach the hinges to the LH front door, and then loosen the upper bolts
(x2) that attaches the hinges to the door.
TipUse of the following tool(s) is recommended:
- 10mm 12pt combination wrench
Figure 1. Lower Bolts Securing the Hinges Figure 2. Upper Bolts Securing the Hinges -
With assistance, lift the LH
front door up and remove it from the vehicle.
Replace
-
Manually install the upper
bolts (x2) that attach the hinges to the LH front door for easy
installation.
-
With assistance, install the
LH front door assembly onto the vehicle.
NoteAlign the bolts to their installation position.
-
Hand-tighten the bolts (x4) that attach the hinges to the LH front
door.
NoteAlign the hinge with the previously applied tape on the door.TipUse of the following tool(s) is recommended:
- 10mm 12pt combination wrench
-
Route the LH front door
harness through the hole on the door assembly, then install the harness
sealing plug properly.
-
Install the clips (x9) that secure the LH front door electrical
harness.
- Install the LH front door check strap. See Check Strap - Door - Front - LH (Remove and Replace).
- Install the LH front outer door handle. See Handle - Exterior Release - Door - Front - LH (Remove and Replace).
- Install the LH front door latch. See Latch - Door - Front - LH (Remove and Replace).
- Install the LH front door window regulator. See Window Motor / Regulator Assembly - Front - LH (Remove and Replace).
- Install the LH front door closeout panel. See Closeout Panel - Door - Front - LH (Remove and Replace).
- Install the LH front glass run seal. See Seal - Glass Run - Front Door - LH (Remove and Replace).
- Install the LH front exterior mirror assembly. See Mirror - Door - LH (Remove and Replace).
- Install the LH door glass. See Glass - Door - Front - LH (Remove and Replace).
- Install the LH front door outer belt assembly. See Seal - Outer Belt - Front Door - LH (Remove and Replace).
- Install the LH front door inner belt seal. See Seal - Inner Belt - Front Door - LH (Remove and Replace).
- Connect the LV battery power. See LV Power (Disconnect and Connect) (Modify).
- Release the LH front door latch.
-
Close the LH front door and
check the gap and flushness.
NoteIf the shouldered / tapered bolts are not allowing for successful adjustment, replace the selected shouldered / tapered bolts with 1063260-00-C. Adjust the LH front door, if necessary. Refer to CVIS for current specifications.
-
Torque the bolts (x4) that
attach the hinges to the LH front door.27 Nm (19.9 lbs-ft)TipUse of the following tool(s) is recommended:
- Flex head ratchet/flex head torque wrench
- 3/8in Crowfoot Open End Set - 1079485-00-A
- Remove tape from the LH front fender.
-
Release the clips (x3) that attach the LH inner belt seal and glass run
seal to the LH front door panel to fully access the area where the secondary
seal will be installed.
- Use IPA wipes to clean the area where the secondary seal will be installed, and allow 1 minute for the IPA to dry.
-
Peel back the adhesive backing at the ends of the seal, and position the
seal onto the door.
NoteEnsure the drain holes of the seal are at the bottom of the door. Ensure both edges are under the cut outs for the inner belt and the glass run seal. Ensure the open edge of the seal is facing the inside of the door.
-
Install new secondary LH front door seal by firmly pressing the seal into
place, removing the film from the double sided tape.
NoteEnsure the seal is even all the way around the edge of the door. Ensure the door seal follows the contour of the door, Ensure the open edge of the seal is facing the inside of the door.
- Secure the clips (x3) that attach the LH inner belt seal and glass run seal to the LH front door assembly.
- Install the LH front door trim panel. See Panel - Door Trim - Front - LH (Remove and Install).
- Install the rear underhood apron. See Underhood Apron - Rear (Remove and Replace).
- Calibrate the window. See Window Regulator (Recalibrate) (Maintenance).
- Raise the LH front window and close the LH front door.