2023-11-09
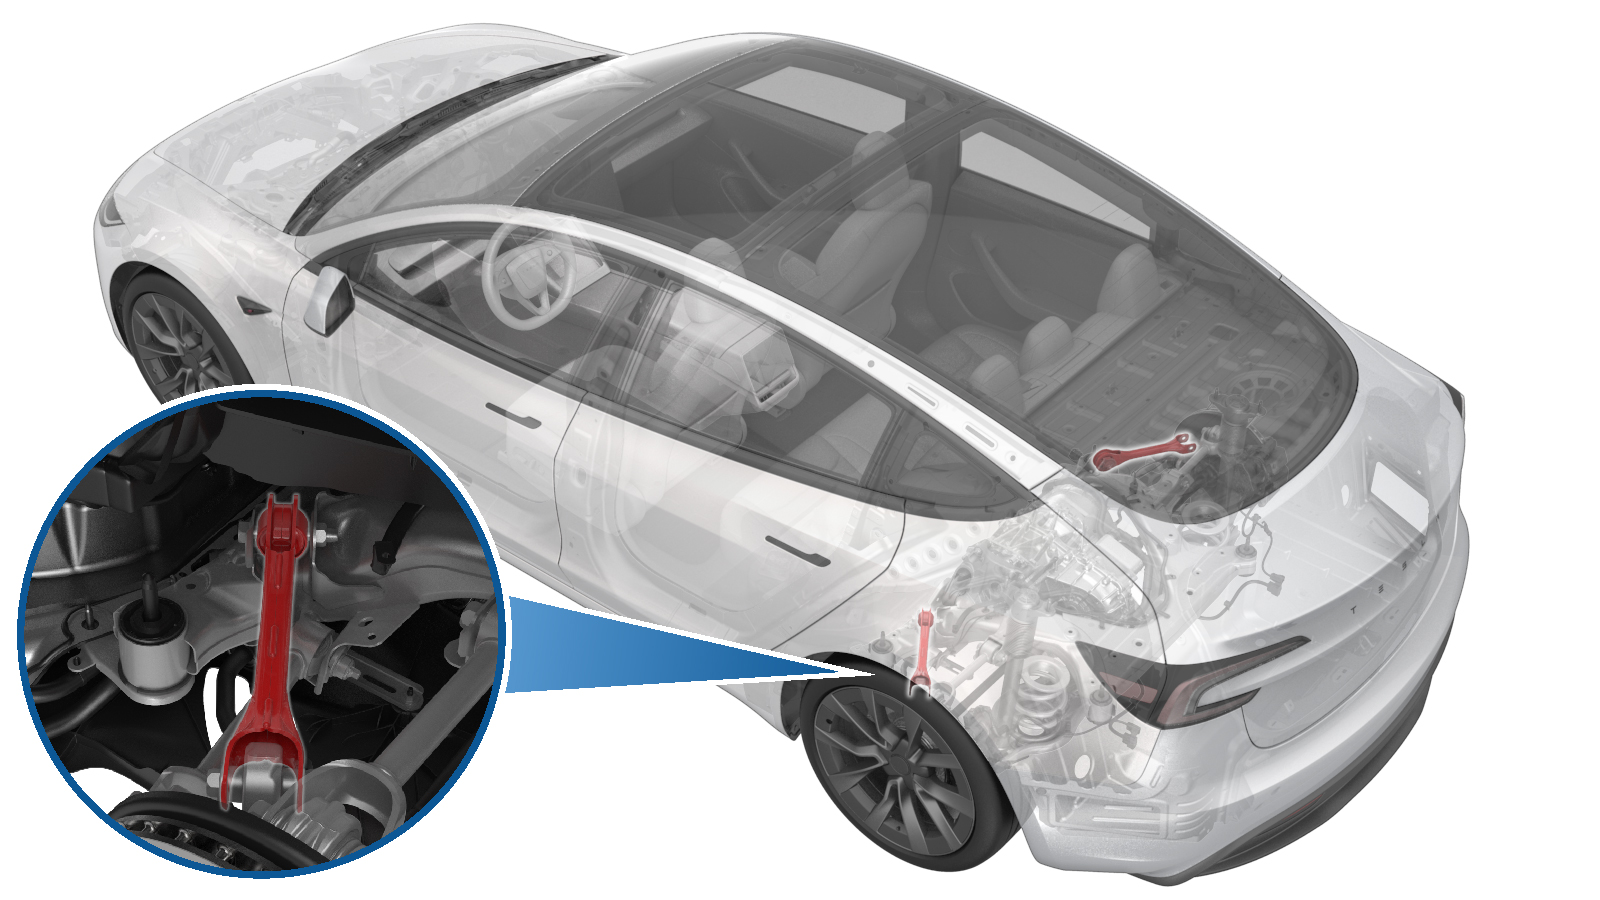
Link - Fore - Upper - Rear - RH (Remove and Replace)
 Correction code
3103030312
FRT
2.52
NOTE: Unless otherwise explicitly stated in the procedure, the correction code and FRT listed above reflect all of the work required to perform this procedure, including the linked procedures. Do not stack correction codes unless explicitly told to do so.
NOTE: See Flat Rate Times to learn more about FRTs and how they are created.
NOTE: See Personal Protection to make sure you
are wearing proper PPE when performing the procedure below.
NOTE: See Ergonomic Precautions for safe and healthy working practices.
Correction code
3103030312
FRT
2.52
NOTE: Unless otherwise explicitly stated in the procedure, the correction code and FRT listed above reflect all of the work required to perform this procedure, including the linked procedures. Do not stack correction codes unless explicitly told to do so.
NOTE: See Flat Rate Times to learn more about FRTs and how they are created.
NOTE: See Personal Protection to make sure you
are wearing proper PPE when performing the procedure below.
NOTE: See Ergonomic Precautions for safe and healthy working practices.
Equipment:
- 1457016-00-A KIT, SPRING COMPRESSOR, GEDORE
- 1137855-00-A TOOL, REAR RIDE HEIGHT TORQUE, MODEL 3
- 1081765-00-A 3/4 TON UNDERHOIST STAND
- 1459409-00-A ADAPTER, HUB JACK, MODEL 3
| Description | Torque Value | Recommended Tools | Reuse/Replace | Notes |
|---|---|---|---|---|
| Bolt and nut that attach the RH rear upper fore link to the knuckle |
 76 Nm (56.0 lbs-ft) |
|
Reuse | |
| Bolt and nut that attach the RH rear upper fore link to the subframe |
76 Nm (56.0 lbs-ft) |
|
Reuse |
Remove
-
Lower the rear subframe assembly, disconnect air supply from the subframe lifting
tool, and then move the subframe lifting tool and subframe away from the vehicle. See
Subframe Assembly - Rear (Remove and Replace).
NoteDo not remove the half shafts. Terminate before removing the LH and RH rear coil springs from the rear lower aft link.
-
Remove the bolt and nut that attach
the RH rear upper fore link to the knuckle.
TIpUse of the following tool(s) is recommended:
- 18 mm socket
- 18mm 12pt combination wrench
-
Remove the bolt and nut that attach
the RH rear upper fore link to the subframe.
TIpUse of the following tool(s) is recommended:
- 18 mm socket
- 18mm 12pt combination wrench
-
Remove the RH rear upper fore link
from the subframe.
Install
-
Install the RH rear upper fore link
into the subframe.
-
Hand-tighten the bolt and nut that
attach the RH rear upper fore link to the subframe.
NoteTorque at later step. While installing the bolt, it may be necessary to turn a few times to align.
-
With assistance, hand-tighten the bolt
and nut that attach the RH rear upper fore link to the knuckle.
NoteTorque at later step.
-
Install the rear subframe assembly.
See Subframe Assembly - Rear (Remove and Replace).
NoteDo not remove the half shafts. Terminate before removing the LH and RH rear coil springs from the rear lower aft link.