2024-08-26
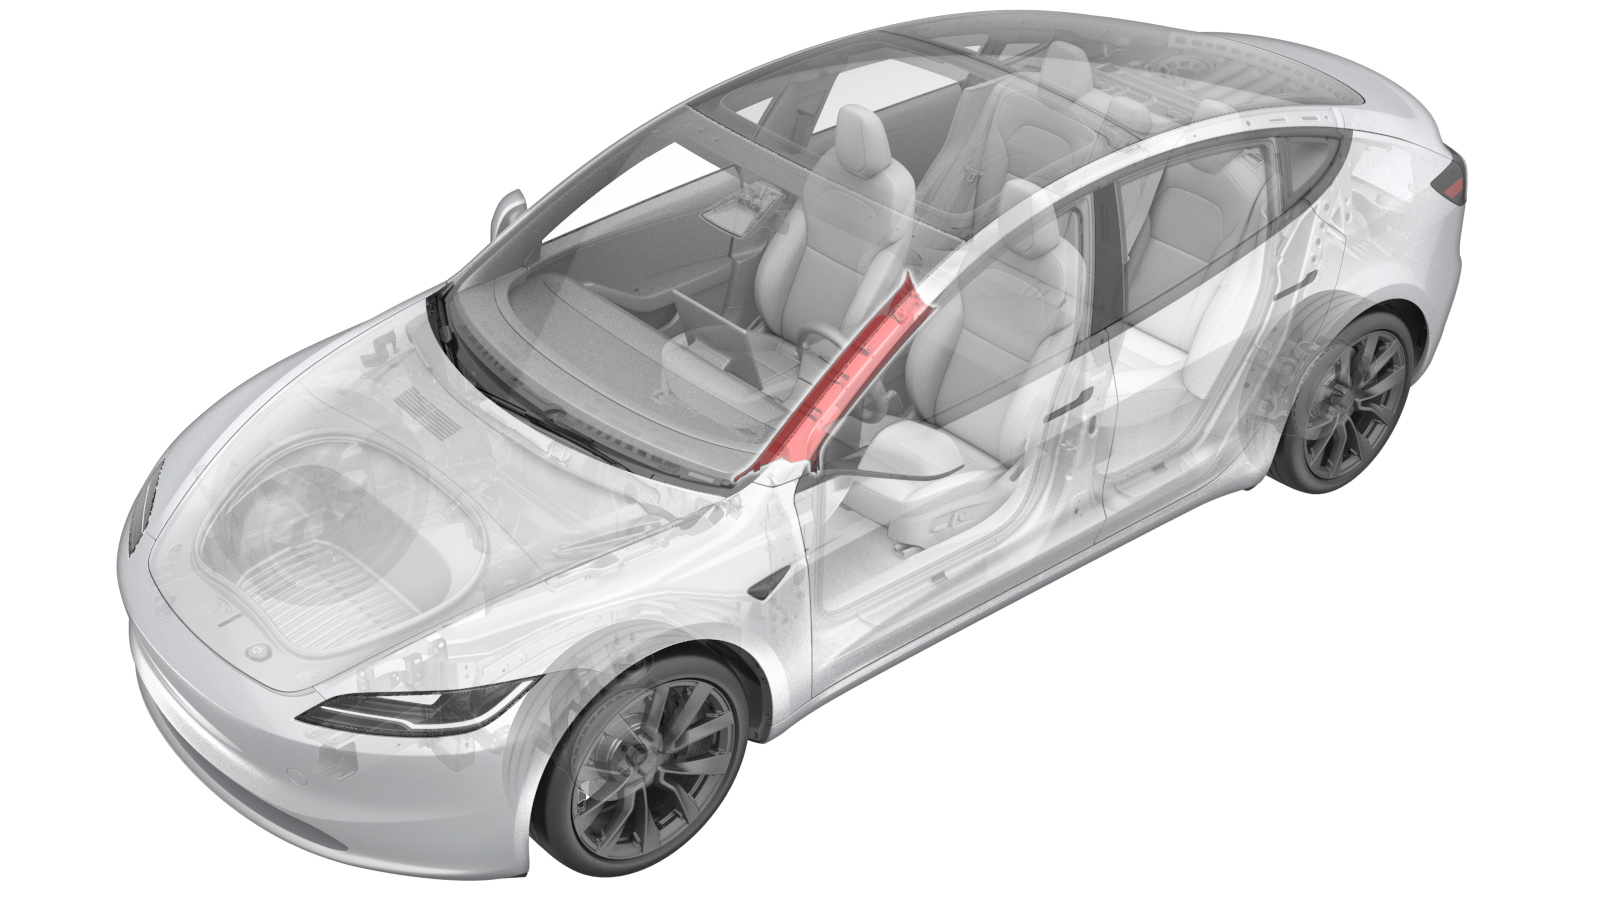
Trim - A-Pillar - Upper - LH (Remove and Replace)
 Correction code
1518010012
FRT
0.12
NOTE: Unless otherwise explicitly stated in the procedure, the correction code and FRT listed above reflect all of the work required to perform this procedure, including the linked procedures. Do not stack correction codes unless explicitly told to do so.
NOTE: See Flat Rate Times to learn more about FRTs and how they are created.
NOTE: See Personal Protection to make sure you
are wearing proper PPE when performing the procedure below.
NOTE: See Ergonomic Precautions for safe and healthy working practices.
Correction code
1518010012
FRT
0.12
NOTE: Unless otherwise explicitly stated in the procedure, the correction code and FRT listed above reflect all of the work required to perform this procedure, including the linked procedures. Do not stack correction codes unless explicitly told to do so.
NOTE: See Flat Rate Times to learn more about FRTs and how they are created.
NOTE: See Personal Protection to make sure you
are wearing proper PPE when performing the procedure below.
NOTE: See Ergonomic Precautions for safe and healthy working practices.
Remove
- Open the LH front door and lower the LH front window.
- Remove the LH instrument panel end cap. See End Cap - Instrument Panel - LH (Remove and Replace).
-
Release the clips (x6) that
attach the LH upper A-pillar trim to the A-pillar.
NoteRelease the top clip first and work forward and down.WarningThe video(s) included in this procedure are meant as an overview for supplemental purposes only. Follow all of the steps listed in the procedure to avoid damage to components and/or personal injury.
-
Depress the tabs (x2) that attach the LH upper A-Pillar trim tether to the body, and then remove the tether from the body.
Figure 1. Plastic Clip Figure 2. Metal Clip -
Pull upwards to remove the LH upper A-pillar trim from the vehicle.
NoteRemove any remaining LH upper A-pillar trim clips from the LH A-pillar.
Install
-
Position the LH upper A-pillar trim tether on the body, and then press the tether into the body to engage the tabs (x2).
WarningThe video(s) included in this procedure are meant as an overview for supplemental purposes only. Follow all of the steps listed in the procedure to avoid damage to components and/or personal injury.
Figure 3. Plastic Clip Figure 4. Metal Clip -
Insert the front lower edge of the trim into the instrument panel carrier, and then firmly fasten the clips that attach the LH upper A-pillar trim to the A-pillar.
NoteFasten the bottom clip first, and then work toward the top.NoteLook through the windshield from outside of the vehicle to check that the LH upper A-pillar trim is flush with the A-pillar.
- Pull the primary front side body seal over the LH upper A-pillar trim.
- Install the LH instrument panel end cap. See End Cap - Instrument Panel - LH (Remove and Replace).
- Raise the LH front window and close the LH front door.