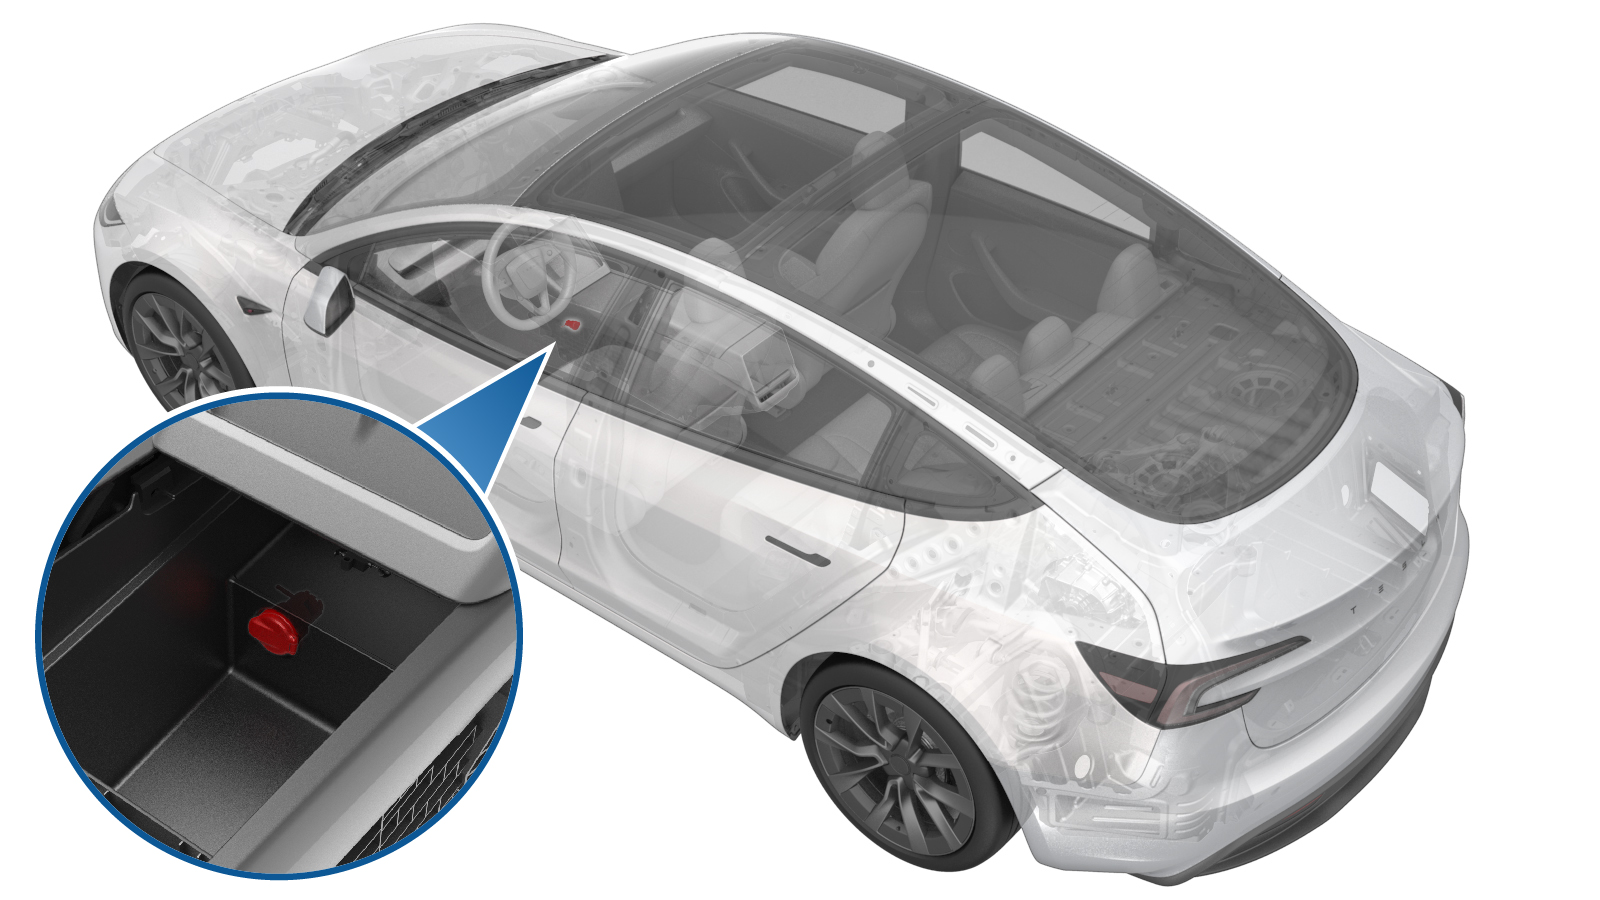
Outlet - 12V - Center Console (Remove and Replace)
 Correction code
1519010262
FRT
0.42
NOTE: Unless
otherwise explicitly stated in the procedure, the above correction code and
FRT reflect all of the work required to perform this procedure, including
the linked procedures. Do
not stack correction codes unless explicitly told to do so.
NOTE: See Flat Rate
Times to learn more about FRTs and how
they are created. To provide feedback on FRT values, email ServiceManualFeedback@tesla.com.
NOTE: See Personal Protection
to make sure wearing proper PPE when performing the below procedure.
NOTE: See Ergonomic Precautions for safe and
healthy working practices.
- Torque Wrench Hexagon - 1060071-00-A
Torque Specifications
| Description | Torque Value | Recommended Tools | Reuse/Replace | Notes |
|---|---|---|---|---|
| Bolts (x4) that attach the bottom duct assembly to the center console |
 1 Nm (.7 lbs-ft) |
|
Reuse |
Remove
- Remove the center console assembly. See Center Console (Remove and Replace).
-
Fully retract the center console front media bin lid and cup holder lid into locked
position.
-
Flip the center console over and remove the clips (x2) and bolts (x4) that attach the
bottom duct assembly to the center console, and then remove the bottom duct assembly
from center console.
CAUTIONTake protective measures when flipping the center console over. Be careful not to damage the rear display screen.TIpUse of the following tool(s) is recommended:
- Torx T20 socket
-
Disconnect the LV power outlet connector from the center console.
-
Remove the LV power outlet electrical harness from the center console.
NoteSlide the LV power outlet connector upward to remove it from the center console.
-
Release the locking tabs (x2) with a small flat head screwdriver, push the LV power
outlet out, and then pull the LV power outlet out from inside the front media bin to
remove the LV power outlet from the LV power outlet cap.
NoteFlip the center console as needed during the operation.
-
Release the locking tabs (x2) with a small flat head screwdriver, and then push the
LV power outlet cap out from the slot to remove it from the center console.
NoteFlip the center console as needed during the operation.
Install
-
Remove the LV power outlet cap from the new LV power outlet assembly.
NoteRelease the locking tabs (x2) with a small flat head screwdriver.
-
Install the LV power outlet cap to the center console.
NotePush the LV power outlet cap along the positioning slot until the locking tabs are secured. Flip the center console as needed.
-
Install the LV power outlet to the LV power outlet cap.
NotePush the LV power outlet along the upper positioning slot until the locking tabs are installed in place. Flip the center console as needed.
-
Install the LV power outlet electrical harness to the center console.
NoteSlide the LV power outlet connector down to install it to the proper place.
-
Connect the LV power outlet connector to the center console.
-
Install the clips (x2) and bolts (x4) that attach the bottom duct assembly to the
center console.
 1 Nm (.7 lbs-ft)TIpUse of the following tool(s) is recommended:
- Torx T20 socket
-
Flip the center console upwards and take protective measures.
CAUTIONBe careful not to damage the rear display screen.
-
Fully close the center console front media bin lid and cup holder lid.
- Install the center console assembly. See Center Console (Remove and Replace).