2026-06-16
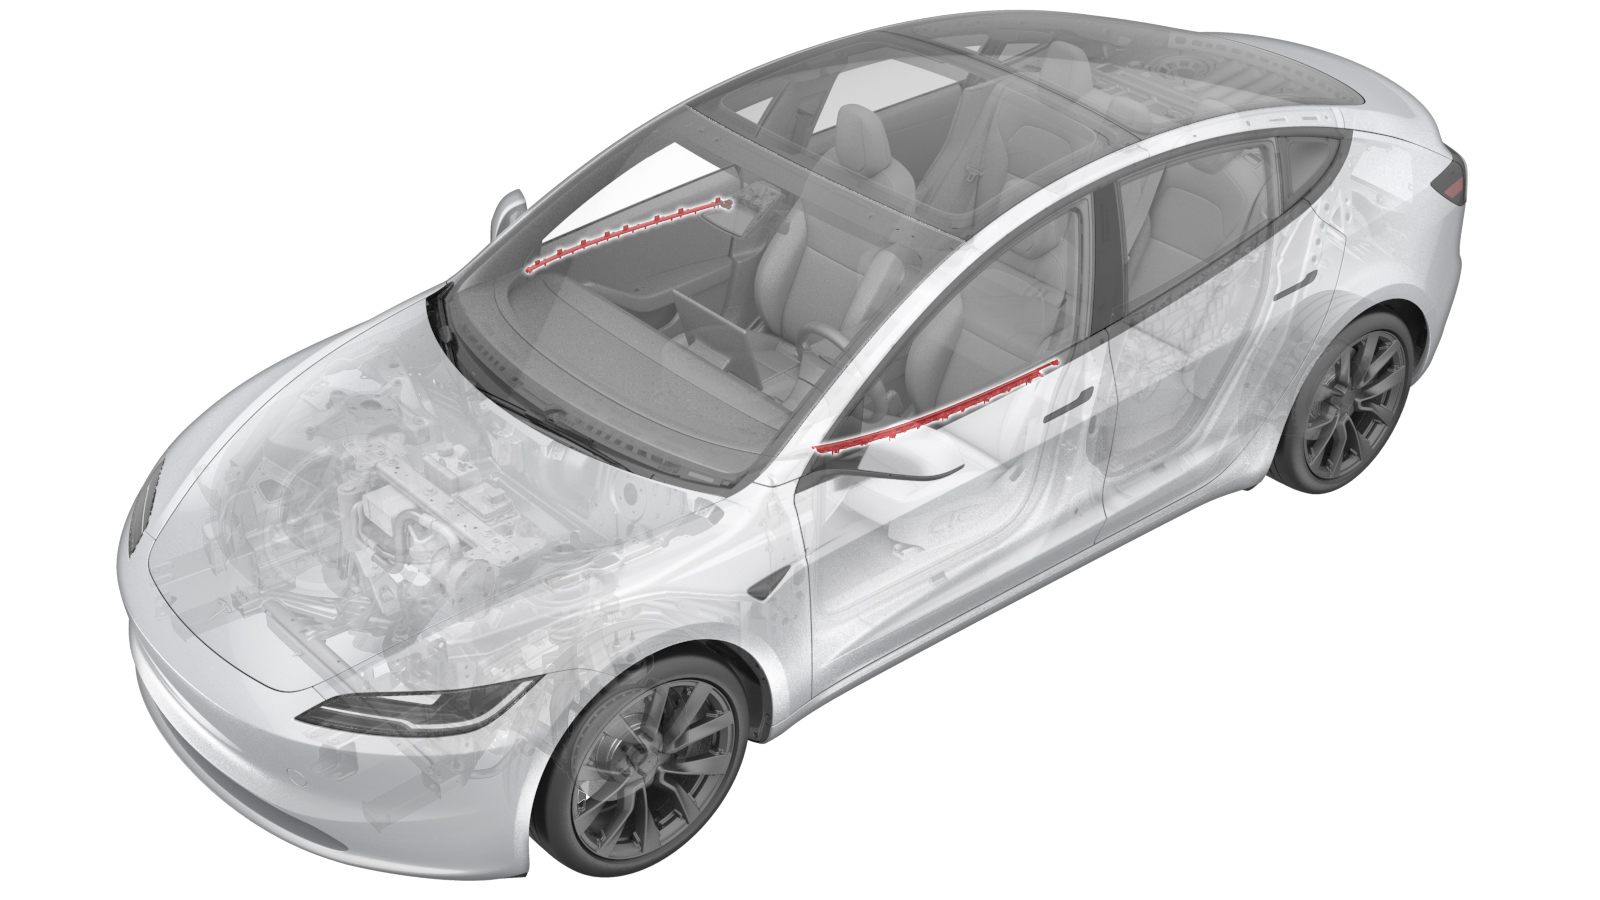
Ambient Lighting Brightwork Assembly - Front - LH (China) (Remove and Replace)
 Correction code
1513001702
FRT
0.60
NOTE: Unless otherwise explicitly stated in the procedure, the correction code and FRT listed above reflect all of the work required to perform this procedure, including the linked procedures. Do not stack correction codes unless explicitly told to do so.
NOTE: See Flat Rate Times to learn more about FRTs and how they are created.
NOTE: See Personal Protection to make sure you
are wearing proper PPE when performing the procedure below.
NOTE: See Ergonomic Precautions for safe and healthy working practices.
Correction code
1513001702
FRT
0.60
NOTE: Unless otherwise explicitly stated in the procedure, the correction code and FRT listed above reflect all of the work required to perform this procedure, including the linked procedures. Do not stack correction codes unless explicitly told to do so.
NOTE: See Flat Rate Times to learn more about FRTs and how they are created.
NOTE: See Personal Protection to make sure you
are wearing proper PPE when performing the procedure below.
NOTE: See Ergonomic Precautions for safe and healthy working practices.
- 2026-06-15: Reduced the number of cut-off tabs and updated the routines.
- 2024-08-28: Added a note to remind not to polish the tab near the ambient light.
Equipment:
- 1082494-00-A Blow Gun
- 2064251-00-A V Metal Wedge
- 2145068-00-A Top Cutting Plier
- 2082332-00-A Ultrasonic welding machine
Remove
- Remove the NVH pad. See NVH Pad - Door - Front - LH (Remove and Replace).
-
Disconnect the LH front door
ambient light LED module connector.
-
Use a paint pen to mark the heat staked tabs on the LH front door
trim.
Note12x round tabs, 1x square tab
-
Cut off the heat staked tabs for the LH front door panel.
CAUTIONDo not cut the tab near the ambient light.CAUTIONBe careful not to damage the door panelNote12x round tabs, 1x square tabTIpUse of the following tool(s) is recommended:
- 2145068-00-A - Top Cutting Plier
-
With assistance, release the tabs that attach the upper trim and ambient
light brightwork assembly to the LH front door panel.
Note31x tabs, 1x locating tab
-
Use the blow gun to clean
the LH front door lower trim.
Replace
-
With assistance, install the
ambient light brightwork to the LH front door panel.
Note19x tabs, 1x locating tabNoteMake sure the labels are in place.
-
With assistance, install the
upper trim to the LH front door panel.
Note12x tabsNoteThe upper trim needs to be replaced with the updated part.NoteMake sure the labels are in place.
-
Check the clearance between
the trim and the ambient light.
NoteEnsure that the upper trim and the ambient light do not interfere with each other, and the door trim and the ambient light do not interfere with each other. Adjust if necessary.
-
With assistance, weld the
heat staked tabs for the LH front door panel.
Note12x round tabs, 16x square tabsNoteThe solder joint tools are available in 2 types: round and square. Use the correct solder joint tools for welding.NoteEnsure there is no large gap between the ambient light and door trim plate, and then push down slowly to make sure the weld spot is flat.
-
Connect the LH front door
ambient light LED module connector.
- Install the NVH pad. See NVH Pad - Door - Front - LH (Remove and Replace).
- Place the vehicle in Service Mode. See Service Mode.
- Unlock the gateway. See Gateway Unlock.
-
Run PROC_VC_X_RGB-LIGHTS-ADDRESSINGvia Service Mode:
- Low Voltage ➜ Interior Lighting ➜ Address RGB Lights
- Mid Voltage ➜ Interior Lighting ➜ Address RGB Lights
- Reinstall the firmware. See Software Reinstall - Touchscreen.
- Exit Service Mode.
- Close the door and verify the operation of the manual door release lever, that the door latch releases smoothly and easily.
- Raise the LH front window and close the door.