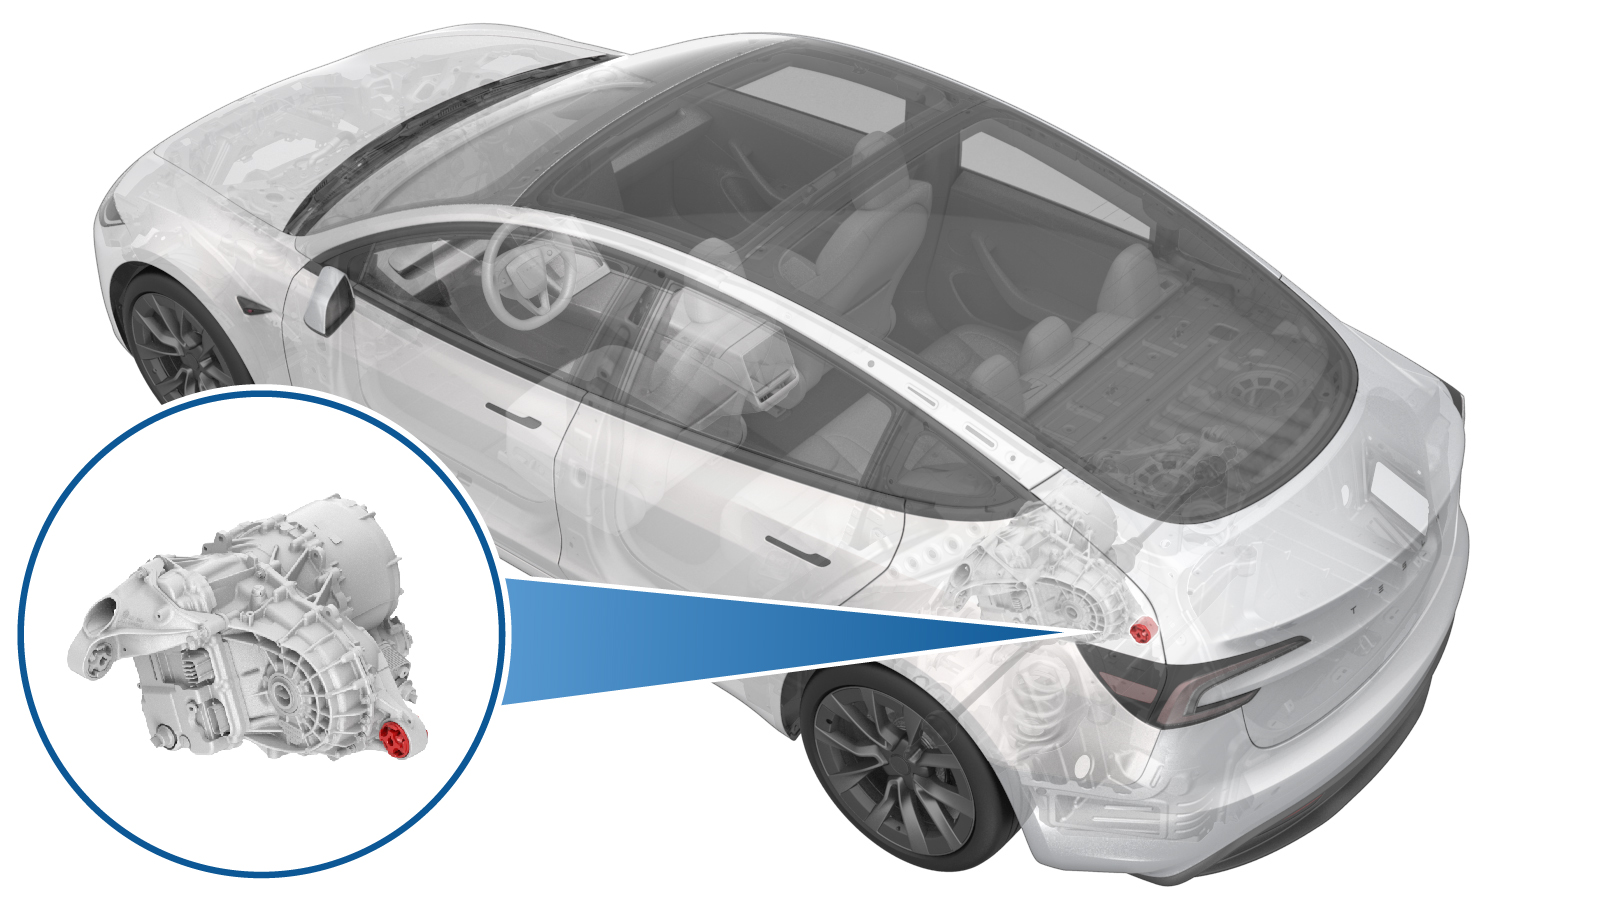
Bushing - Rear Drive Unit - RH (4DU) (Remove and Replace)
 Correction code
4001010062
FRT
3.96
NOTE: Unless
otherwise explicitly stated in the procedure, the above correction code and
FRT reflect all of the work required to perform this procedure, including
the linked procedures. Do
not stack correction codes unless explicitly told to do so.
NOTE: See Flat Rate
Times to learn more about FRTs and how
they are created. To provide feedback on FRT values, email ServiceManualFeedback@tesla.com.
NOTE: See Personal Protection
to make sure wearing proper PPE when performing the below procedure.
NOTE: See Ergonomic Precautions for safe and
healthy working practices.
Remove
- Remove the rear drive unit. See Drive Unit - Rear (4DU) (Remove and Replace).
-
Attach the RDU engine stand adapter to
the RDU.
Note3x bolts, 15mm, 3x nuts, 15mm, hand tight. Assistance is recommended.
-
Attach the gantry hook to the RDU
adapter.
-
Use the gantry to lift the RDU
assembly for installation onto the engine stand.
-
Move the engine stand into
position.
-
Install the RDU adapter to the engine
stand.
Note4x bolts, 18mm, 4x nuts 18mm.
-
Install the bushing removal tool on
the gearcase bushing.
Note2x nuts, 22mm. Use cups "C", "A", and "G" to drive the bushing out. Always drive on the bearing side and hold the opposite side.
-
Press gearcase bushing out of the
casting.
NoteSet up bushing removal tool with the bearing away from the drive unit, the threaded rod is very close to RDU components and damage to the tool/RDU may occur if the bushing is drive out from the drive unit side
-
Separate the bushing tool and remove
the gearcase bushing.
Install
-
Setup the tool to press in the new
gearcase bushing.
NoteNote2x nuts, 22mm. Use cups "D" and "E" to install the bushing. Always drive on the bearing side and hold the opposite side.
-
Press in the new gearcase
bushing.
NoteApply spray lubricant to the bushing exterior before installing it.
-
Separate the bushing tool and remove
it from the drive unit.
-
Using the gantry hook, support the RDU
engine stand adapter, and apply tension.
-
Remove the bolts that attach the RDU
engine stand adapter to the engine stand and move the engine stand away.
Note4x bolts, 18mm, 4x nuts, 18mm
-
Lower RDU and engine stand adapter
onto crate
-
Remove the gantry hook from the RDU
adapter and move it aside.
-
Remove the RDU engine stand adapter
from the RDU.
Note3x bolts, 15mm, 3x nuts, 15mm
- Install the rear drive unit. See Drive Unit - Rear (4DU) (Remove and Replace).
- Refer to the Alignment Requirement tables to determine whether an EPAS alignment check (EC) or four wheel alignment check (AC) is necessary. If performed, add the alignment check/adjust as a separate activity. See Alignment Requirement - Suspension.