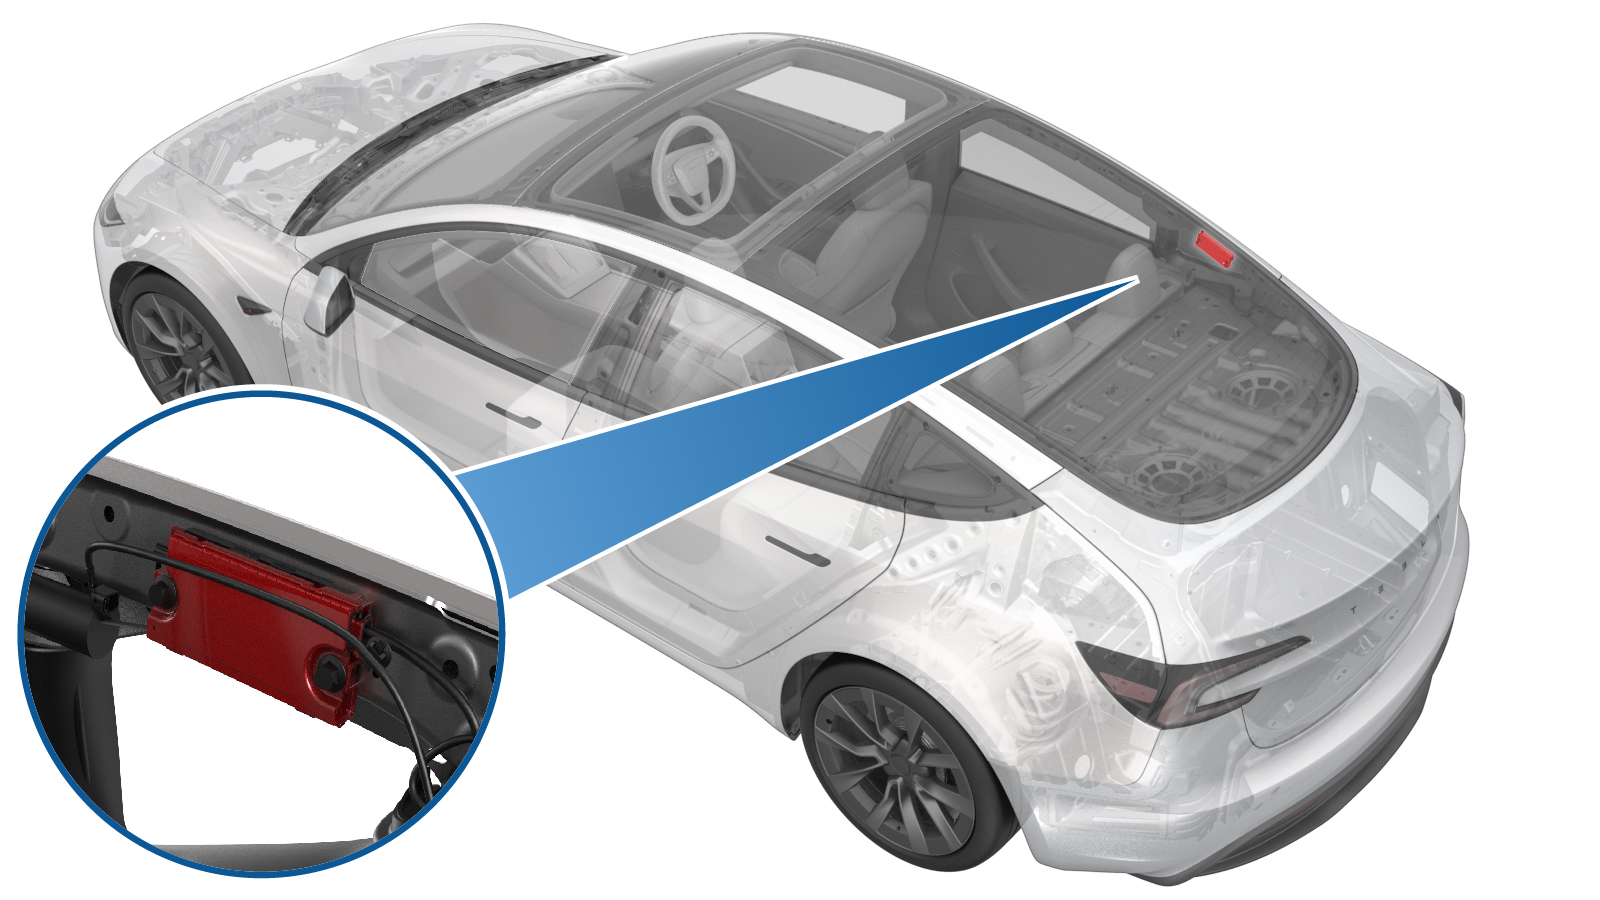
Tuner FM/HD/DAB (Remove and Replace)
 Correction code
2135011032
FRT
0.24
NOTE: Unless
otherwise explicitly stated in the procedure, the above correction code and
FRT reflect all of the work required to perform this procedure, including
the linked procedures. Do
not stack correction codes unless explicitly told to do so.
NOTE: See Flat Rate
Times to learn more about FRTs and how
they are created. To provide feedback on FRT values, email ServiceManualFeedback@tesla.com.
NOTE: See Personal Protection
to make sure wearing proper PPE when performing the below procedure.
NOTE: See Ergonomic Precautions for safe and
healthy working practices.
- 2024-02-19: Changed ODIN routine for testing tuner connections.
- 2024-01-11: Added a warning to double confirm the tuner connector will not pinch the tether during installation.
- 2024-01-10: Updated the torque value from 10 Nm to 8 Nm.
| Description | Torque Value | Recommended Tools | Reuse/Replace | Notes |
|---|---|---|---|---|
| Bolts (x2) that attach the tuner to the body |
 8 Nm (5.9 lbs-ft) |
|
Reuse |
Remove
- Fold the 2nd row RH seatback down.
- Remove the RH side rail assembly. See Trim - Side Rail - LH (Remove and Replace).
-
Disconnect the backlight harness connector from the tuner.
-
Disconnect the package tray speaker harness connector from the tuner.
-
Disconnect the body harness connector from the rear of the tuner.
-
Remove the bolts (x2) that
attach the tuner to the body, release the clip, and then remove the tuner
from the body.
CAUTIONBe careful that the fixing clip is prone to falling off.TIpUse of the following tool(s) is recommended:
- 10 mm deep socket
- 4 in extension
- Ratchet/torque wrench
- Cordless Ratchet/Impact Driver
- Clip pry tool
Install
-
Align the tabs (x2) with the
slots in the body, Install the clip, and then install the bolts (x2) that
attach the tuner to the body.
 8 Nm (5.9 lbs-ft)CAUTIONMake sure not to overtighten the nuts as this will cause damage to the tuner's internals.NotePay attention to maintaining a certain distance from the side air curtain during installation to prevent interference.TIpUse of the following tool(s) is recommended:
- 10 mm deep socket
- 4 in extension
- Ratchet/torque wrench
- Cordless Ratchet/Impact Driver
- Clip pry tool
WarningDo not make the connector pinch the tether. -
Connect the package tray speaker harness connector to the tuner.
-
Connect the backlight harness connector to the tuner.
-
Connect the body harness connector to the rear of the tuner.
- Install the RH side rail assembly. See Trim - Side Rail - LH (Remove and Replace).
- Return the 2nd row RH seatback to the vertical position.
- Perform the following routine using Service Mode or Toolbox (see 0005 - Service Modes): TEST_GEN3_TUNERvia Toolbox: (link)
- Exit Service Mode through the touchscreen.