2025-11-06
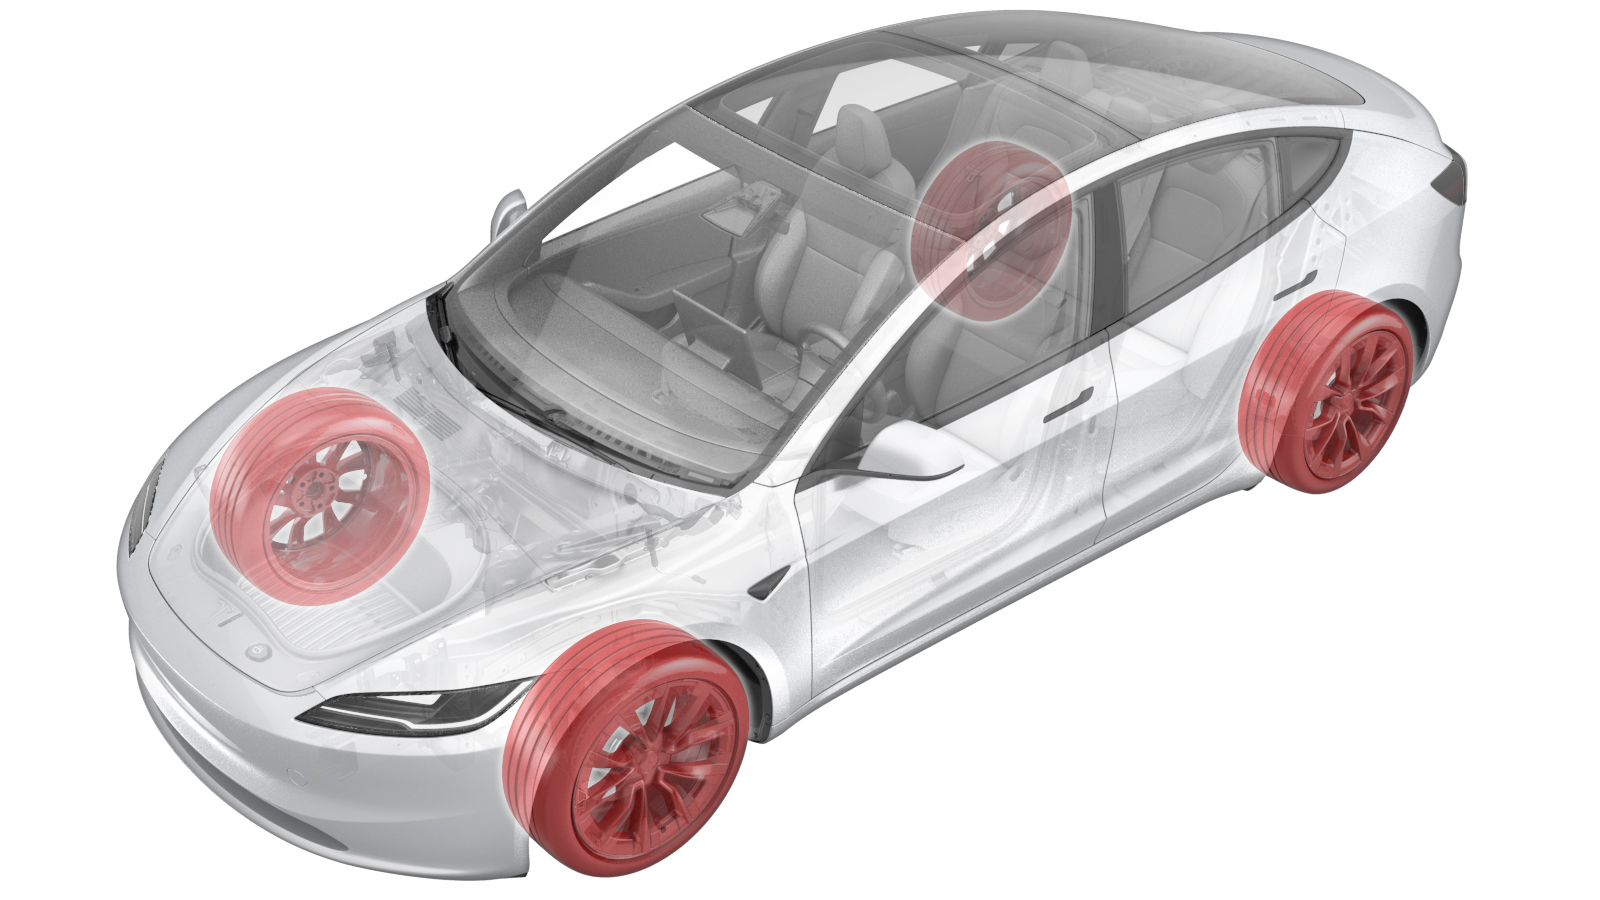
Wheel - Front - LH (Remove and Replace)
 Correction code
34015002
FRT
0.30
0.30
NOTE: Unless otherwise explicitly stated in the procedure, the correction code and FRT listed above reflect all of the work required to perform this procedure, including the linked procedures. Do not stack correction codes unless explicitly told to do so.
NOTE: See Flat Rate Times to learn more about FRTs and how they are created.
NOTE: See Personal Protection to make sure you
are wearing proper PPE when performing the procedure below.
NOTE: See Ergonomic Precautions for safe and healthy working practices.
Correction code
34015002
FRT
0.30
0.30
NOTE: Unless otherwise explicitly stated in the procedure, the correction code and FRT listed above reflect all of the work required to perform this procedure, including the linked procedures. Do not stack correction codes unless explicitly told to do so.
NOTE: See Flat Rate Times to learn more about FRTs and how they are created.
NOTE: See Personal Protection to make sure you
are wearing proper PPE when performing the procedure below.
NOTE: See Ergonomic Precautions for safe and healthy working practices.
- 2025-11-06: Added steps for indirect TPMS calibration.
- 2024-08-29: Added instruction for wheel disposal.
Warning
Always read and understand
the tire equipment operator’s manual and on-screen instructions before operating the wheel
balancer or tire changer.
Warning
Always make sure to
properly secure the wheel and exercise caution around all moving parts and pinch points,
including the indent rollers. Additionally, secure all loose items such as hair, jewelry,
and clothing, so that they will not catch on moving parts.
Warning
Wear appropriate personal
protective equipment (PPE) including cut-resistant gloves and safety glasses when performing
this procedure.
Warning
The machine must be
operated by no more than one person at a time. Other persons must maintain a safe distance
of at least three feet from equipment while in use.
Warning
Never use equipment that
is defective or not working as expected based on the equipment operator’s manual.
Note
These instructions are based on the
Hunter GSP9700 wheel balancer. Some steps might be different for other wheel balancers.
Refer to the operator's manual and on-screen instructions for specific information.
Remove
- Remove the LH front wheel. See Wheel Assembly (Remove and Install).
-
Use a valve core tool to remove the valve core, and allow the tire to
deflate.
WarningThe tire will rapidly deflate. Wear proper PPE, such as safety glasses and gloves.
- Place the wheel on the tire machine, with the front of the wheel facing up.
- Position the center clamp in the wheel.
-
Position the wheel cone on the center clamp and wheel, and then tighten the
cone on the center clamp.
-
Position the upper bead
roller at the edge of the upper rim, and then position the lower bead roller
at the edge of the lower rim.
-
Rotate the wheel to loosen the upper and lower tire beads. Lubricate the
beads as the wheel rotates.
CAUTIONThe TPMS sensor is near the rim. Do not damage the TPMS sensor when loosening the upper bead.
-
Position the tire machine arm at the edge of the rim, and then use a bead
lever to hook the arm on the upper tire bead.
CAUTIONPosition the TPMS sensor ahead of the tire machine arm so that when the wheel rotates, the arm does not damage the TPMS sensor.
-
Rotate the wheel to pull the upper tire bead above the rim. Lubricate the
bead as the wheel rotates.
CAUTIONMake sure the tire machine arm does not contact the TPMS sensor.
-
Lift the tire and repeat the 2 previous steps on the lower tire bead, and
then remove the tire from the wheel.
CAUTIONMake sure the tire machine arm does not contact the TPMS sensor.
-
Remove the nut that attaches the TPMS sensor to the wheel, and then remove
the sensor from the wheel.
- Remove the cone and center clamp from the wheel, and then remove the wheel from the tire machine.
Install
- Position the new wheel on the tire machine, with the front of the wheel facing up.
- Position the center clamp in the wheel.
- Position the wheel cone on the center clamp and wheel, and then tighten the cone on the center clamp.
-
Inspect the TPMS seal and replace the seal if it is damaged.
-
Position the TPMS sensor on
the wheel, and then install the nut that attaches the sensor to the
wheel.
 8 Nm (5.9 lbs-ft)
 - Lubricate both tire beads.
-
Inspect both sides of the tire sidewall to determine proper tire
orientation in relation to the wheel.
NoteLook for an arrow that indicates rotation direction, or words such as "outside" or "side facing outwards".
-
Position the tire on top of the wheel, and then move the tire machine arm
into position to install the lower tire bead.
-
Rotate the wheel to install the lower tire bead.
CAUTIONMake sure the tire machine arm does not contact the TPMS sensor.
- Move the tire machine arm into position to install the upper tire bead.
-
Rotate the wheel to install the upper tire bead.
CAUTIONMake sure the tire machine arm does not contact the TPMS sensor.
-
Carefully inflate the tire to specification. The tire beads will seat
against the wheel.
WarningDo not exceed the air pressure indicated on the tire sidewall.CAUTIONWear proper PPE, such as safety glasses and gloves.
-
Use a valve core tool to install the valve core.
- Remove the cone and center clamp from the wheel, and then remove the wheel from the tire machine.
- Position the wheel on the balancer with the front of the wheel facing outward. If needed, install the proper inner cone adapter on the wheel balancer.
- Press and hold the balancer brake pedal to prevent the wheel from spinning.
-
Secure the wheel to the
balancer by tightening the balancer wing nut.
- Refer to the "Tire and Loading Information" label located on the driver side B-pillar, and record the correct tire pressure, depending on suspension type, tire size, and region.
-
Use a plastic scraper tool
to remove all existing wheel weights. Discard the wheel weights.
NoteThoroughly remove all adhesive residue.
- Input the vehicle and wheel information into the balancer.
-
Attach the air chuck to the
valve stem, then set the correct pressure on the touchscreen. The balancer
automatically adjusts the tire pressure.
NoteUse the tire sticker values displayed on the lower b-pillar.
- Disconnect the air chuck, and then install the valve stem cap on the valve stem.
- Use the balancer to spin the wheel.
-
Install new wheel weight(s)
centered on the red laser line(s) projected by the balancer.
NotePress and hold the balancer brake pedal to keep the wheel from spinning.NoteClean the wheel surface and let dry before installing wheel weight(s).
- Spin the wheel again to confirm that the wheel is balanced.
- Remove the balancer wing nut, and then remove the wheel from the balancer.
- Install the LH front wheel. See Wheel Assembly (Remove and Install).
-
If the vehicle is equipped
with indirect TPMS,
perform the following calibration steps:
Dispose
Note
If the wheel was replaced due to
damage but is still judged to be reusable from a technical point of view, make sure
to properly dispose of the wheel. See Wheel Disposal (Rework) and add correction code
34015007 as a separate activity to the Service visit.