2026-02-27
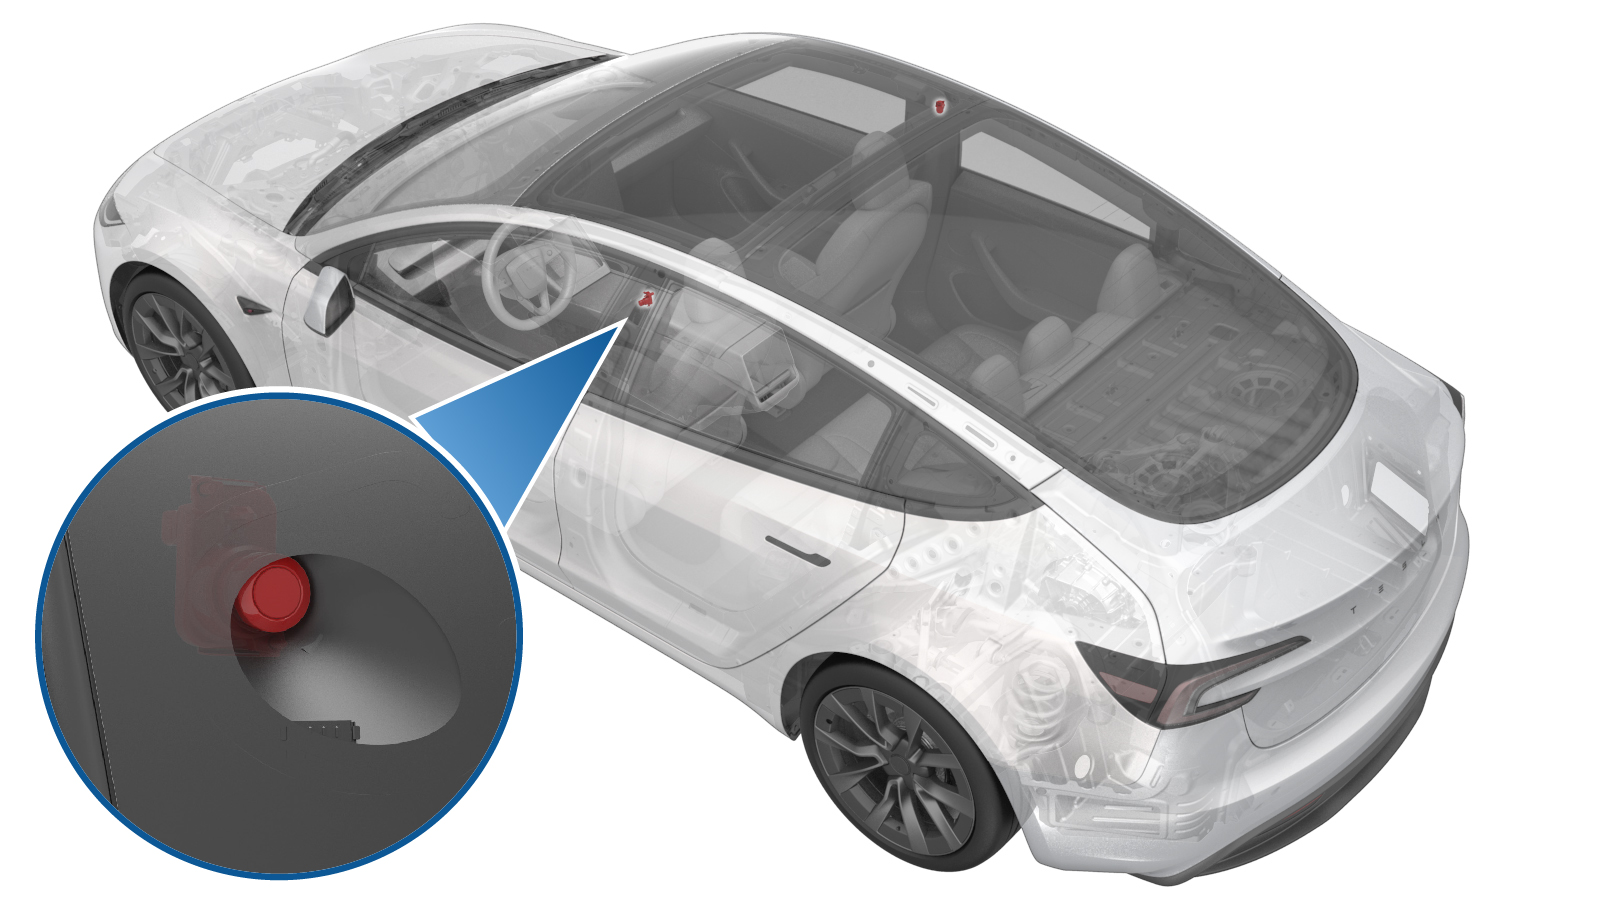
Camera - B-Pillar - LH (Clean) (Maintenance)
 Correction code
1722040045
0.42
NOTE: Unless otherwise explicitly stated in the procedure, the correction code and FRT listed above reflect all of the work required to perform this procedure, including the linked procedures. Do not stack correction codes unless explicitly told to do so.
NOTE: See Flat Rate Times to learn more about FRTs and how they are created.
NOTE: See Personal Protection to make sure you
are wearing proper PPE when performing the procedure below.
NOTE: See Ergonomic Precautions for safe and healthy working practices.
Correction code
1722040045
0.42
NOTE: Unless otherwise explicitly stated in the procedure, the correction code and FRT listed above reflect all of the work required to perform this procedure, including the linked procedures. Do not stack correction codes unless explicitly told to do so.
NOTE: See Flat Rate Times to learn more about FRTs and how they are created.
NOTE: See Personal Protection to make sure you
are wearing proper PPE when performing the procedure below.
NOTE: See Ergonomic Precautions for safe and healthy working practices.
- 2026-01-15: Released new procedure.
Special tools required for this procedure:
- 1083742-01-A CLEANER, GLASS SPRAY, FORCH, 400ML
- 2249444-00-A Zeiss Pre-moistened Clean Wipes
- 265663-00-A Cleanroom Wipes - Liso
- 100294- 00-A Tramado Wipes
- 1133681-01-A Microfiber cloth (x2)
- 2279425-00-A Adjustable Focus Torch
Procedure
-
Clean the outside surface of
the LH B-pillar applique.
NoteUse Zep windshield cleaner and use two microfiber cloths. Apply Zep windshield cleaner onto one microfiber towel, and then clean the outside surface. While the surface is still wet, wipe B-pillar applique with a 2nd microfiber towel thoroughly until its dry. Wipe in circular motion. Make sure that the B-pillar applique has no stains or residue.
-
Inspect the outside surface
of the LH B-pillar applique
NotePerforming the inspection indoors or in a shaded area when performed outdoors. Make sure that the vehicle is at a non-humid environment and cabin or body temperature matches the room temperature. Use the LED flash light to illuminate the applique around the camera area. Inspect and make sure that the entire area is free of any hazing, fogginess, stains and residue. If not confident about the presence of haze, smudges or residue, then proceed to remove components to inspect the inside surface.TIp
- Repeat the above steps for the RH B-pillar camera applique.
- Remove the LH B-pillar camera. See Camera - B-Pillar - LH (Remove and Replace).
-
Clean the B-pillar applique inner surface.
Put the B-pillar applique on a soft surface to prevent scratches on the front of the applique. 1st: Use Zeiss lens wipes to wipe area thoroughly. Use a touch-up stick to help clean the crevices between the glass and the trim. 2nd: Use Cleanroom (dry) wipes or tramado wipes to wipe off the area thoroughly. Use a touch-up stick to help clean the crevices between the glass and the trim. Prevent the glass from streaking. 3rd: Inspect that the B-pillar applique area is clean using a flashlight. Clean with cleanroom (dry) wipe or tramado wipe to wipe as needed until no streaking or residuals are remaining.
- Install the LH B-pillar camera onto the applique. See Camera - B-Pillar - LH (Remove and Replace).
- Install the LH B-pillar applique. See Applique - B-Pillar - LH (Remove and Replace).
- Enable Service Mode. See Service Mode.
-
Preview the LH B-pillar
camera and assess its visual clarity. On the touchscreen, touch .
NoteUse to view the image of the RH B-pillar camera.NoteMake sure that there is no residue or dirt visible across the camera lens. If the image is blurry and visuals are impeded, then proceed with cleaning of the B-pillar camera lens. If images are clear and free of any dirt, then proceed with this procedure without cleaning the lens: go to step 14.
- Remove the LH B-pillar camera. See Camera - B-Pillar - LH (Remove and Replace).
-
Clean the B-pillar camera
lens.
NoteClean the camera lens with Zeiss wipes and wipe dry them with dry Tramado wipes.
- Install the LH B-pillar camera. See Camera - B-Pillar - LH (Remove and Replace).
- Install the LH B-pillar applique. See Applique - B-Pillar - LH (Remove and Replace).
- Unlock the Vehicle Gateway. See Gateway Unlock.
- Clear camera calibration through the touchscreen. Touch , and then touch Run.
- Exit Service Mode. See Service Mode.