LV Maintainer (Connect and Disconnect) (Maintenance)
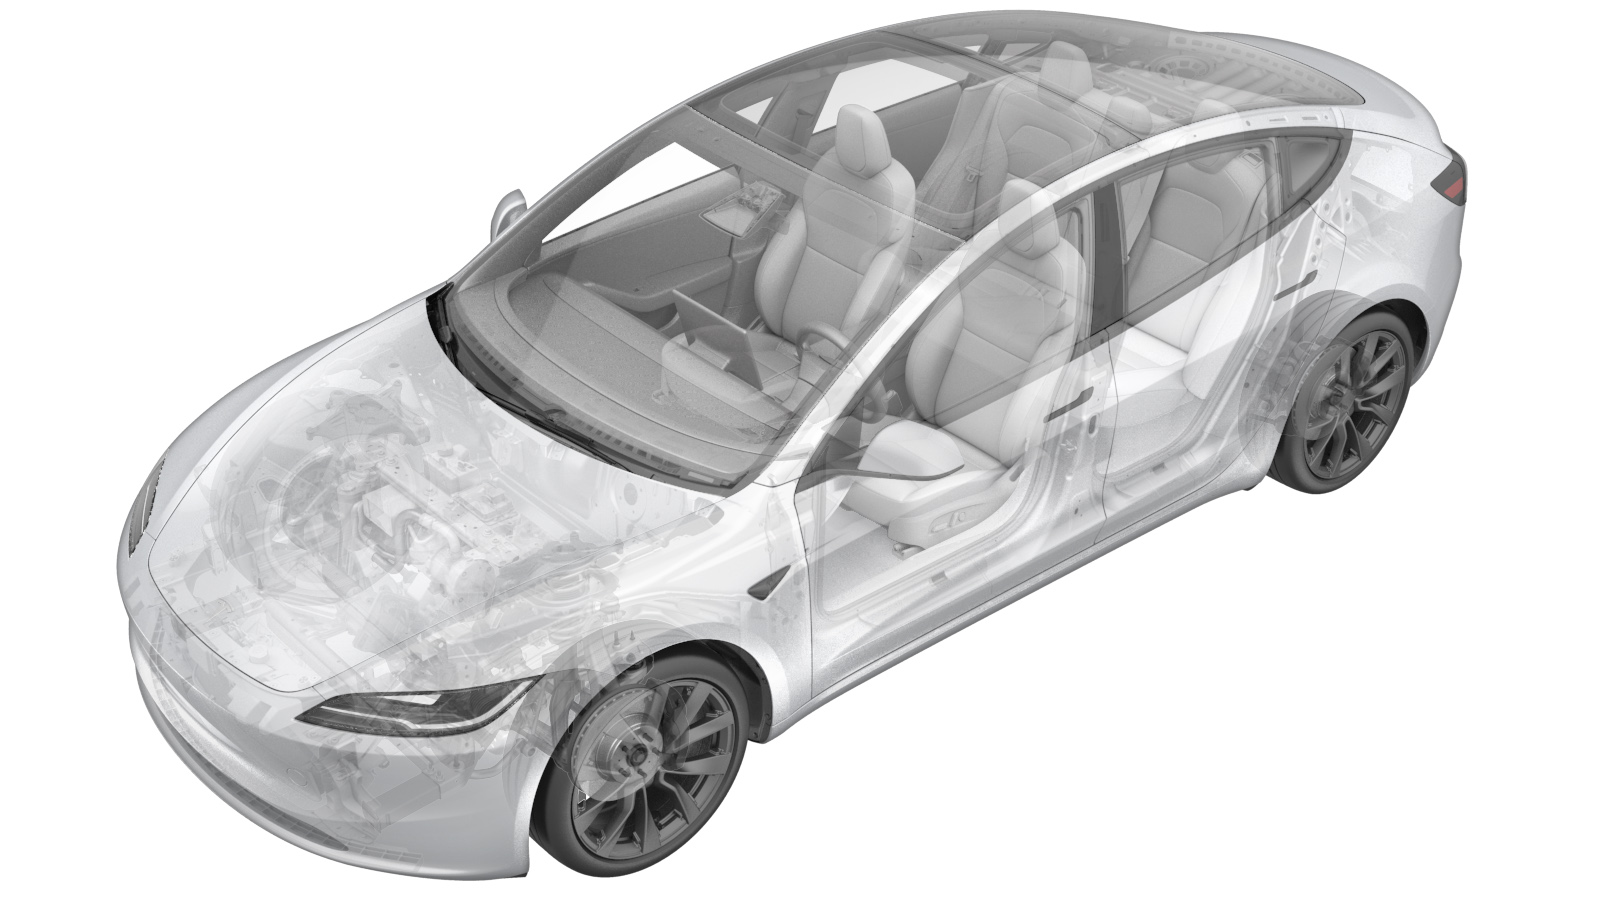 Correction code
17010500
FRT
0.06
NOTE: Unless
otherwise explicitly stated in the procedure, the correction code and its
associated FRT reflect all of the work required to perform this procedure,
including the linked procedures. Do not stack correction
codes unless explicitly told to do so.
NOTE: See Flat Rate Times to
learn more about FRTs and how they are created.
NOTE: See Personal Protection to make
sure you are wearing proper PPE when performing the procedure below.
NOTE: See Ergonomic Precautions for safe and healthy
working practices.
Correction code
17010500
FRT
0.06
NOTE: Unless
otherwise explicitly stated in the procedure, the correction code and its
associated FRT reflect all of the work required to perform this procedure,
including the linked procedures. Do not stack correction
codes unless explicitly told to do so.
NOTE: See Flat Rate Times to
learn more about FRTs and how they are created.
NOTE: See Personal Protection to make
sure you are wearing proper PPE when performing the procedure below.
NOTE: See Ergonomic Precautions for safe and healthy
working practices.
- 2026-06-02: Deleted steps to disconnect/connect the LV battery connector and added step to check the LV battery SOC value.
- 2025-12-05: Added a caution to make sure windows are not moved for at least 1 minute before disconnecting the LV maintainer.
Connect
- On the touchscreen, select the badge icon in Controls > Software for four seconds, and then type "service" into the dialog box to place the vehicle in service mode.
-
Release the positive terminal
cover.
-
Attach the LV maintainer positive
terminal to the jump post.
CAUTIONTo avoid damaging the vehicle, DO NOT allow the positive cable to make contact with other metal components.
-
Attach the LV maintainer negative
terminal to the VCFRONT bracket bolt (as indicated on the VCFRONT label).
-
Connect the LV maintainer to a power
supply, and then power on.
CAUTIONNever have a LV maintainer and the LV battery simultaneously connected for any extended period of time.
Disconnect
-
Check the SOC of the LV battery through the touchscreen.
Touch and make sure that the State of Charge (SOC) of the LV battery is above 73%.
- Power off the LV maintainer.
-
Release the negative terminal
connection from the vehicle first, and then release the positive terminal.
-
Install the positive terminal
cover.