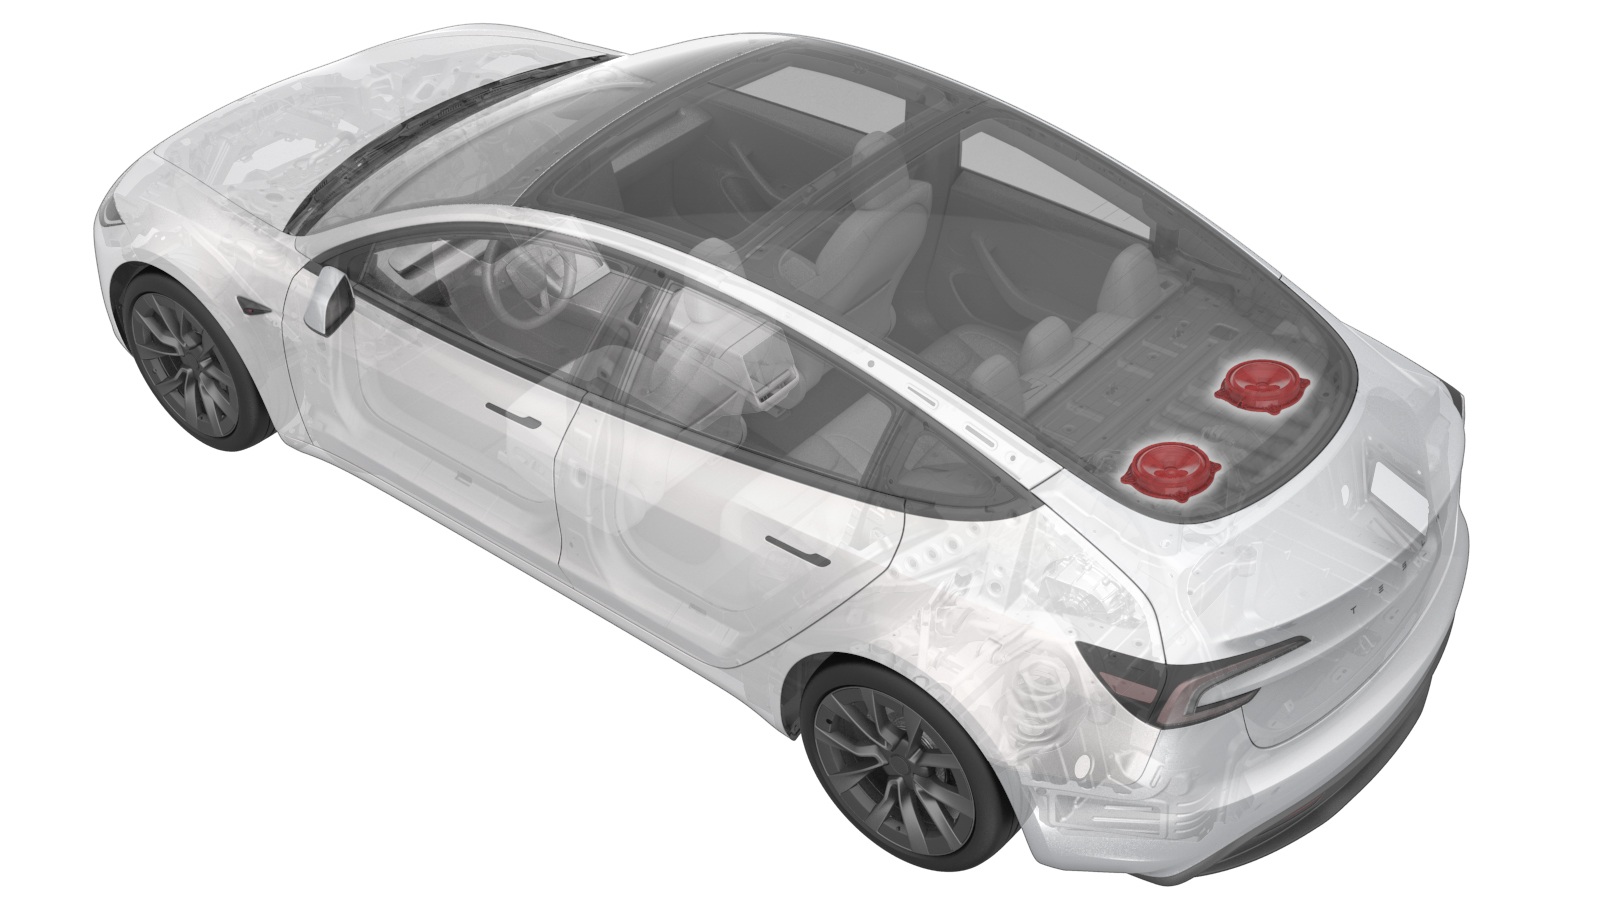
Woofer - Parcel Shelf (Remove and Replace)
 Correction code
2121010012
FRT
0.42
NOTE: Unless
otherwise explicitly stated in the procedure, the above correction code and
FRT reflect all of the work required to perform this procedure, including
the linked procedures. Do
not stack correction codes unless explicitly told to do so.
NOTE: See Flat Rate
Times to learn more about FRTs and how
they are created. To provide feedback on FRT values, email ServiceManualFeedback@tesla.com.
NOTE: See Personal Protection
to make sure wearing proper PPE when performing the below procedure.
NOTE: See Ergonomic Precautions for safe and
healthy working practices.
| Description | Torque Value | Recommended Tools | Reuse/Replace | Notes |
|---|---|---|---|---|
| Bolts (x4) that secure the LH woofer |
 4 Nm (2.9 lbs-ft) |
|
Reuse |
Remove
- Open all doors and lower all windows.
- Move the LH and RH front seats forward.
-
Release the clips (x4),
locations (x2) and tether hooks (x2) that secure the LH side rail assembly,
and then remove the assembly from the vehicle.
NotePull the upper corner of the side rail, then work your way to bottom. Pull the lower side rail toward RH to release the clips. Release the tethers from the bolted bungee tether.
-
Use a small flat head screwdriver to remove and discard the tether hooks
(x2) from the LH body.
- Remove the LH side bolster. See Bolster - Side - Seat - 2nd Row - LH (Remove and Replace).
-
Release clips (x3) and tabs
(x3) to release the LH C-pillar assembly, then set the trim aside.
NotePull the rear C-pillar trim inward then forward to remove.
- Repeat step 3 to 6 for the RH side.
-
Remove the package tray harness clips (x2) around the C-pillar area.
-
Disconnect the package tray harness connector from the RH body
harness.
-
Release tabs (x5), then remove the package tray.
Note3 tabs are at the rear of the panel and 2 are on the sides. Slide towards the front of the vehicle to remove.
-
Disconnect the electrical connector from the LH woofer.
-
Remove the bolts (x4) that secure the LH woofer, and then remove the woofer
from the vehicle.
TIpUse of the following tool(s) is recommended:
- 10 mm socket
- Cordless Ratchet/Impact Driver
- Ratchet/torque wrench
Install
-
Install the bolts (x4) that secure the LH woofer.
 4 Nm (2.9 lbs-ft)NoteEnsure that the two locating pins are inserted into the holes.TIpUse of the following tool(s) is recommended:
- 10 mm socket
- Cordless Ratchet/Impact Driver
- Ratchet/torque wrench
-
Connect the electrical connector to the LH woofer.
-
Secure the tabs (x5) to install the package tray.
Note3 tabs are at the rear of panel and 2 are on the sides. Slide towards the rear of the vehicle to install.
-
Connect the package tray harness connector to the RH body harness.
-
Install the package tray harness clips (x2) around the C-pillar area.
-
Secure the clips (x3) and
tabs (x3) to install the LH C-pillar assembly.
NoteSlide the back tabs into the package tray, and then align the clips.
- Install the LH side bolster. See Bolster - Side - Seat - 2nd Row - LH (Remove and Replace).
-
Install new tether hooks
(x2) (1771862-00-A) to the LH side rail assembly.
-
Install the clips (x4),
locations (x2) and tether hooks (x2) that secure the LH side rail assembly,
and then remove the assembly from the vehicle.
NoteAlign the clips from bottom to top, then press the clips from top to bottom. Align the seal to sit on the top of the trim.
- Return the 2nd row 60 seatback to vertical position.
- Repeat step 6 to 10 for the RH side.
- Move the LH and RH front seats to original position.
- Raise all windows and close all doors.