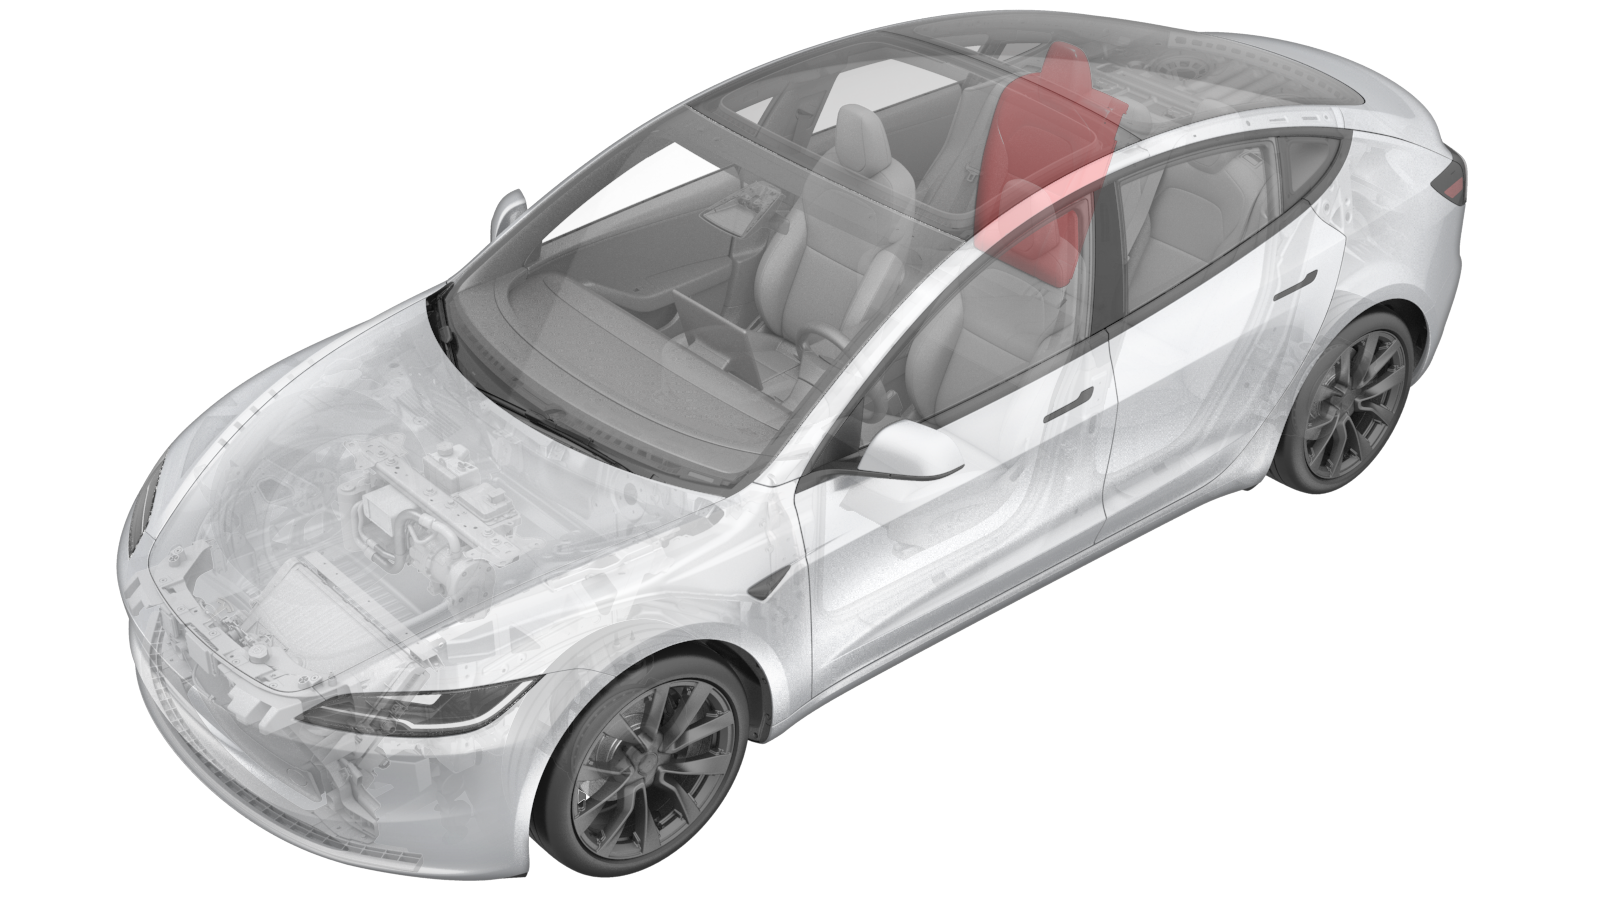
Trim - Seat Back - 2nd Row - RH (Remove and Replace)
 Correction code
1308010062
FRT
0.48
NOTE: Unless
otherwise explicitly stated in the procedure, the above correction code and
FRT reflect all of the work required to perform this procedure, including
the linked procedures. Do
not stack correction codes unless explicitly told to do so.
NOTE: See Flat Rate
Times to learn more about FRTs and how
they are created. To provide feedback on FRT values, email ServiceManualFeedback@tesla.com.
NOTE: See Personal Protection
to make sure wearing proper PPE when performing the below procedure.
NOTE: See Ergonomic Precautions for safe and
healthy working practices.
- 1501599-00-A, Pliers, Hog Ring
Remove
- Remove the RH 2nd row seat side bolster. See Bolster - Side - Seat - 2nd Row - LH (Remove and Replace).
- Remove the 2nd row lower seat cushion. See Seat Cushion - 2nd Row (Remove and Replace).
- Remove the RH 2nd row seat back. See Seatback - 2nd Row - RH (Remove and Replace).
- Remove the RH 2nd row seat back hinge bracket. See Bracket - Hinge - Seat Back - 2nd Row (Remove and Replace).
-
Remove the RH 2nd row
escutcheon. See Escutcheon - Seat Belt - Center (Remove and Replace).
NoteThere are 2 clips in the RH 2nd row escutcheon.
- Remove the RH 2nd row seat back latch release bezel. See Bezel - Handle - Seat Back - 2nd Row - RH (Remove and Replace).
-
Unzip the RH 2nd row seat
back upholstery cover.
-
Put the electrical harness
through the RH 2nd row seat back upholstery cover.
-
Release the lower portion of
the RH 2nd row seat back upholstery cover from the pivot bar.
-
Gently separate the RH seat
back upholstery cover from the foam starting from the bottom of the
cover.
NoteMake sure the Velcro does not damage the foam pad.WarningThe video(s) included in this procedure are meant as an overview for supplemental purposes only. Follow all of the steps listed in the procedure to avoid damage to components and/or personal injury.
-
Use diagonal cutters to cut
the hog rings (x3) at the center of the seat back, and then release the
cover from the hog rings.
NotePush down on the foam to allow access to the rings.NoteRemove any excess hog ring pieces.
-
Gently release the remaining
Velcro that attach the RH 2nd row seat back upholstery cover to the foam
pad.
NoteMake sure the Velcro does not damage the foam pad.
-
Remove the RH 2nd row cover
from the foam pad.
NoteCarefully clear seat release bezel.
Install
-
Starting from the RH 2nd row
headrest, install the RH 2nd row seat back upholstery cover.
NoteMassage the Velcro while working downward toward the center of the seat back.
-
Use hog ring pliers to
crimp new hog rings (1566544-00-A x3) to the RH 2nd row seat back upholstery
trim cover at the center of the seat back.
NotePlace the hog ring into the hog ring pliers prior to installation.NotePush down on the foam to allow access to the rings.
-
Attach the remaining portion
of the RH 2nd row seat back upholstery cover to the seat back.
NoteMassage the Velcro while working downward toward the bottom of the seat back.
-
Install the lower portion of
the RH seat back upholstery cover to the pivot bar.
-
Put the electrical harness
through the RH seat back upholstery cover.
-
Zip the RH 2nd row seat back cover.
- Install the RH 2nd row seat back latch release bezel. See Bezel - Handle - Seat Back - 2nd Row - RH (Remove and Replace).
-
Install the RH 2nd row escutcheon. See Escutcheon - Seat Belt - Center (Remove and Replace).
NoteThere are 2 clips in the RH 2nd row escutcheon.
- Install the RH 2nd row seat back hinge bracket. See Bracket - Hinge - Seat Back - 2nd Row (Remove and Replace).
- Install the RH 2nd row seat back. See Seatback - 2nd Row - RH (Remove and Replace).
- Install the 2nd row lower seat cushion. See Seat Cushion - 2nd Row (Remove and Replace).
- Install the RH 2nd row seat side bolster. See Bolster - Side - Seat - 2nd Row - LH (Remove and Replace).