2026-02-27
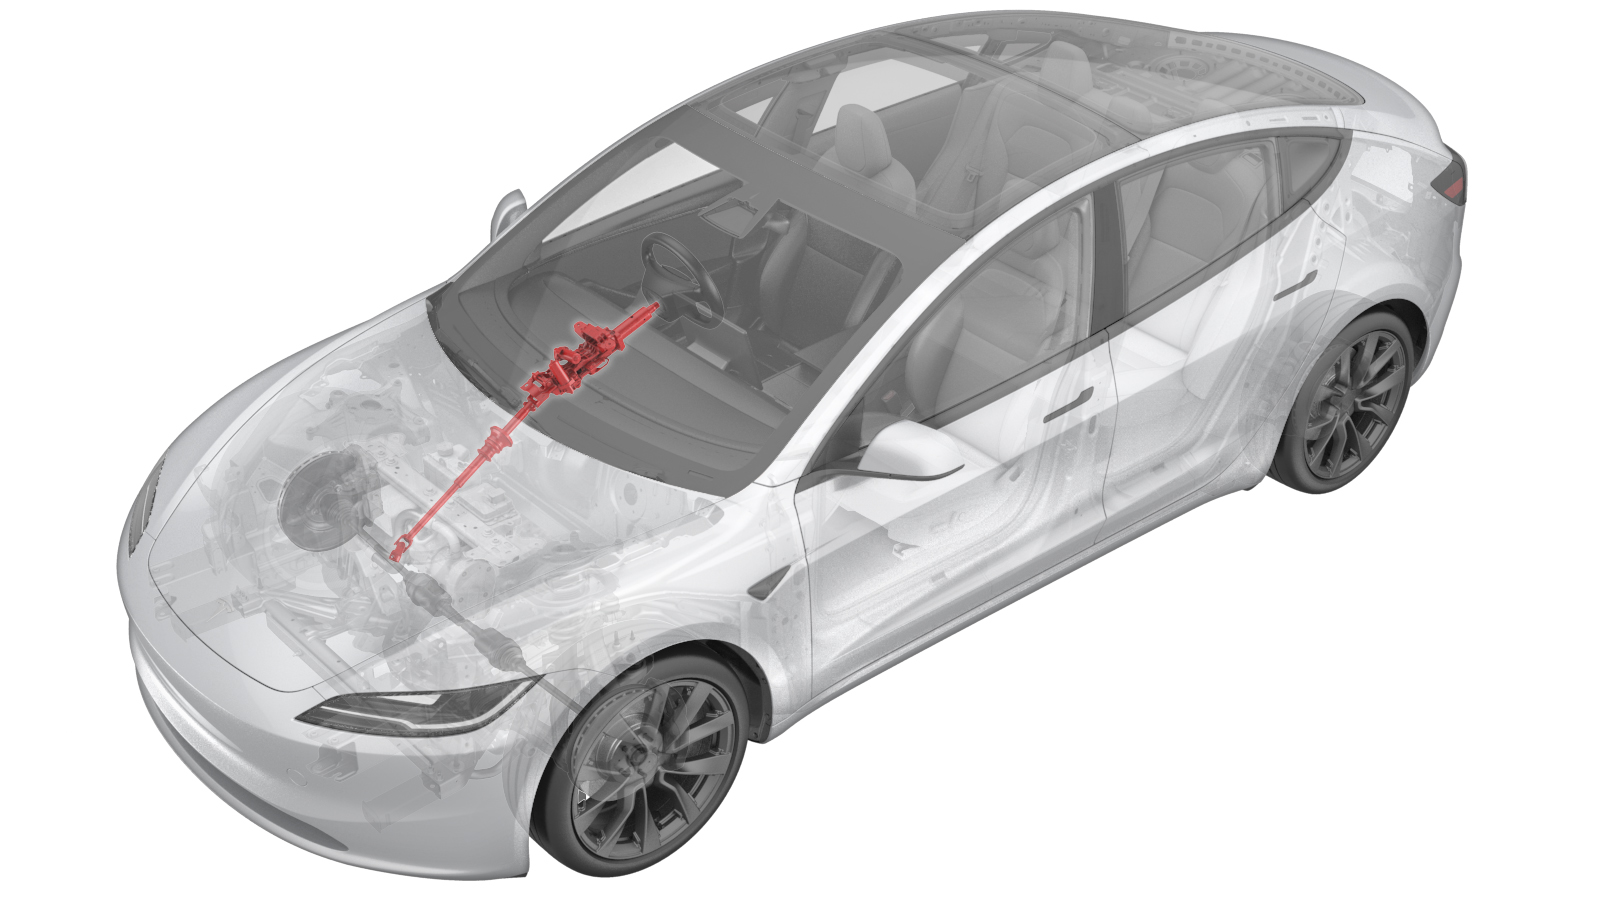
Steering Column (RHD) (Remove and Replace)
 Correction code
3205011112
1.68
NOTE: Unless otherwise explicitly stated in the procedure, the correction code and FRT listed above reflect all of the work required to perform this procedure, including the linked procedures. Do not stack correction codes unless explicitly told to do so.
NOTE: See Flat Rate Times to learn more about FRTs and how they are created.
NOTE: See Personal Protection to make sure you
are wearing proper PPE when performing the procedure below.
NOTE: See Ergonomic Precautions for safe and healthy working practices.
Correction code
3205011112
1.68
NOTE: Unless otherwise explicitly stated in the procedure, the correction code and FRT listed above reflect all of the work required to perform this procedure, including the linked procedures. Do not stack correction codes unless explicitly told to do so.
NOTE: See Flat Rate Times to learn more about FRTs and how they are created.
NOTE: See Personal Protection to make sure you
are wearing proper PPE when performing the procedure below.
NOTE: See Ergonomic Precautions for safe and healthy working practices.
Torque Specifications
- 2024-12-02: Updated steering column configuration and calibration steps.
| Description | Torque Value | Recommended Tools | Reuse/Replace | Notes |
|---|---|---|---|---|
| Bolt that attaches the steering gear assembly to the electric steering column |
 18 Nm (13.3 lbs-ft) |
|
Reuse | |
| Nuts (x4) that attach the steering column to the cross car beam |
15 Nm (11.1 lbs-ft) |
|
Reuse |
Remove
- Remove the rear underhood apron. See Underhood Apron - Rear (Remove and Replace).
- Disconnect LV power. See LV Power (Disconnect and Connect).
- Remove the cabin intake duct. See Assembly - Fresh Air Gutter - HVAC (Remove and Replace).
- Remove the underhood storage unit. See Underhood Storage Unit (Remove and Replace).
- Remove the LH and RH IP end caps. See End Cap - Instrument Panel - LH (Remove and Replace).
- Remove the LH and RH upper A-pillar trims. See Trim - A-Pillar - Upper - LH (Remove and Replace).
- Remove the driver footwell cover. See Cover - Footwell - Driver (RHD) (Remove and Replace).
- Remove the driver footwell duct. See Duct - Footwell - RH (RHD) (Remove and Replace).
- Remove the passenger footwell cover. See Cover - Footwell - Front Passenger (RHD) (Remove and Replace).
- Remove the glove box. See Glove Box (RHD) (Remove and Replace).
- Remove the passenger footwell duct. See Duct - Footwell - RH (RHD) (Remove and Replace).
- Remove the LH air wave duct. See Duct - Air Wave - LH (RHD) (Remove and Replace).
- Remove the driver footwell cover. See Cover - Footwell - Driver (Remove and Replace).
- Remove the lower instrument panel. See Assembly - Instrument Panel - Lower (Remove and Replace).
- Remove the driver airbag. See Airbag - Driver (Remove and Replace).
- Remove the steering wheel. See Steering Wheel (Remove and Replace).
- Remove the steering wheel upper shroud. See Shroud - Upper - Steering Column (Remove and Replace).
- Remove the steering wheel lower shroud. See Shroud - Lower - Steering Column (Remove and Replace).
- Remove the steering column control module. See Module - Steering Column Control (Remove and Replace).
- Remove the IP service panel. See Service Panel - Instrument Panel (Remove and Replace).
- Remove the touchscreen. See Touchscreen - Front (Remove and Replace)
- Remove the IP speaker grille. See Speaker Grille - Instrument Panel (Remove and Replace).
- Remove the LH and RH dash speakers. See Speaker - Dash - LH (Remove and Replace).
- Remove the center dash speaker. See Speaker - Dash - Center (Remove and Replace).
- Remove the IP carrier. See IP Carrier (Remove and Replace).
- Remove the steering wheel lower gap hider. See Gap Hider - Steering Column - Lower (Remove and Replace).
- Remove the steering wheel upper gap hider. See Gap Hider - Steering Column - Upper (Remove and Replace).
- Remove the RH air wave duct. See .
-
Disconnect the IP harness electrical connector from the steering
column.
-
Release the steering column boot from
the bulkhead, and then push the upper portion of the boot into the cabin.
-
Remove the bolt that attaches the
steering gear assembly to the electric steering column.
TIpUse of the following tool(s) is recommended:
- 13 mm socket
- Ratchet/torque wrench
-
Slide the steering column
intermediate shaft upwards and off of the steering gear input shaft.
-
Remove the nuts (x4) that
attach the steering column to the cross car beam.
TIpUse of the following tool(s) is recommended:
- 13 mm socket
-
Remove the steering column from the vehicle.
Install
- Place the steering column into position for installation.
-
Install the nuts (x4) that attach the
steering column to the cross car beam.
TIpUse of the following tool(s) is recommended:
- 13 mm socket
-
With assistance, slide the steering
column intermediate shaft downward and on the steering gear input shaft, making sure the
shaft is aligned and fully seated.
-
Install the bolt that attaches the
steering gear assembly to the electric steering column.18 Nm (13.3 lbs-ft)TIpUse of the following tool(s) is recommended:
- 13 mm socket
- Ratchet/torque wrench
-
Install the steering column boot on
the bulkhead, as shown.
-
Connect the IP harness electrical
connector to the steering column.
- Install the RH air wave duct. See .
- Install the steering wheel upper gap hider. See Gap Hider - Steering Column - Upper (Remove and Replace).
- Install the steering wheel lower gap hider. See Gap Hider - Steering Column - Lower (Remove and Replace).
- Install the IP carrier. See IP Carrier (Remove and Replace).
- Install the LH and RH dash speakers. See Speaker - Dash - LH (Remove and Replace).
- Install the center dash speaker. See Speaker - Dash - Center (Remove and Replace).
- Install the IP speaker grille. See Speaker Grille - Instrument Panel (Remove and Replace).
- Install the touchscreen. See Touchscreen - Front (Remove and Replace)
- Install the IP service panel. See Service Panel - Instrument Panel (Remove and Replace).
- Install the steering column control module. See Module - Steering Column Control (Remove and Replace).
- Install the steering wheel lower shroud. See Shroud - Lower - Steering Column (Remove and Replace).
- Install the steering wheel upper shroud. See Shroud - Upper - Steering Column (Remove and Replace).
- Install the steering wheel. See Steering Wheel (Remove and Replace).
- Install the driver airbag. See Airbag - Driver (Remove and Replace).
- Install the lower instrument panel. See Assembly - Instrument Panel - Lower (Remove and Replace).
- Install the LH air wave duct. See Duct - Air Wave - LH (RHD) (Remove and Replace).
- Install the passenger footwell duct. See Duct - Footwell - RH (RHD) (Remove and Replace).
- Install the glove box. See Glove Box (RHD) (Remove and Replace).
- Install the passenger footwell cover. See Cover - Footwell - Front Passenger (RHD) (Remove and Replace).
- Install the driver footwell duct. See Duct - Footwell - RH (RHD) (Remove and Replace).
- Install the driver footwell cover. See Cover - Footwell - Driver (RHD) (Remove and Replace).
- Install the LH and RH upper A-pillar trims. See Trim - A-Pillar - Upper - LH (Remove and Replace).
- Install the LH and RH IP end caps. See End Cap - Instrument Panel - LH (Remove and Replace).
- Connect LV power. See LV Power (Disconnect and Connect).
- Install the underhood storage unit. See Underhood Storage Unit (Remove and Replace).
- Put the vehicle into Service Mode Plus. See Service Mode Plus.
- Unlock the Vehicle Gateway. See Gateway Unlock.
-
Use the replacement steering column
part number recorded earlier and this table to determine the type of steering column
installed and configuration value to be chosen.
Part Number Drive Build Location Configuration Value 1344811 LHD Fremont "BOSCH_COMMON_TO_JE" 1344813 LHD Giga Shanghai "JE" 1344817 RHD Giga Shanghai "NEXTEER" - In Service Mode Plus, navigate the , and choose the correct configuration value as shown in the table in the prvious step.
- Perform the following routine using Service Mode or Toolbox (see 0005 - Service Modes): PROC_STEERING_COLUMN_CALIBRATIONvia Service Mode:Chassis ➜ Steering ➜ Calibrate Steering Columnvia Toolbox:(link)
- Install the cabin intake duct. See Assembly - Fresh Air Gutter - HVAC (Remove and Replace).
- Install the rear underhood apron. See Underhood Apron - Rear (Remove and Replace).