2023-12-11
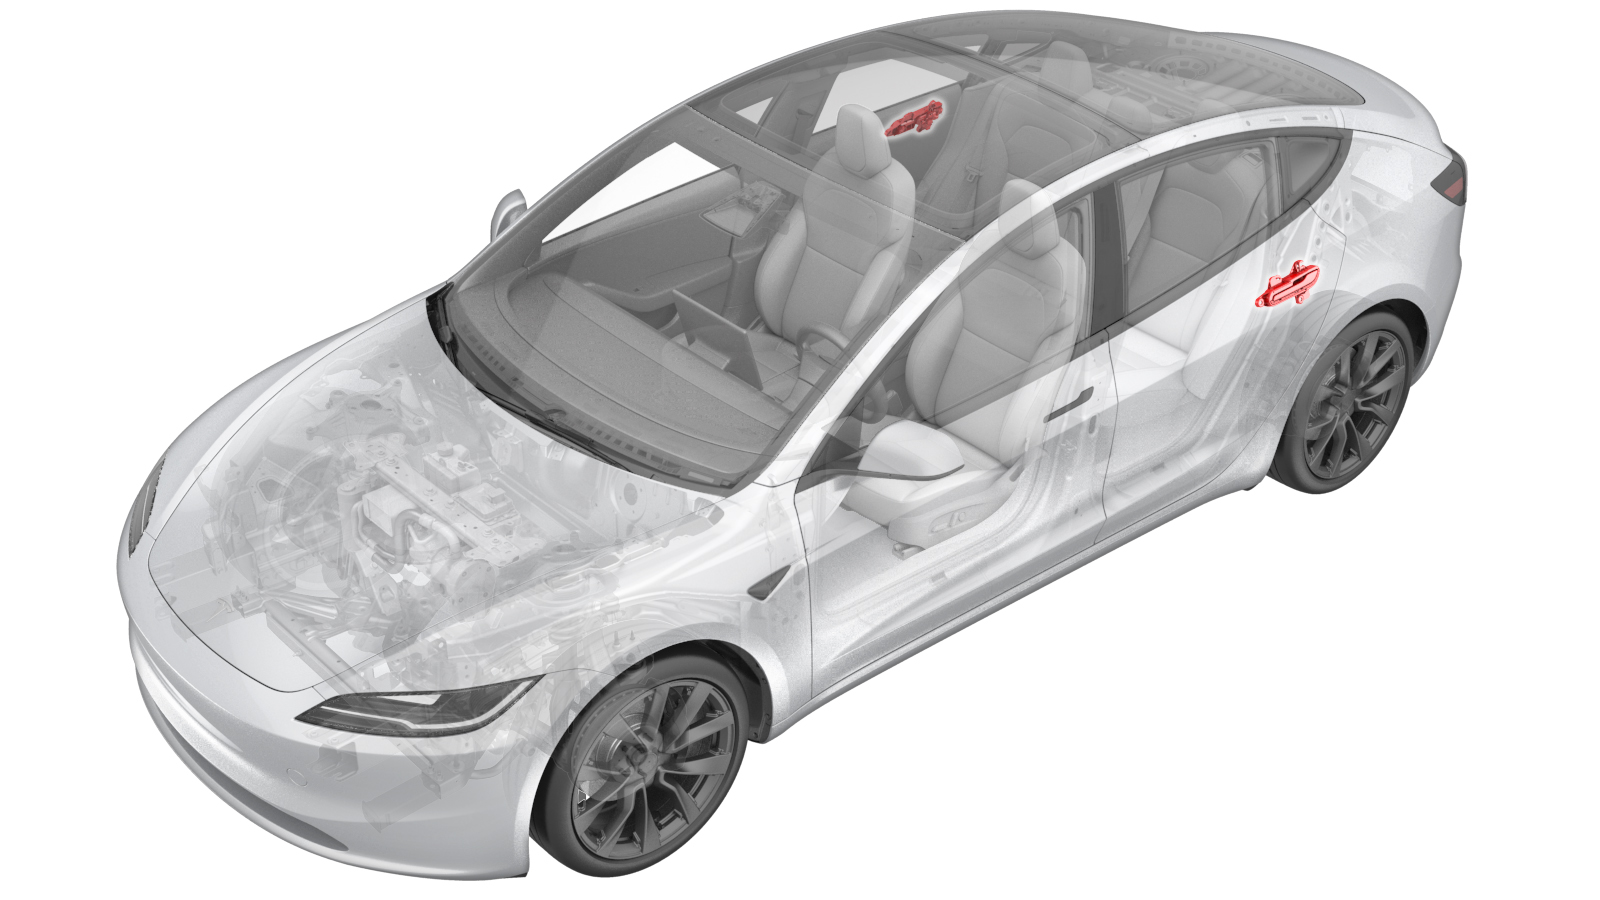
Handle - Exterior Release - Door - Rear - LH (Remove and Replace)
 Correction code
1145010132
FRT
0.60
NOTE: Unless otherwise explicitly stated in the procedure, the above correction code and FRT reflect all of the work required to perform this procedure, including the linked procedures. Do not stack correction codes unless explicitly told to do so.
NOTE: See Flat Rate Times to learn more about FRTs and how they are created. To provide feedback on FRT values, email ServiceManualFeedback@tesla.com.
NOTE: See Personal Protection to make sure wearing proper PPE when performing the below procedure.
NOTE: See Ergonomic Precautions for safe and healthy working practices.
Warning
The side impact airbag
deployment depends on the rear door sensor's ability to detect a side impact from air
pressure. Make sure that there are no uncovered holes in the rear door shells. Additionally,
always reinstall plugs or tape when servicing or inspecting the rear doors and their
components.
Torque Specifications
| Description | Torque Value | Recommended Tools | Reuse/Replace | Notes |
|---|---|---|---|---|
| Nuts (x3) that attach the exterior door handle to the door panel |
 7 Nm (5.2 lbs-ft) |
|
Reuse |
Remove
- Open the LH front door and lower the LH front window.
- Remove the rear underhood apron. See Underhood Apron - Rear (Remove and Replace).
- Remove the LH rear door puddle light. See Puddle Lamp - Rear Door (Remove and Replace).
- Remove the LH rear door trim panel. See Panel - Door Trim - Rear - LH (Remove and Replace).
-
Remove the clip retainers (x3) from the LH rear door.
NoteThe number of retainers may vary, and replace any damaged retainers.
- Remove the LH rear door glass. See Glass - Door - Rear - LH (Remove and Replace).
- Disconnect LV power. See LV Power (Disconnect and Connect).
- Remove the LH rear window motor regulator assembly. See Window Motor / Regulator Assembly - Rear - LH (Remove and Replace).
-
Disconnect the electrical connector
from the LH rear door handle sensor.
-
Remove the plugs (x3) that cover access to the LH rear door exterior release handle
nuts.
-
Remove the nuts (x3) that attach the
exterior door handle to the door panel, and then remove the handle from the door.
TIpUse of the following tool(s) is recommended:
- Cordless Ratchet/Impact Driver
- 4 in extension
- 10 mm socket
- Ratchet/torque wrench
Install
-
Hand tighten the nuts (x3) that attach
the exterior door handle to the door panel.
- Use the gap and flush tool to check the gap and flush of the handle to the door surface.
-
Torque the nuts (x3) that attach the
exterior door handle to the door panel.
 7 Nm (5.2 lbs-ft)TIpUse of the following tool(s) is recommended:
- Cordless Ratchet/Impact Driver
- 4 in extension
- 10 mm socket
- Ratchet/torque wrench
-
Connect the electrical connector to
the LH rear door handle sensor.
-
Install the plugs (x3) that cover
access to the LH rear door exterior release handle nuts.
- Install the LH rear window motor regulator assembly. See Window Motor / Regulator Assembly - Rear - LH (Remove and Replace).
- Connect LV power. See LV Power (Disconnect and Connect).
- Install the rear underhood apron. See Underhood Apron - Rear (Remove and Replace).
- Install the LH rear door glass. See Glass - Door - Front - LH (Remove and Replace).
- Install the LH rear door puddle light. See Puddle Lamp - Rear Door (Remove and Replace).
- Install the LH rear door trim panel. See Panel - Door Trim - Rear - LH (Remove and Replace).
- Calibrate the LH rear window regulator. See Window Regulator (Recalibrate) (Maintenance).
- Raise the LH front window and close the LH front door.