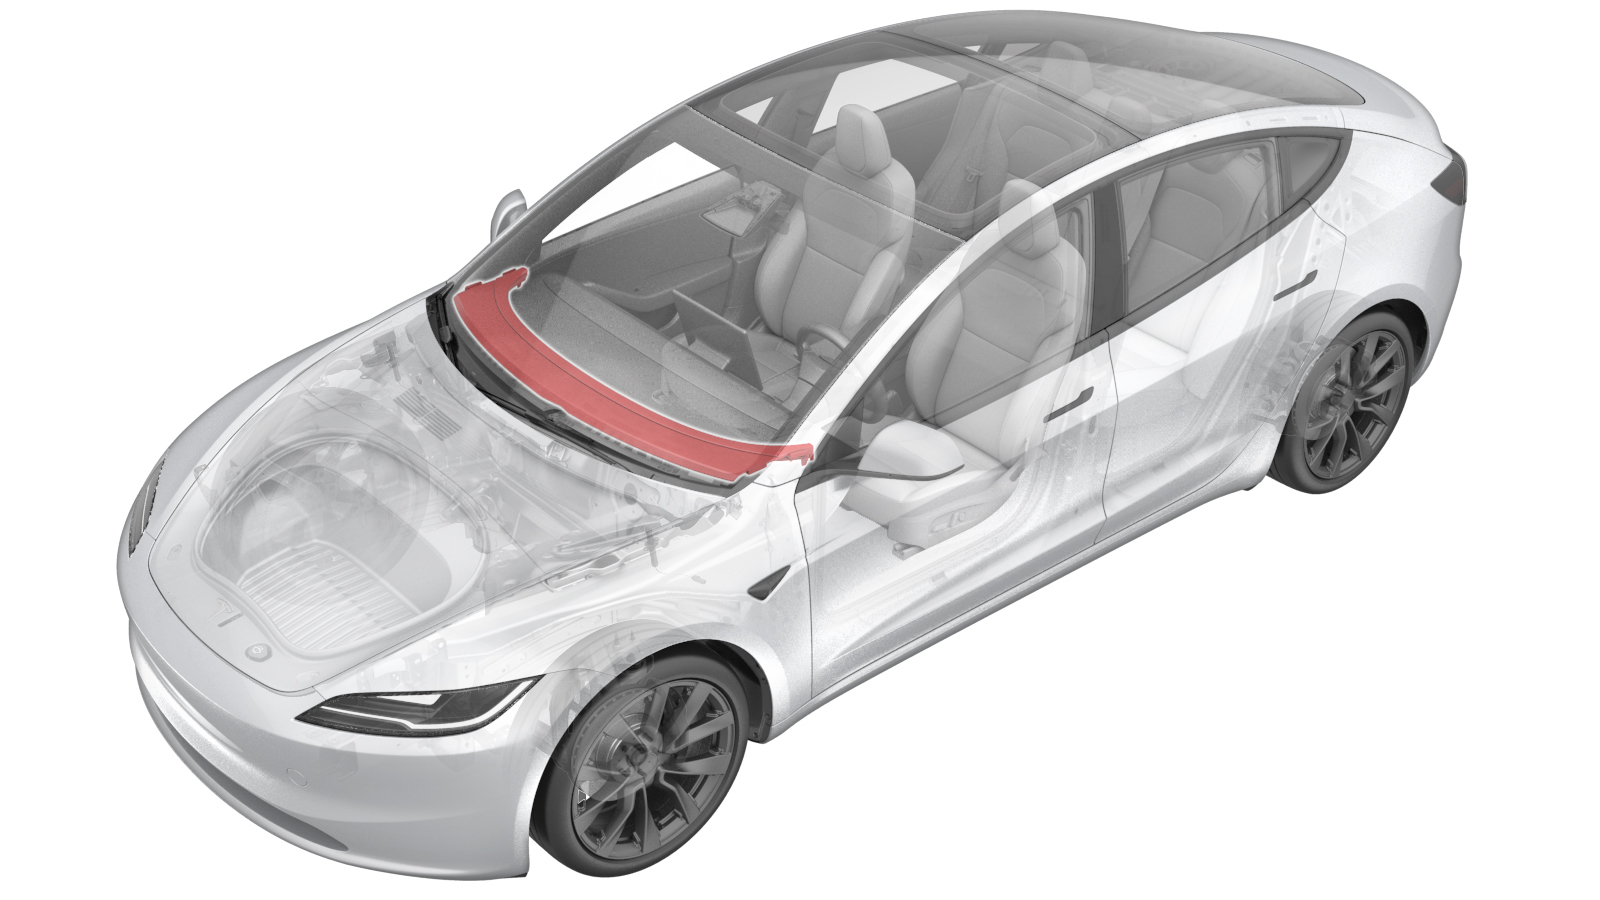
Speaker Grille - Instrument Panel (Remove and Replace)
 Correction code
1405020512
FRT
0.24
NOTE: Unless
otherwise explicitly stated in the procedure, the above correction code and
FRT reflect all of the work required to perform this procedure, including
the linked procedures. Do
not stack correction codes unless explicitly told to do so.
NOTE: See Flat Rate
Times to learn more about FRTs and how
they are created. To provide feedback on FRT values, email ServiceManualFeedback@tesla.com.
NOTE: See Personal Protection
to make sure wearing proper PPE when performing the below procedure.
NOTE: See Ergonomic Precautions for safe and
healthy working practices.
- 2025-11-21: Added the step of software reinstall.
- 2024-06-25: Added instruction to release the speaker grille tabs by pulling up on the upper instrument panel trim.
Remove
- Remove the LH and RH instrument panel end caps. See End Cap - Instrument Panel - LH (Remove and Replace).
- Remove the LH and RH upper A-Pillar trims. See Trim - A-Pillar - Upper - LH (Remove and Replace).
-
Pull upwards on the upper instrument
panel trim (refer to image, callout 1) to release the clips (x9) and guide tabs (x2)
that attach the speaker grille to the body.
CAUTIONDo not lift on the speaker grille (refer to image, callout 2) in attempts to release the clips and guide tabs. Lift on the upper instrument panel trim (refer to image, callout 1) and the grille and trim will release as one assembly.CAUTIONDo not pull the grille too far away from the instrument panel, as the grille electrical connectors are still attached.
-
Disconnect the grille ambient light connectors (x2), and remove the grille
from the vehicle.
Install
- Replace any damaged clips on the instrument panel speaker grille.
-
Connect the grille ambient light connectors (x2).
WarningThe video(s) included in this procedure are meant as an overview for supplemental purposes only. Follow all of the steps listed in the procedure to avoid damage to components and/or personal injury.
-
Attach the clips (x9) and guide tabs
(x2) that secure the instrument panel speaker grille (refer to image, callout 2) and
upper instrument panel trim (refer to image, callout 1) to the vehicle.
NoteMake sure that there is no gap at the bottom of the windshield.
- Install the LH and RH upper A-Pillar trims. See Trim - A-Pillar - Upper - LH (Remove and Replace).
- Install the LH and RH instrument panel end caps. See End Cap - Instrument Panel - LH (Remove and Replace).
- Unlock the vehicle gateway. See Gateway Unlock.
-
Run PROC_VC_X_RGB-LIGHTS-ADDRESSINGvia Toolbox: (link)via Service Mode:
- Low Voltage ➜ Interior Lighting ➜ Address RGB Lights
- Mid Voltage ➜ Interior Lighting ➜ Address RGB Lights
NoteThis routine requires the vehicle to be operating software version 2024.44 or later. - Reinstall vehicle software. See Software Reinstall - Touchscreen.
- Exit Service Mode. See Service Mode.
- Raise the LH front window, and then close the LH front door.