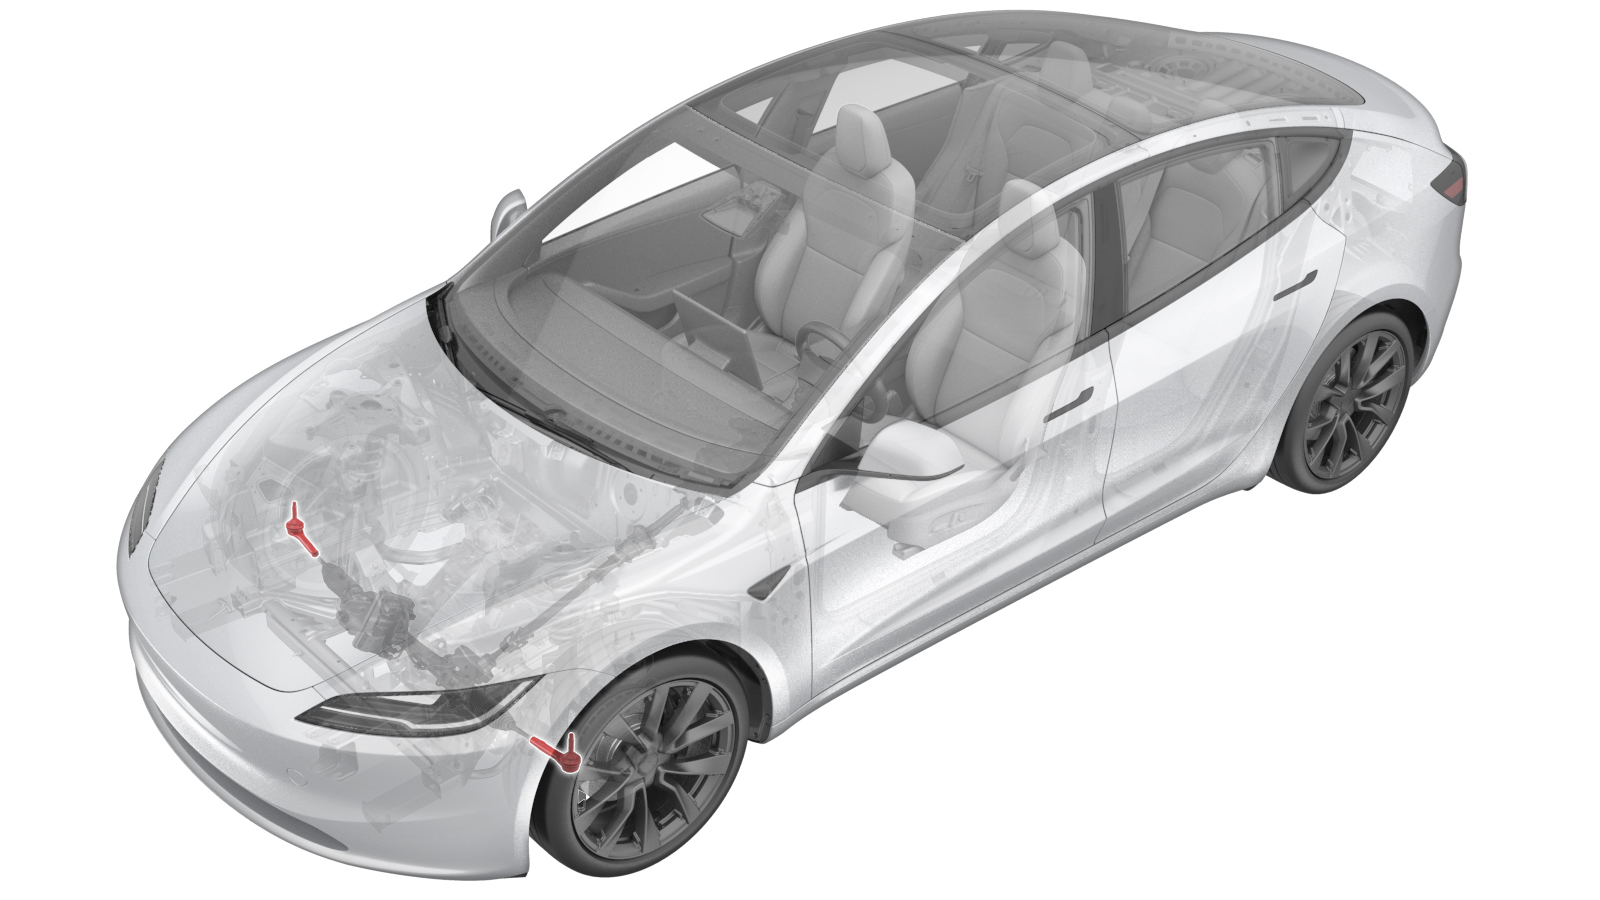
Tie Rod End - LH (Remove and Replace)
 Correction code
3201010052
FRT
0.24
NOTE: Unless
otherwise explicitly stated in the procedure, the above correction code and
FRT reflect all of the work required to perform this procedure, including
the linked procedures. Do
not stack correction codes unless explicitly told to do so.
NOTE: See Flat Rate
Times to learn more about FRTs and how
they are created. To provide feedback on FRT values, email ServiceManualFeedback@tesla.com.
NOTE: See Personal Protection
to make sure wearing proper PPE when performing the below procedure.
NOTE: See Ergonomic Precautions for safe and
healthy working practices.
Remove
- Raise and support the vehicle. See Raise Vehicle - 2 Post Lift.
- Remove the LH front wheel. See Wheel - Front - LH (Remove and Replace).
- Use a paint pen to apply a witness mark to the tie rod and jamb nut so that the two can be realigned later on during the LH tie rod end installation.
-
Loosen the jamb nut at the LH tie rod
end.
TIpUse of the following tool(s) is recommended:
- 21 mm 12pt combination wrench
-
Remove and discard the nut that
attaches the tie rod to the knuckle.
TIpUse of the following tool(s) is recommended:
- 22 mm socket
- 10 mm 12pt combination wrench
- Remove the LH tie rod end from the knuckle using a rubber hammer.
-
Remove the tie rod from the steering
linkage by turning the tie rod counter-clockwise.
NoteRecord the number of rotations for separation of the tie rod from the steering linkage.
Install
-
Rotate the tie rod outer assembly to install the LH tie rod outer assembly.
-
Position LH tie rod outer assembly to
LH front knuckle.
- Align tie rod outer assembly to original location marked on threads.
-
Install the outer nut that attach the
LH tie rod outer assembly to LH front knuckle.
 180 Nm (132.7 lbs-ft)TIpUse of the following tool(s) is recommended:
- Cordless 1/2in Dr Impact
- 22 mm deep socket
- 1/2 in to 3/4 in adapter - 1717365-00-A
- Ratchet/torque wrench
-
Torque jamb nut to tie rod outer
assembly.
 80 Nm (59.0 lbs-ft)TIpUse of the following tool(s) is recommended:
- Combination wrench 12pt 21mm
- Combination wrench 12pt 14mm
- Wheel Alignment Torque Wrench Kit
- Install the front wheels. See Wheel - Front - LH (Remove and Replace).
- Remove the lift arms from below the vehicle.
- Refer to the Alignment Requirement tables to determine whether an EPAS alignment check (EC) or four wheel alignment check (AC) is necessary. If performed, add the alignment check/adjust as a separate activity. See Alignment Requirement - Suspension.