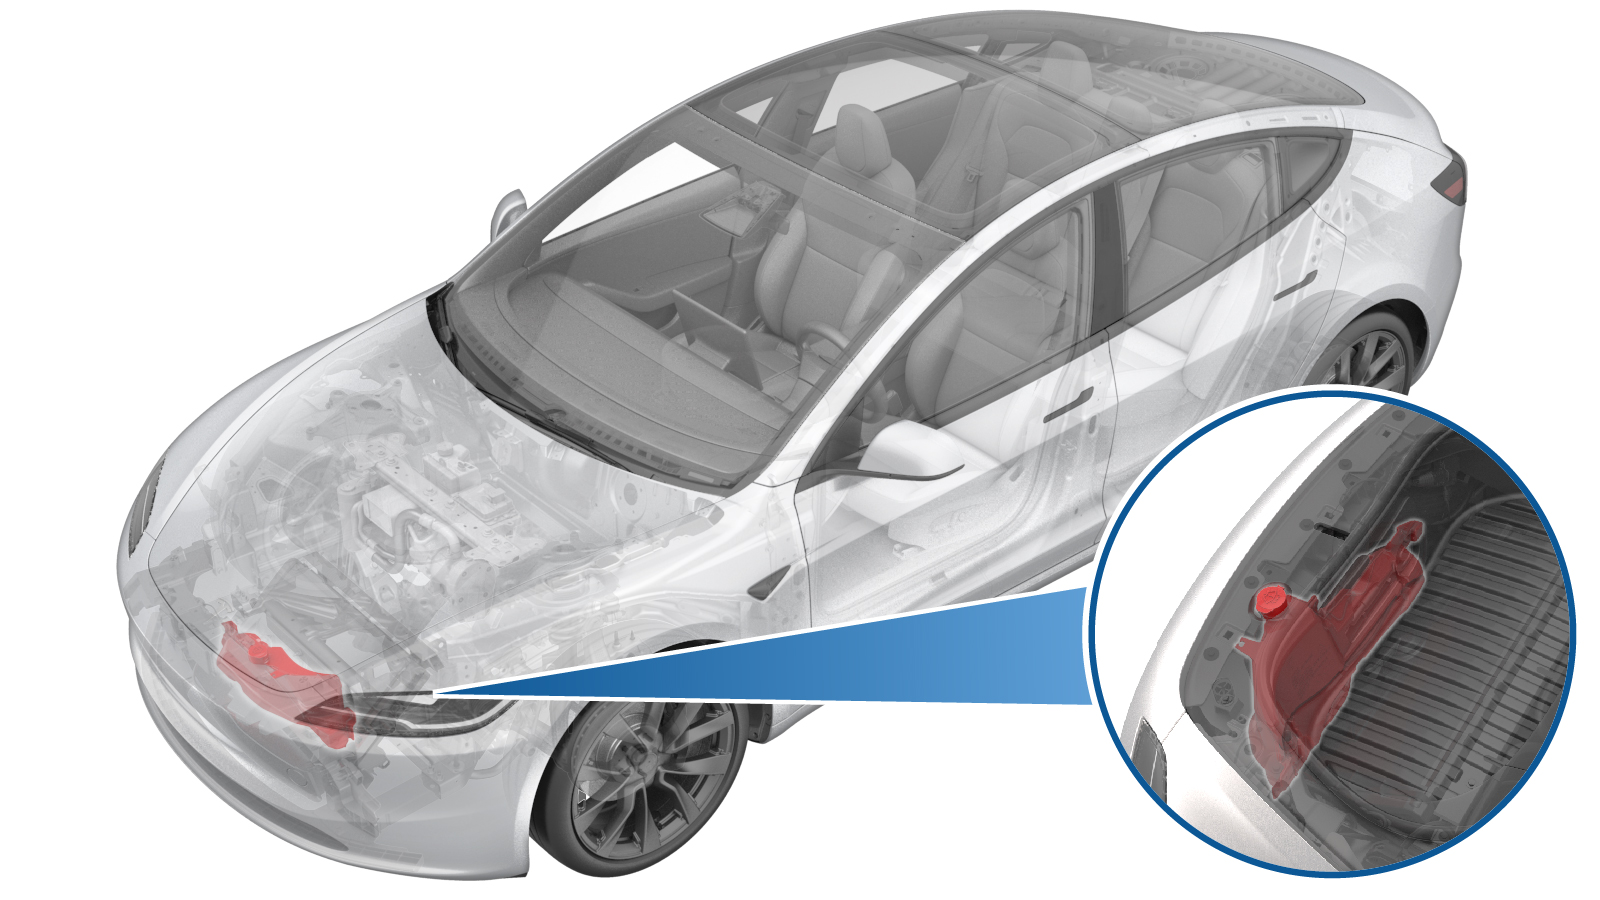
Assembly - Reservoir - Windshield Washer (Remove and Replace)
 Correction code
1750020112
FRT
0.24
NOTE: Unless
otherwise explicitly stated in the procedure, the above correction code and
FRT reflect all of the work required to perform this procedure, including
the linked procedures. Do
not stack correction codes unless explicitly told to do so.
NOTE: See Flat Rate
Times to learn more about FRTs and how
they are created. To provide feedback on FRT values, email ServiceManualFeedback@tesla.com.
NOTE: See Personal Protection
to make sure wearing proper PPE when performing the below procedure.
NOTE: See Ergonomic Precautions for safe and
healthy working practices.
- 2025-10-10: Added steps related to the front fascia camera washer hose.
- Air Operated Fluid Evacuator
| Description | Torque Value | Recommended Tools | Reuse/Replace | Notes |
|---|---|---|---|---|
| Bolts (x3) that attach the windshield washer reservoir to the body |
 4 Nm (2.9 lbs-ft) |
|
Reuse |
Remove
- Remove the underhood storage unit. See Underhood Storage Unit (Remove and Replace).
- Open the washer reservoir cap.
- Place a fluid evacuator near the front of the vehicle and connect it with a compressed air.
- Open the evacuator valve and position the evacuator hose into a corner of the washer reservoir, and then evacuate as much as washer as possible.
- Disconnect the compressed air and remove the fluid evacuator.
-
Disconnect the front fascia
camera washer hose.
NoteUnlock the black tab and then disconnect the hose.NoteThe hose may not be present on early production vehicles.
-
Disconnect the windshield washer level sensor connector.
-
Disconnect the windshield washer pump connector.
-
Release the clip that attaches the windshield washer hose to the washer
pump.
-
Release the clip that attaches the windshield washer hose to the washer
reservoir.
-
Release the clips (x4) that attach the electrical harness to the windshield
washer reservoir.
-
Release the clips (x2) and guide clips (x4) that attach the hose to the
washer bottle.
-
Remove the bolts (x3) that attach the windshield washer reservoir to the
body.
TIpUse of the following tool(s) is recommended:
- 10 mm deep socket
-
Release the locator pins (x3), and remove the windshield washer reservoir
from the vehicle, and then recover any fluid from the reservoir.
Install
-
Install the windshield washer reservoir to the body.
-
Install the bolts (x3) that attach the windshield washer reservoir to the
body.
 4 Nm (2.9 lbs-ft)TIpUse of the following tool(s) is recommended:
- 10 mm deep socket
-
Install the clips (x2) and guide clips (x4) that attach the hose to the
washer bottle.
-
Fasten the clips (x4) that attach the electrical harness to the windshield
washer reservoir.
-
Fasten the clip that attaches the windshield washer hose to the washer
reservoir.
-
Fasten the clip that attaches the windshield washer hose to the washer
pump.
-
Connect the windshield washer pump connector.
-
Connect the front fascia
camera washer hose.
NoteLock the black tab to connect the hose.NoteThe hose may not be present on early production vehicles.
-
Connect the windshield washer level sensor connector.
- Install the underhood storage unit. See Underhood Storage Unit (Remove and Replace).
- Fill the windshield washer reservoir with fluid.
- Close the washer reservoir cap.
- Close the hood.
- Raise the LH front window and close the LH front door.
- Verify operation of the windshield wipers and washer.