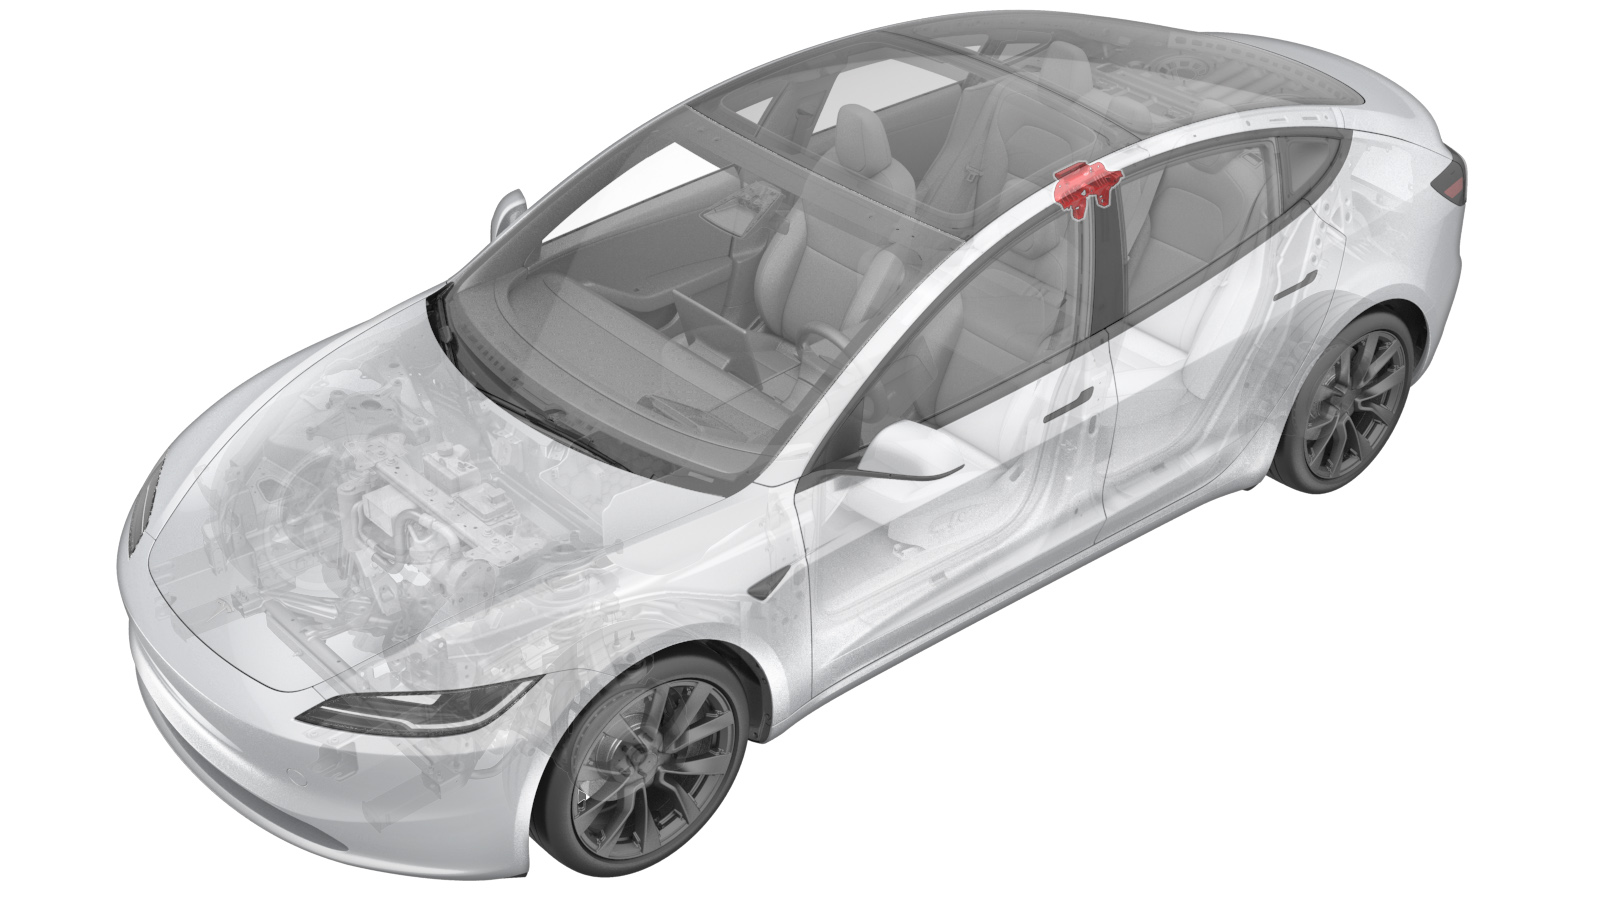
Bracket - B-Pillar - LH (Remove and Replace)
 Correction code
1518010112
FRT
0.78
NOTE: Unless
otherwise explicitly stated in the procedure, the above correction code and
FRT reflect all of the work required to perform this procedure, including
the linked procedures. Do
not stack correction codes unless explicitly told to do so.
NOTE: See Flat Rate
Times to learn more about FRTs and how
they are created. To provide feedback on FRT values, email ServiceManualFeedback@tesla.com.
NOTE: See Personal Protection
to make sure wearing proper PPE when performing the below procedure.
NOTE: See Ergonomic Precautions for safe and
healthy working practices.
Torque Specifications
| Description | Torque Value | Recommended Tools | Reuse/Replace | Notes |
|---|---|---|---|---|
| Bolts (x2) that attach the LH curtain airbag to the body |
 9 Nm (6.6 lbs-ft) |
|
Reuse | |
| Bolts (x2) that attach the LH B-pillar bracket to the body |
 2.5 Nm (1.8 lbs-ft) |
|
Reuse |
Remove
- Remove the 2nd row lower seat cushion. See Seat Cushion - 2nd Row (Remove and Replace).
- Remove the LH side rail trim. See Trim - Side Rail - LH (Remove and Replace).
- Remove the LH 2nd row seat side bolster. See Bolster - Side - Seat - 2nd Row - LH (Remove and Replace).
- Remove the LH IP end cap. See End Cap - Instrument Panel - LH (Remove and Replace).
- Remove the LH lower A-pillar trim. See Trim - A-Pillar - Lower - LH (Remove and Replace).
- Remove the LH lower B-pillar trim. See Trim - B-Pillar - Lower - LH (Remove and Replace).
- Remove the LH middle B-pillar trim. See Trim - B-Pillar - Middle - LH (Remove and Replace).
- Remove the LH upper B-pillar trim. See Trim - B-Pillar - Upper - LH (Remove and Replace).
- Repeat step 2 through step 8 on the RH side of the vehicle.
- Release the rear headliner. See Headliner (Remove and Replace).
-
Use a pry tool to remove the fir tree clip that attaches the curtain airbag
to the B-pillar bracket, then release the LH curtain airbag from the
B-pillar bracket.
-
Remove the bolts (x2) that
attach the LH curtain airbag to the body.
NoteInspect the bolts for captive washers and make sure they are intact with the curtain airbag, if not, replace the curtain airbag.TIpUse of the following tool(s) is recommended:
- 10 mm socket
-
Remove the bolts (x2) that
attach the LH B-pillar bracket to the body.
TIpUse of the following tool(s) is recommended:
- 10 mm socket
-
Use a pry tool to remove the LH B-pillar bracket from the body.
WarningThe video(s) included in this procedure are meant as an overview for supplemental purposes only. Follow all of the steps listed in the procedure to avoid damage to components and/or personal injury.
Install
-
Position the LH B-pillar bracket onto the body.
WarningThe video(s) included in this procedure are meant as an overview for supplemental purposes only. Follow all of the steps listed in the procedure to avoid damage to components and/or personal injury.
-
Install the bolts (x2) that
attach the LH B-pillar bracket to the body.
 2.5 Nm (1.8 lbs-ft)TIpUse of the following tool(s) is recommended:
- 10 mm socket
- Install the fir tree clip that attaches the curtain airbag to the B-pillar bracket.
-
Install the bolts (x2) that
attach the LH curtain airbag to the body.
 9 Nm (6.6 lbs-ft)NoteApply Loctite 222 to the threads of each bolt prior to installation.TIpUse of the following tool(s) is recommended:
- 10 mm socket
- Install the rear headliner. See Headliner (Remove and Replace).
- Install the LH upper B-pillar trim. See Trim - B-Pillar - Upper - LH (Remove and Replace).
- Install the LH middle B-pillar trim. See Trim - B-Pillar - Middle - LH (Remove and Replace).
- Install the LH lower B-pillar trim. See Trim - B-Pillar - Lower - LH (Remove and Replace).
- Install the LH lower A-pillar trim. See Trim - A-Pillar - Lower - LH (Remove and Replace).
- Install the LH IP end cap. See End Cap - Instrument Panel - LH (Remove and Replace).
- Install the LH 2nd row seat side bolster. See Bolster - Side - Seat - 2nd Row - LH (Remove and Replace).
- Install the LH side rail trim. See Trim - Side Rail - LH (Remove and Replace).
- Repeat step 6 through step 12 on the RH side of the vehicle.
- Install the 2nd row lower seat cushion. See Seat Cushion - 2nd Row (Remove and Replace).