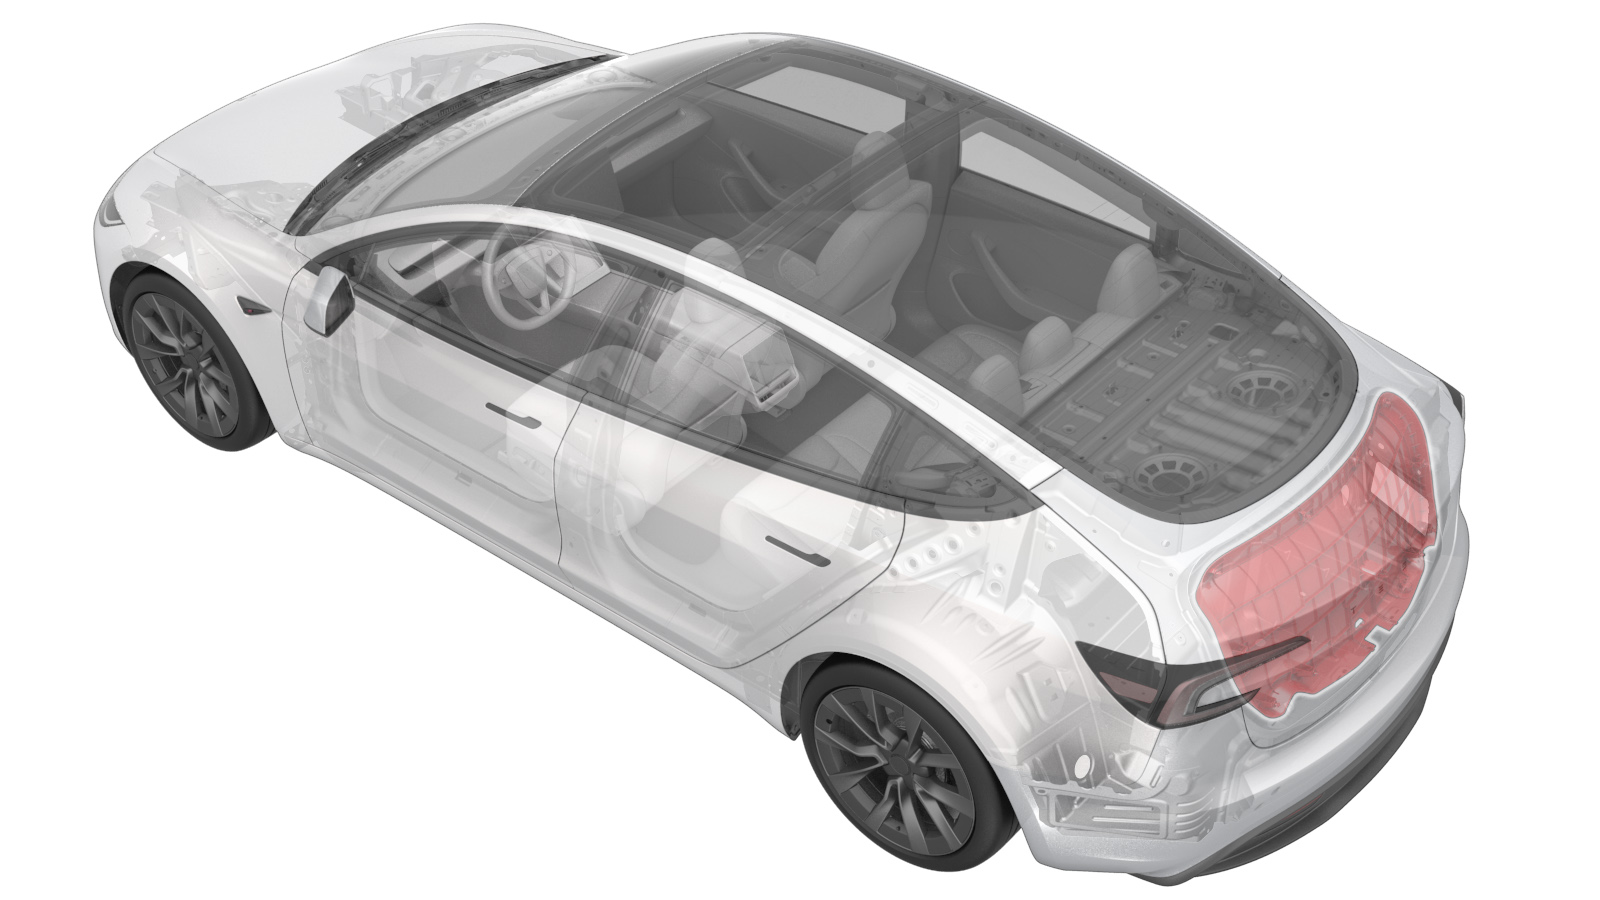
Trim - Lid - Trunk (Remove and Replace)
 Correction code
1511010012
FRT
0.06
NOTE: Unless
otherwise explicitly stated in the procedure, the above correction code and
FRT reflect all of the work required to perform this procedure, including
the linked procedures. Do
not stack correction codes unless explicitly told to do so.
NOTE: See Flat Rate
Times to learn more about FRTs and how
they are created. To provide feedback on FRT values, email ServiceManualFeedback@tesla.com.
NOTE: See Personal Protection
to make sure wearing proper PPE when performing the below procedure.
NOTE: See Ergonomic Precautions for safe and
healthy working practices.
- 2025-12-22: Added the trunk latch cover steps.
Remove
- Remove the trunk latch cover. See Cover - Latch - Trunk (Remove and Replace).
-
Release the clips at the
upper corners, then work around the trim to release the clips that attach
the trunk trim to the trunk lid.
WarningThe video(s) included in this procedure are meant as an overview for supplemental purposes only. Follow all of the steps listed in the procedure to avoid damage to components and/or personal injury.
-
Disconnect the electrical
harness from the trunk switch on the trunk trim.
- Remove the trunk lid trim from the trunk lid, and then remove and discard any remaining clips from the trunk lid and trunk lid trim.
Install
- Install new clips (x11) onto the trim.
-
Connect the electrical
harness to the trunk switch, align the trunk lid trim tabs with the slots on
the trunk lid, and then press the clips into the trunk lid.
NoteMake sure all clips are fully seated.
- Install the trunk latch cover. See Cover - Latch - Trunk (Remove and Replace).