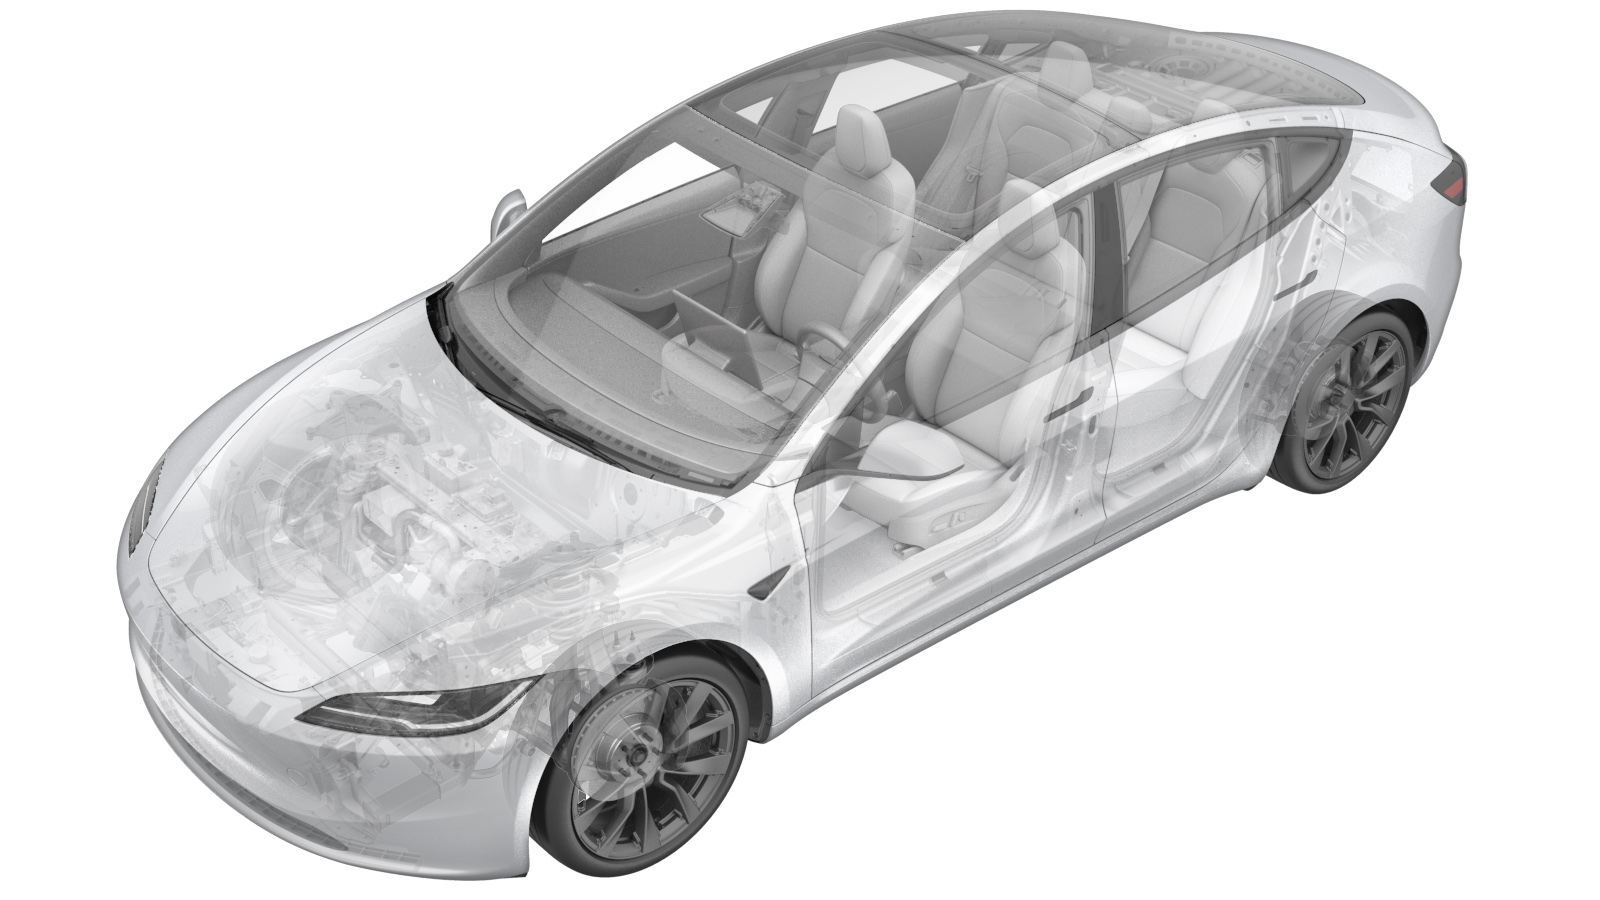
Sensor - Wheel Speed - Front - LH (Performance) (Remove and Replace)
 Correction code
3310030002
FRT
0.24
NOTE: Unless
otherwise explicitly stated in the procedure, the above correction code and
FRT reflect all of the work required to perform this procedure, including
the linked procedures. Do
not stack correction codes unless explicitly told to do so.
NOTE: See Flat Rate
Times to learn more about FRTs and how
they are created. To provide feedback on FRT values, email ServiceManualFeedback@tesla.com.
NOTE: See Personal Protection
to make sure wearing proper PPE when performing the below procedure.
NOTE: See Ergonomic Precautions for safe and
healthy working practices.
-
Raise and support vehicle
NoteEnsure vehicle is not charging
-
Remove LH front wheel center cap
Note1x cap, Pull the inner side of the adjacent 2 claws on the wheel center cap by hands
-
Loosen LH front wheel nuts
Note5x nuts, 21mm, 175 Nm
-
Raise vehicle partially and lower lift onto locks
NoteSet vehicle to a comfortable working height, Make sure there's an audible click of the locks on both sides before lowering, otherwise vehicle may tilt to the side
-
Remove LH front wheel
Note5x nuts, 21mm, 175 Nm
-
Remove the clips that partially securing LH wheel liner to fascia
Note9x push clips
-
Partially remove the LF wheel liner
-
Disconnect LH front wheel speed sensor connector
Note1x connector, Disengage locking tab
-
Disconnect LH front damper solenoid connector
Note1x connector, Disengage locking tab
-
Release clips securing LH front wheel speed sensor harness
Note4x tree clips, 1x rubber grommet
-
Release bolt securing LH front wheel speed sensor to knuckle
Note1x bolt, T30, 5 Nm
-
Remove LH front wheel speed sensor from knuckle
-
Install LH front wheel speed sensor into knuckle
-
Install bolt securing LH front wheel speed sensor to knuckle
Note1x bolt, T30, 5 Nm
-
Install clips securing LH front wheel speed sensor harness
Note4x tree clips, 1x rubber grommet, Ensure harness is routed correctly to avoid harness contact with moving suspension components
-
Connect LH front wheel speed sensor connector
Note1x connector, Engage locking tab
-
Connect LH front damper solenoid
Note1x connector, Engage locking tab
-
Install the LF wheel liner
-
Install clips securing LH wheel liner to fascia
Note9x push clips
-
Install LH front wheel
Note5x nuts, 21mm, 175 Nm, Start lug nuts by hand before using power tool
-
Lower vehicle until tires are touching ground
NoteRaise lift off locks, then hold lock release lever to keep locks free while vehicle is lowered
-
Torque LH front wheel
Note5x nuts, 21mm, 175 Nm
-
Install LH front wheel center cap
Note1x cap, Ensure that the cap is installed in place
-
Remove lift arms from below vehicle
NoteLower rack arms fully and remove them from under vehicle