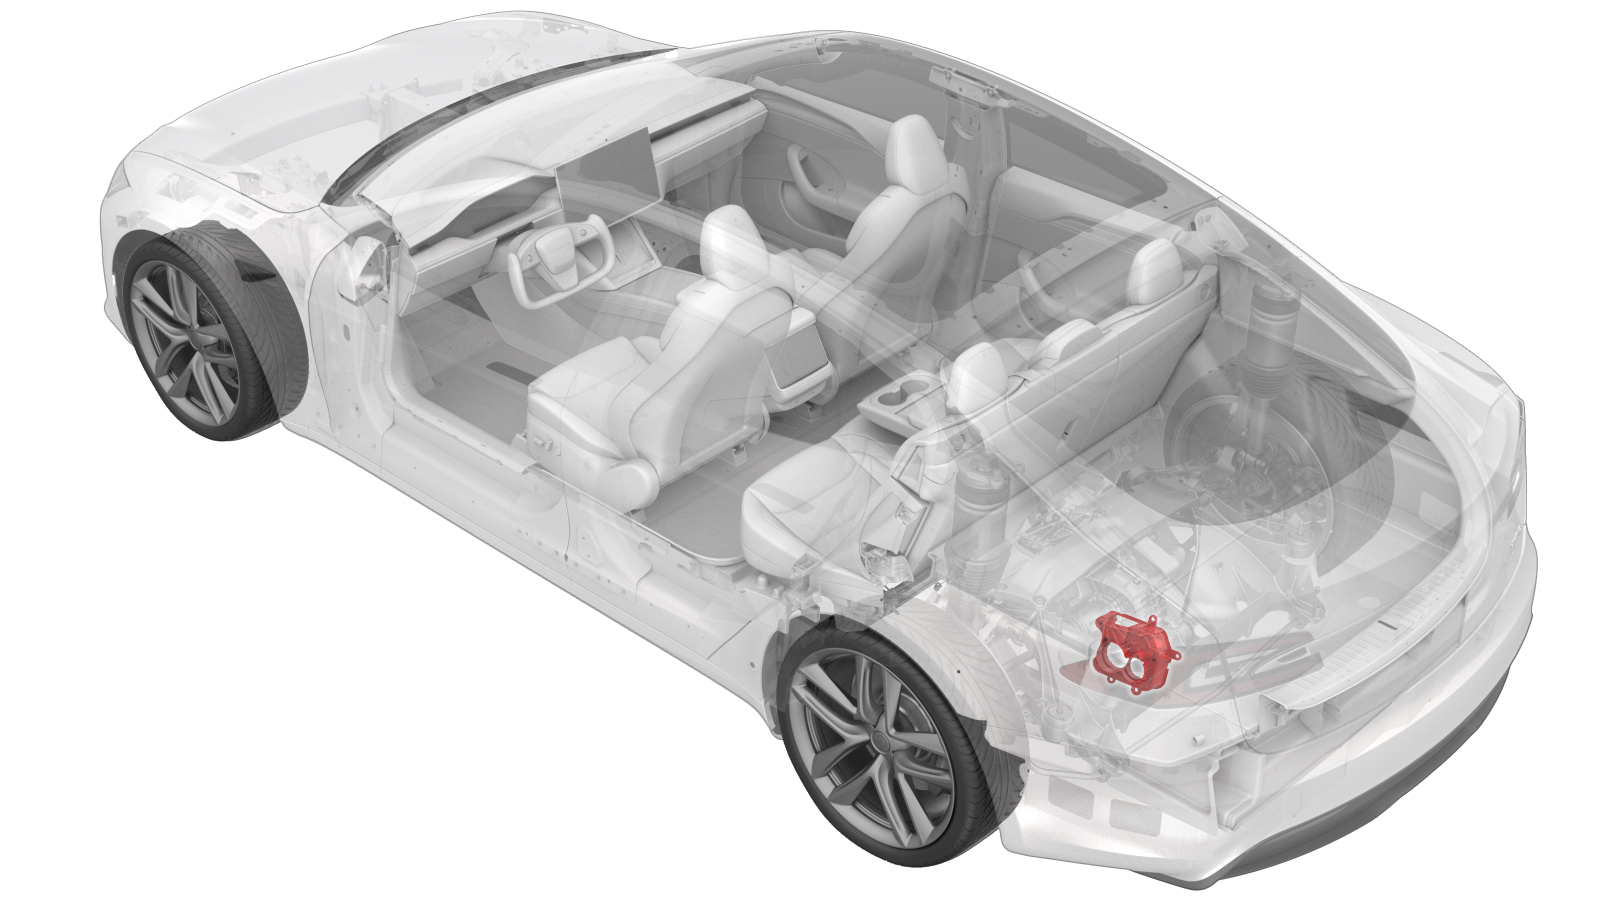
Actuator - Dual Motor - Charger Port (China) (Remove and Replace)
 Correction Code
44105402
Correction Code
44105402
Only
technicians who have completed all required certification courses are permitted to
perform this procedure. Tesla recommends third party service provider technicians
undergo equivalent training before performing this procedure. For more information on
Tesla Technician requirements, or descriptions of the subject matter for third parties,
see HV Certification Requirements. Proper personal protective equipment (PPE) and insulating HV
gloves with a minimum rating of class 0 (1000V) must
be worn at all times a high voltage cable, busbar, or fitting is handled. Refer to Tech Note TN-15-92-003, High Voltage Awareness
Care Points
for additional safety
information.
Remove all jewelry (watches, bracelets, rings, necklaces, earrings, ID tags, piercings, etc.) from your person, and all objects (keys, coins, pens, pencils, tools, fasteners, etc.) from your pockets before performing any procedure that exposes you to high voltage.
Proper Personal Protective Equipment (PPE) is required to perform this procedure:
- High Voltage (HV) insulating gloves
- Leather glove protectors
- High voltage glove tester
- Safety glasses
- Electrical hazard rated safety shoes
A glove inflator is the only recommended way to test HV gloves. Both HV gloves must pass testing before beginning this procedure. If either glove does not pass the air check, discard the pair.
Remove
- Open the LH front door and lower the LH front window.
- Move both front seats fully forward.
- Remove the rear underhood arpon. See Underhood Apron - Rear (Remove and Replace).
- Remove the RH and LH underhood arpon. See Underhood Apron - LH (Remove and Replace).
- Remove the HEPA inlet filter duct. See Duct - HEPA Filter - Inlet (Remove and Replace).
- Remove the HEPA oulet filter duct. See Duct - HEPA Filter - Outlet (Remove and Replace).
- Disconnect the 12V . See Disconnect 12V Power.
- Perform the charge port voltage check. See Charge Port Voltage Check.
- Remove the 2nd row cushion seat base frame. See Frame - Seat Base - 2nd Row Cushion (Remove and Replace).
-
Use the small flat head screwdriver to remove tamper evident label from charger cover
panel.
-
Release and discard the bolts (X11) that connect the HV charger access panel cover to
vehicle, and then remove the panel cover.
 2 Nm (1.5 lbs-ft)
 -
Release tabs (X4) and open both access doors.
- Perform the charge port voltage check. See Charge Port Voltage Check.
- Remove the LH trunk side trim. See Trim - Rear Trunk - Side - LH (Remove and Replace).
-
Remove nut (X1) securing charge port ground to body.9 Nm (6.6 lbs-ft)
-
Use the clip tool to release edge clips securing manual release cables to dual charge
port assembly housing.
-
Remove screw (X1) securing latch release cables at center of dual charge port
assembly housing and move cables aside.1.5 Nm (1.1 lbs-ft)
-
Disconnect latch connectors (X2).
-
Disconnect logic connector (X1) from charge port ECU.
-
Use the clip tool to release clips (X2) that securing HV cables to body studs.
-
Remove the bolts (X3) to release the HV harnesses from charge port housing and move
aside.6 Nm (4.4 lbs-ft)
-
Remove the bolts (X7) to release the dual charge port assembly housing from
vehicle.6 Nm (4.4 lbs-ft)
-
Remove DC latch actuator from dual charge port assembly housing.
-
Remove AC latch actuator from dual charge port assembly housing.1 Nm (.7 lbs-ft)
Install
-
Secure AC latch actuator to dual charge port assembly housing.1 Nm (.7 lbs-ft)
-
Secure DC latch actuator to dual charge port assembly housing.
-
Secure DC latch actuator to dual charge port assembly housing.
-
Position dual charge port assembly housing to vehicle and secure.
-
Install the bolts (X3) to release the HV harnesses to charge port housing.6 Nm (4.4 lbs-ft)
-
Install the clips (X2) that securing HV cables to body studs.
-
Connect logic connector (X1) to charge port ECU.
-
Connect latch connectors (X2).
-
Install screw (X1) securing latch release cables at center of dual charge port
assembly housing.1.5 Nm (1.1 lbs-ft)
-
Install edge clips securing manual release cables to dual charge port assembly
housing.
-
Install nut (X1) securing charge port ground to body.9 Nm (6.6 lbs-ft)
-
Install tabs (X4) and open both access doors.
-
Install the new bolts (X11) that connect the HV charger access panel cover to
vehicle, and then install the panel cover.2 Nm (1.5 lbs-ft)
- Install the LH trunk side trim. See Trim - Rear Trunk - Side - LH (Remove and Replace).
- Connect the 12V . See Disconnect 12V Power.
- Install the 2nd row cushion seat base frame. See Frame - Seat Base - 2nd Row Cushion (Remove and Replace).
- Install the HEPA oulet filter duct. See Duct - HEPA Filter - Outlet (Remove and Replace).
- Install the HEPA inlet filter duct. See Duct - HEPA Filter - Inlet (Remove and Replace).
- Install the RH and LH underhood arpon. See Underhood Apron - LH (Remove and Replace).
- Remove the rear underhood arpon. See Underhood Apron - Rear (Remove and Replace).
- Move both front seats to original positions.
- Raise the LH front window and close LH front door.