2024-08-14
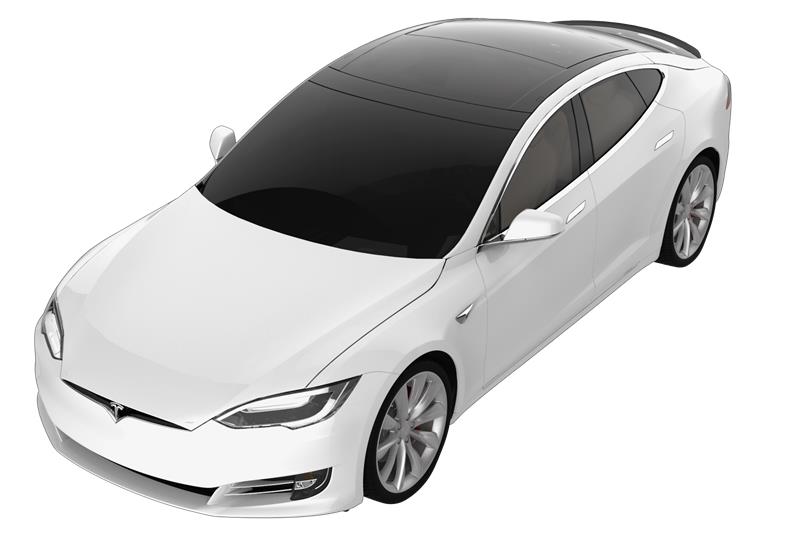
Link - Panoramic Roof - 2nd Generation - Rear - LH (Remove & Replace)
 Correction code
24105202
Remove
- Remove the HEPA filter outlet duct. See Duct - HEPA Filter - Outlet (Remove and Replace).
- Disconnect 12V power. See Disconnect 12V Power .
- Remove the LH IP side cover. See Assembly - Instrument Panel Side Cover - LH (Remove and Replace) .
- Remove the driver's side lower trim dash. SeeTrim - Dash - Driver's Side - Lower (Remove and Replace) .
-
Remove LH floor mat.
- Remove driver's footwell cover assembly. See Assembly - Cover - Footwell - Driver's (Remove and Replace) .
- Remove LH sill panel trim. See Trim - Sill Panel - LH (Remove and Replace) .
-
Disconnect premium amplifier if equipped.
NoteApplies only to vehicle equipped with premium audio.
-
Remove OBD II connector from tuner bracket.
-
Disconnect the connenctors(X3) and release the edge clip tuner and move harness for
clearance.
-
Remove bolts (X3) securing tuner bracket to IP.
-
Remove the amp/tuner bracket assembly out through the bottom of IP carrier.
NoteThere's a tab on the bracket that requires sliding assembly forward slightly to release.
-
Remove LH sunroof motor fasteners (X3) and discard.
-
Use plastic trim tool to separate LH sunroof motor from motor block.
-
Disconnect LH sunroof motor connector.
-
Remove bolts (X4) securing sliding glass to vehicle and discard.
-
Gently lift up the rear section of the left side roof applique to release the clips
(X6) and remove the left roof applique.
NotePlace applique in a safe area to avoid damage.
-
Add a mark to the underside of the left applique to indicate that it has been
removed.
NoteThe 2nd generation side applique can only be removed and reinstalled 10 times before it must be replaced due to damage to the clips, if there are already 9 or more marks on the underside of the applique, replace it.
-
Mark location of pano roof rear left link to pano frame.
-
Mark location of pano roof front left link to pano frame.
-
Slide pano roof front left link completely forward.
-
Remove rear stop screw (x1) and stop bracket.
-
Remove the screws (x2) that attach the left rear camera block to vehicle and then
removethe rear camera block.
-
clean the left rear can block.
-
Use a long bit to move pano roof rear left link forward to camera block
opening.
-
Lift up rear left link and remove guide shoe.
-
Slide pano roof rear left link back past frame channel.
-
Lift the rear left link up and rotate clockwise out from pano.
NoteBe careful not to damage seal around fixed glass.
-
Clean the rail and remove old grease.
Install
-
Insert the rear left link downward and rotate counter clockwise.
NoteMake sure the link is inserted into the drive cable shoe, do not damage fixed glass seal
-
Gently tap the rear left link to move assembly into frame channels.
-
Use a long bit to move pano roof rear left link forward to cam block opening.
-
Install rear stop screw (x1) and stop bracket.
NoteT30, 6.5 Nm, 1x stop bracket.
-
Lift up rear left link and install guide shoe.
NoteClean guide shoe before installation and install some grease.
-
Slide pano roof rear left link back towards rear opening.
NoteLine up paint marks at link and pano frame.
-
Install the screws (x2) that attahce the left rear camera block to the vehicle.
NoteT25, 5 Nm.
-
Install rear stop screw (x1)and stop bracket (x1).
NoteT30, 6.5 Nm.NoteMake sure the orientation of the tab is facing towards vehicle cabin.
-
Slide pano roof front left link back
NoteLine up paint marks at link and pano frame.
-
Install the clips (x6) that attache the LH roof applique to vehicle.
NoteInspect and ensure appropriate gap and flush fitment of side appliques.
-
With assistance, set sliding glass into position on vehicle.
-
Install new bolts (x4) securing sliding glass to vehicle.
NoteT25, 5 Nm
-
Install new bolts (x3) for LH sunroof motor to motor block.
NoteT25, 5 Nm.
-
Install amp/tuner bracket assembly back into IP.
NoteMake sure tab is above the IP otherwise there will be a large gap near bulkhead.
-
Install bolts (x3) securing tuner bracket.
Note10mm, 6 Nm.
-
Reconnect tuner connectors (x2) and secure edge clip (x1).
-
Install the screws (x2) that attache the OBD II male side to bracket.
NoteT20, 2.3 Nm.
-
Connect the premium amplifier if equipped.
NoteFully seat connector, then engage locking tab.
- Install LH sill panel trim. See Trim - Sill Panel - LH (Remove and Replace) .
- Install driver's footwell cover assembly. See Assembly - Cover - Footwell - Driver's (Remove and Replace) .
-
Install LH floor mat.
- Install the driver's side lower trim dash. SeeTrim - Dash - Driver's Side - Lower (Remove and Replace) .
- Install the LH IP side cover. See Assembly - Instrument Panel Side Cover - LH (Remove and Replace) .
- Connect 12V power. See Disconnect 12V Power .
- Install the HEPA filter outlet duct. See Duct - HEPA Filter - Outlet (Remove and Replace).