2022-04-29
Sensor - Parking Distance - Inner - Front (Remove and Replace)
 Correction Code
17271012
Note
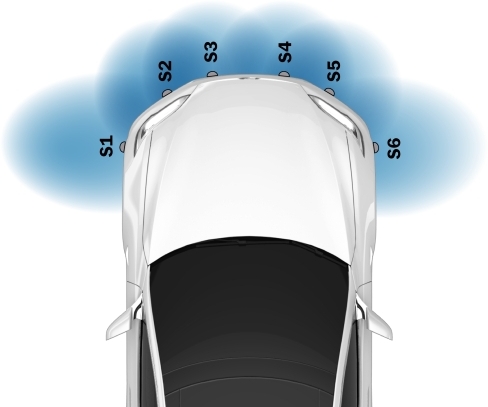
This procedure applies to front parking sensors 2, 3, 4, and 5.
Removal
- Remove the front fascia assembly (refer to procedure).
-
Disconnect the electrical harness from the parking sensor.
TIpIf needed, use a small flat head screwdriver to release the locking tab.
-
Release the tabs that attach the parking sensor to the fascia bracket, and then
remove the sensor from the bracket.
TIpIf needed, use a pick or small flat head screwdriver to release the bracket tabs.
-
If reusing the retainer ring,
remove the retainer ring and inspect for damage.
CAUTIONDo not reuse the ring if it is overly worn or damaged.
Installation
Installation procedure is the reverse of removal, except for the following:
CAUTION
Make sure a retainer
ring is installed on the new parking sensor.
CAUTION
Make sure the fascia
sensor bracket tabs are securely holding the sensor. If necessary, carefully bend the
tabs inward so that the sensor is securely held in place.
Note
Perform a push-pull-push test on
the electrical harness to verify proper connection.
Note
Make sure the sensor retainer
ring is fully seated against the fascia.