2025-09-30
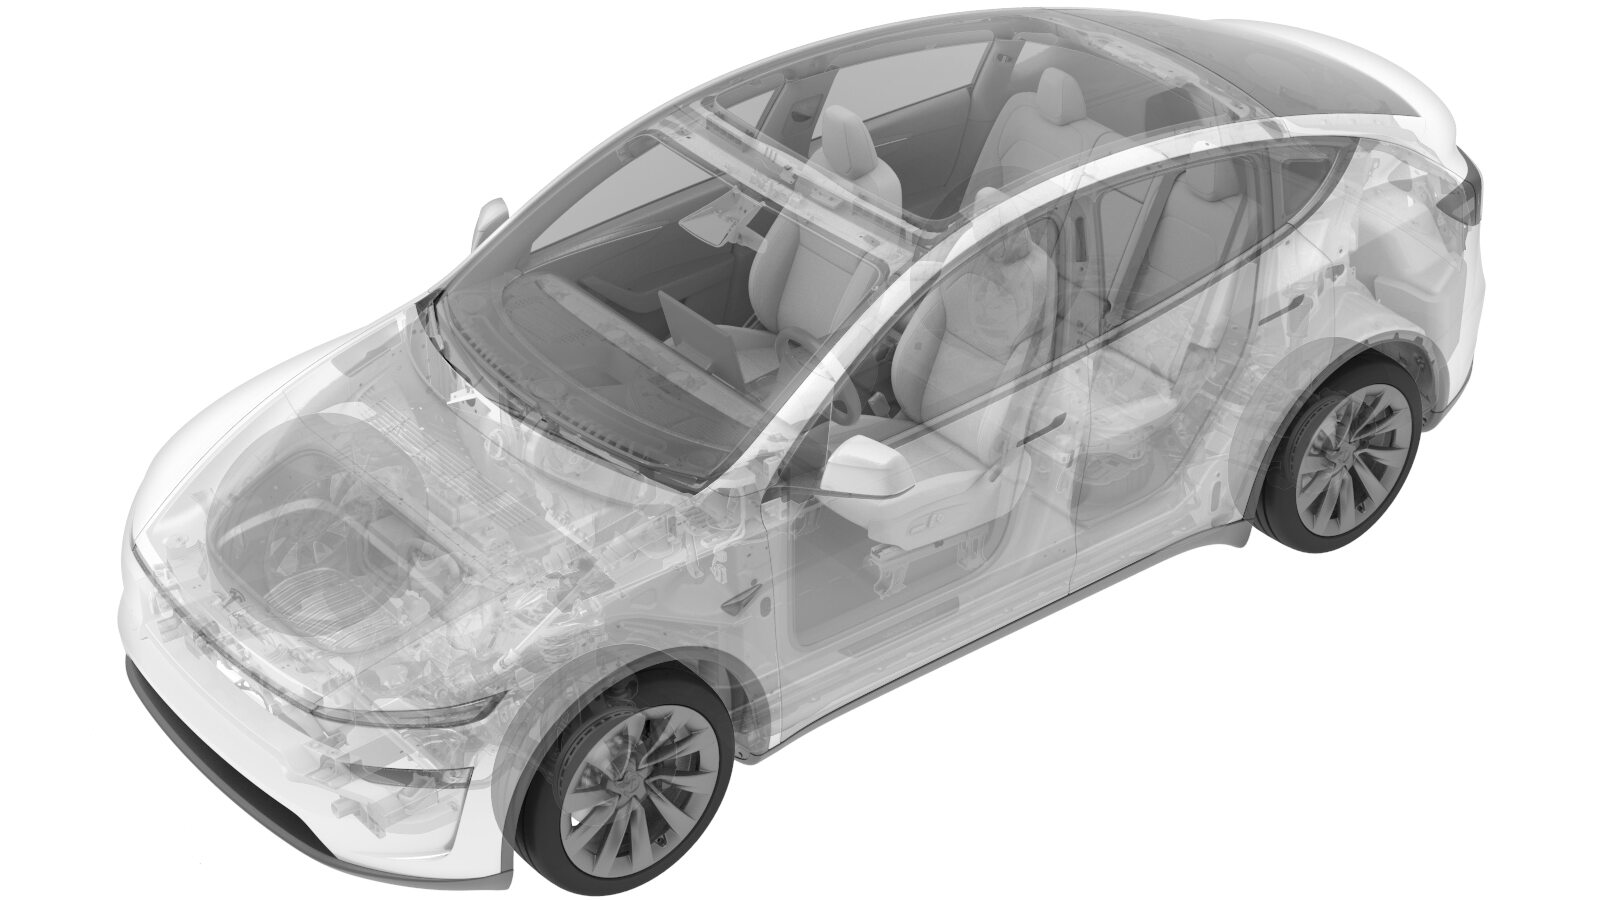
nu高压电池 - 全轮驱动 - 三相ll ((拆卸和更换))
 校正代码
16010202
4.92
注意:除非本程序中另有明确规定,否则上述校正代码和 FRT 反映的是执行本程序(包括关联程序)所需的所有工作。除非明确要求,否则请勿堆叠校正代码。
注意:请参阅平均维修工时,深入了解 FRT 及其创建方式。要提供有关 FRT 值的反馈,请发送电子邮件至ServiceManualFeedback@tesla.com。
注意:请参阅 人员保护,确保在执行以下程序时穿戴适当的个人防护装备 (PPE)。
注意:请参阅人体工程学注意事项查看安全健康的作业规程。
警告
本程序为“草案”。虽已通过验证,但可能仍有“警告”和“注意”事项缺失。请遵守安全要求,处理或靠近高压系统和部件时,请谨慎操作。
- 2025-07-01: Released new procedure.
- 1936724-00-A - 通用举升机垫适配器
- 1133787-00-A 安全带释放按键,Model 3
- 1020566-00-F 电池操作台手动升降机总成
- 1020566-99-A 电池操作台手动升降机顶板
- 1129166-00-A H 型车架起重机,欧洲、中东和非洲
- 1073363-00-A Gantry, Adjustable, Aluminum
- 1134523-00-A 电池校准杆套件,Model 3
- 1140311-00-A 高压连接器杆锁,Model 3
- 1053600-00-B 驱动单元压力测试固定装置
- 1130942-00-B 冷却液储液罐压力测试适配器
- 1132185-00-B 冷却液泄漏测试适配器套件,Model 3
- 1133843-00-A 冷却液排放和加注适配器套件,M3
- 1135762-00-A 冷却软管维修堵头套件,Model 3
- GSN-TL-000564 电池冷却液排放和加注套件
- 1026636-00-A 高压电池组外壳泄漏测试仪
- 1140501-00-A 高压电池完整外壳泄漏测试包套件
- 1144879-00-A 高压电池外壳泄漏测试适配器套件
- 1108272-00-B 变流器逻辑连接器盖,3DU
扭矩规格
| 描述 | 扭矩值 | 推荐工具 | 重复使用/更换 | 备注 |
|---|---|---|---|---|
| 高压电池内部左侧/右侧中间/后部螺栓 |
 66 Nm (48.7 lbs-ft) |
|
重复使用 | |
| 高压电池内部左前/右前螺栓 |
 136 Nm (100.3 lbs-ft) |
|
重复使用 | |
| 将直流-直流接地母排固定到高压电池的螺母(1 个) |
 9 Nm (6.6 lbs-ft) |
|
更换 | |
| 将前驱动单元高压线束固定到前驱动单元的螺栓(1 个) |
 10 Nm (7.4 lbs-ft) |
|
更换 | |
| 高压电池处前驱动单元接地带螺栓 |
 10 Nm (7.4 lbs-ft) |
|
重复使用 | |
| 将后驱动单元高压电缆支架固定到高压电池的螺母(1 个) |
 10 Nm (7.4 lbs-ft) |
|
重复使用 | |
| 将副车架左侧/右侧固定到车身的螺栓 |
 125 Nm (92.2 lbs-ft) |
|
重复使用 | |
| 用于固定高压电池中间滑盖的中间螺栓(4 个) |
 34 Nm (25.1 lbs-ft) |
|
重复使用 | |
| 将左前/右前支撑支架固定到车辆的螺栓 |
 110 Nm (81.1 lbs-ft) |
|
重复使用 | |
| 将高压电池固定到车辆的左侧/右侧螺栓 |
 35 Nm (25.8 lbs-ft) |
|
重复使用 |
拆卸
- Remove the HV battery. See HV Battery (AWD) ((拆卸和安装))
-
如需装运高压电池,请使用电缆扎带将旧烟火电池断接开关固定到旧高压电池高压电池仓盖板支架上。如果高压电池仓盖板不带支架,请使用电缆扎带将旧烟火电池断接开关固定到旧高压电池的右后角。
注请在烟火电池断接开关下面放置一张纸。如有必要,请使用遮蔽胶带固定,以防移动。
图 1. 烟火电池断接开关固定到高压电池仓盖板支架上 图 2. 烟火电池断接开关固定到高压电池右后角 -
Attach HV battery H-frame to the gantry and raise it into position.
-
Position the HV battery under the gantry.
注Assistance recommended. If the original pack is RWD and supplied pack is DM, center ski transfer is required.
-
Lower H-frame onto the old HV battery and secure the H-frame to the HV battery.
注6x bolts, 8mm Allen, Hand tight
-
Raise the old HV battery off the battery table.
-
Position the gantry over a pallet.
-
Lower the HV battery onto the pallet.
-
Remove H-frame from the old HV battery.
-
Raise gantry and H-frame from the old HV battery.
安装
-
Open the crate top that houses the new HV battery pack.
-
Remove the nuts (x4)that attach the new HV battery to the crate.
-
Position the gantry over the new HV battery crate and secure the H-frame to the HV battery.
注6x bolts, 8mm Allen, Hand tight
-
Lift the new HV battery out of the crate
-
Move the gantry away from the HV battery crate and over the HV battery table.
-
Lower the HV battery onto the battery table.
注Make sure to align HV battery onto center ski
-
Release the H-frame from the HV battery and raise the gantry.
注6x bolts, 8mm Allen, Hand tight
-
Remove the HV battery from under the gantry.
-
Position the gantry over the old HV battery.
-
Lower the H-frame onto the old HV battery and attach the H-frame to the battery.
注6x bolts, 8mm Allen, Hand tight
-
Raise the old HV battery above the HV battery crate.
-
Position the HV battery crate underneath the old HV battery.
-
Lower the old HV battery into the crate.
注Use caution to align the 4 studs and not damage the battery.
-
Remove the H-frame from the old HV battery.
注6x bolts, 8mm Allen, Hand tight
- Raise the gantry and H-frame from the old HV battery.
-
Lower gantry and remove the H-frame from the gantry.
-
Install the nuts (x4) that attach the HV battery to the crate hand tight.
-
Close the crate that housed the old HV battery.
-
Install the HVC logic cap onto the new HV battery.
-
Install the penthouse engagement seal onto the HV battery pack.
注This seal is a one time use item and should be replaced each time a HV battery pack is removed from vehicle or installed onto a new HV battery pack if not equipped.
- Install the HV battery. See HV Battery (AWD) ((拆卸和安装))
-
Connect LV battery maintenance charger.
注Release the positive terminal cover. Attach the positive terminal to the jump post. Attach the negative terminal to the ground terminal located above the VCfront. Connect the maintainer to power supply. To avoid damaging the vehicle. DO NOT allow the positive cable to make contact with other metal components. Never have a float charger and the LV battery simultaneously connected for any extended period of time (apart from during a SW reinstall/CAN redeploy).
- Enable Service Mode Plus. See 维护模式增强版
-
Access High Voltage System routines using the touchscreen.
注Select Service mode plus > High Voltage
-
Select "High Voltage Battery Replacement" through the touchscreen.
注Procedures > High Voltage Battery Replacement.
-
Select "Software Reinstall" through the touchscreen.
注Software Reinstall > CAN ECU > Reinstall, Allow routine to complete, ensure routine is successful
- Disconnect the LV maintainer from the vehicle.
- Exit Service Mode Plus. See 维护模式增强版