2025-12-25
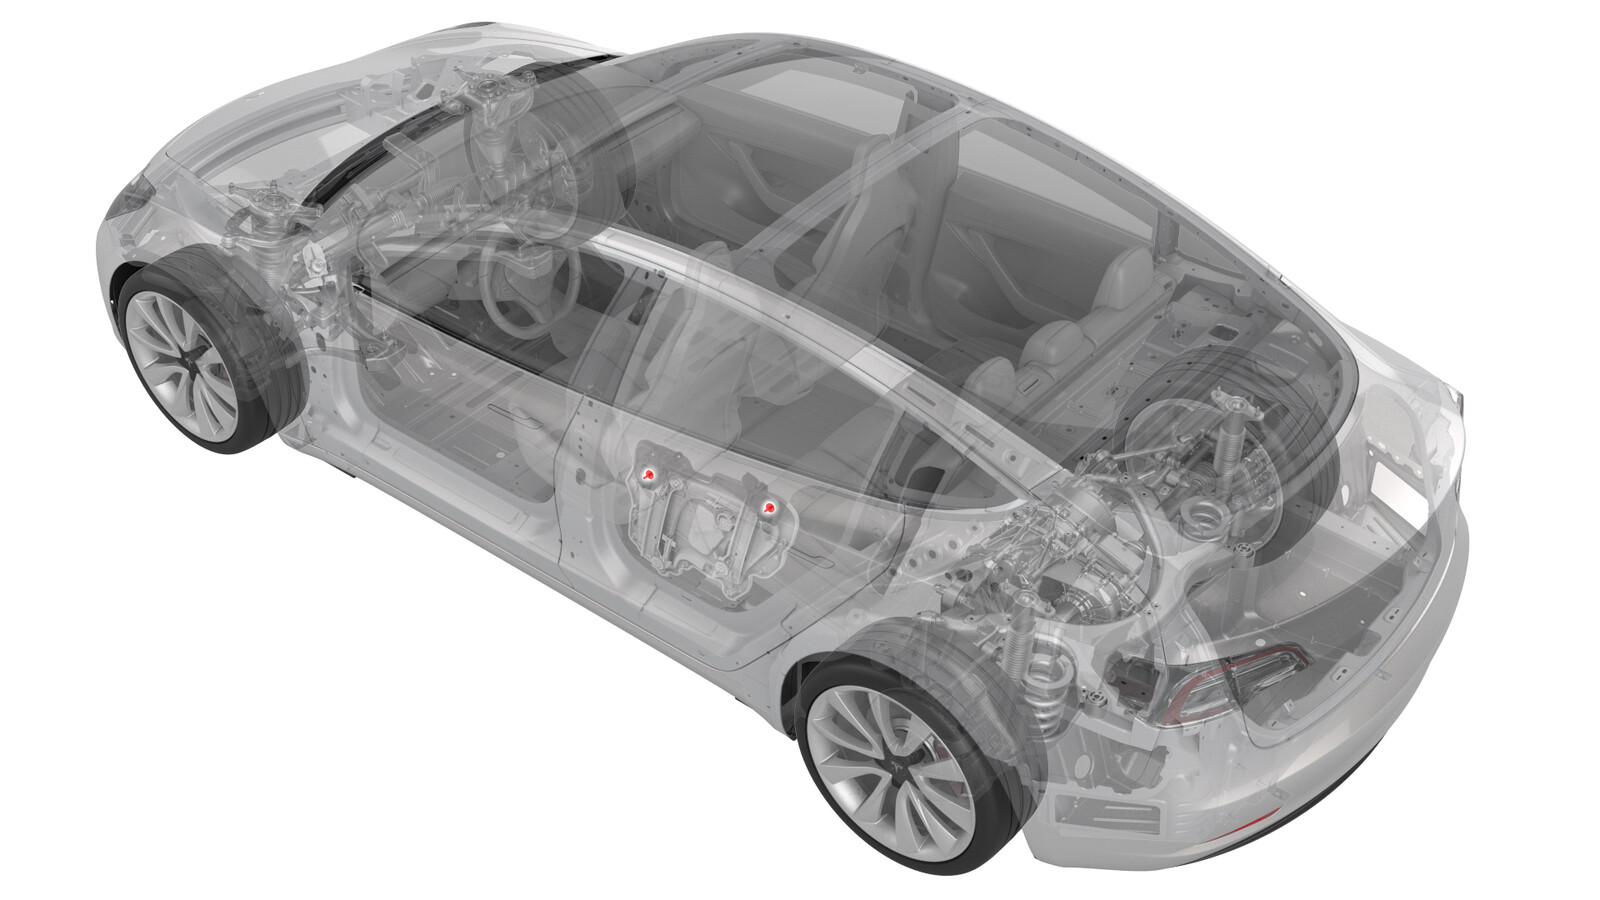
글라스 - 도어 - LH - 후면(탈거 및 교체)
 교정 코드
11500302 0.36
메모: 절차에서 명시적으로 언급하지 않는 한 위 교정 코드 및 FRT는 연결된 절차를 포함하여 이 절차를 수행하는 데 필요한 모든 작업을 반영합니다. 명시적으로 지시하지 않는 한 교정 코드를 누적하지 마십시오.
참고: FRT와 그 생성 방법에 대한 자세한 내용은 표준 정비 작업시간을 참조하십시오. FRT 값에 대한 피드백을 제공하려면 ServiceManualFeedback@tesla.com으로 이메일을 보내십시오.
메모: 아래 절차를 수행할 때 개인 보호을(를) 참조하여 적절한 PPE를 착용했는지 확인하십시오. 안전하고 건강한 작업 사례는 인체공학적 주의 사항의 내용을 참조하십시오.
- 2025-05-28: 글라스 손상을 방지하기 위한 새로운 주의 사항을 추가했습니다.
- 2024-12-10: 장착 전 글라스 검사 서비스 요구 사항에 대한 새로운 주의 사항을 추가했습니다.
- 2023-05-24: 글라스 손상을 방지하기 위해 청소 지침을 추가했습니다.
경고
측면 충격 에어백 전개 여부는 후면 도어 센서가 공기압으로 인한 측면 충격을 감지하는 능력에 따릅니다. 후면 도어 셸에 가려지지 않은 구멍이 없는지 확인하십시오. 추가적으로, 후면 도어와 후면 도어의 구성품을 정비하거나 점검할 때 항상 플러그를 다시 장착하거나 테이프를 다시 붙입니다.
경고
새로운 글라스 구성품(윈드실드, 루프, 도어 및 고정 글라스)은 장착 전에 Tesla의 내부 품질 기준을 충족해야 하는지 검사해야 합니다. 이 절차를 시작하기 전에 장착 전 글라스 검사기술된 검사를 수행하십시오.
경고
장착 중에는 도어를 닫지 마세요. 도어를 닫으면 창문이 손상될 수 있습니다.
토크 규격
| 설명 | 토크 값 | 권장 공구 | 재사용/교체 | 참고 |
|---|---|---|---|---|
| LH 후면 도어 글라스를 조절기 절연체 클램프에 고정하는 볼트 |
 9.5 Nm (7.0 lbs-ft) |
|
교체 | 1101805-00-B |
필요 장비:
- 1135305-00-A 도구, 창문 스위치 바이패스, Model 3
- 1129348-00-A XP-10 전원 공급, XP-10
탈거
- 후면 LH 도어 트림 패널을 탈거합니다. 패널 - 도어 트림 - 후면 - LH(탈거 및 장착) 참고.
- LH 후면 도어 내측 벨트 씰을 탈거합니다. 참조 항목: 씰 - 내측 벨트 - 후면 도어 - LH(탈거 및 교체).
-
볼트에 접근하기 위해 도어 내 개구부를 덮는 플러그를 탈거합니다.
-
퍼들 라이트를 LH 후면 도어 하네스에 임시로 연결합니다.
경고도어를 닫을 때 전기 케이블이 손상되지 않도록 배치합니다.
- 창문 스위치 특수 공구를 연결하고 도어 글라스를 내려 구멍에서 조절기 절연체 클램프 볼트에 접근할 수 있게 합니다.
-
도어 글라스를 조절기 절연체 클램프에 고정하는 볼트를 탈거하고 폐기한 다음 도어 글라스를 도어에서 탈거합니다.
참고글라스를 위로 올려 런 채널에서 떨어뜨린 다음 도어에서 탈거합니다.TIp다음 공구를 사용하는 것이 좋습니다.
- 13mm 소켓
참고손상된 경우, 조절기 절연체 클램프를 교체합니다.
장착
-
조절기 아이솔레이터 클램프에 유리 파편이나 기타 이물질이 있는지 검사하고 필요한 경우 청소합니다.
경고이물질과 파편은 새 도어 글라스를 손상시키거나 깨뜨릴 수 있습니다.
- 도어 글라스를 후면 도어에 배치합니다.
-
도어 글라스를 조절기 절연체 클램프에 고정하는 새 볼트를 장착하고 .
 9.5 Nm (7.0 lbs-ft)TIp다음 공구를 사용하는 것이 좋습니다.
- 13mm 소켓
-
내측 벨트 씰을 장착하고(후면 도어) 내측 벨트 씰을 클립으로 고정합니다.
TIp후면 도어 안으로 내측 벨트 씰을 밀어 내립니다.
- 도어 글라스를 조정합니다. 참조 항목: 글라스 - 도어 - LH - 후면(조정).
- 후면 도어 트림 패널을 장착합니다. 참조 항목: 패널 - 도어 트림 - 후면 - LH(탈거 및 장착).
- 창문을 보정합니다. 참조 항목: 창문 조절기(재보정).