2025-01-03
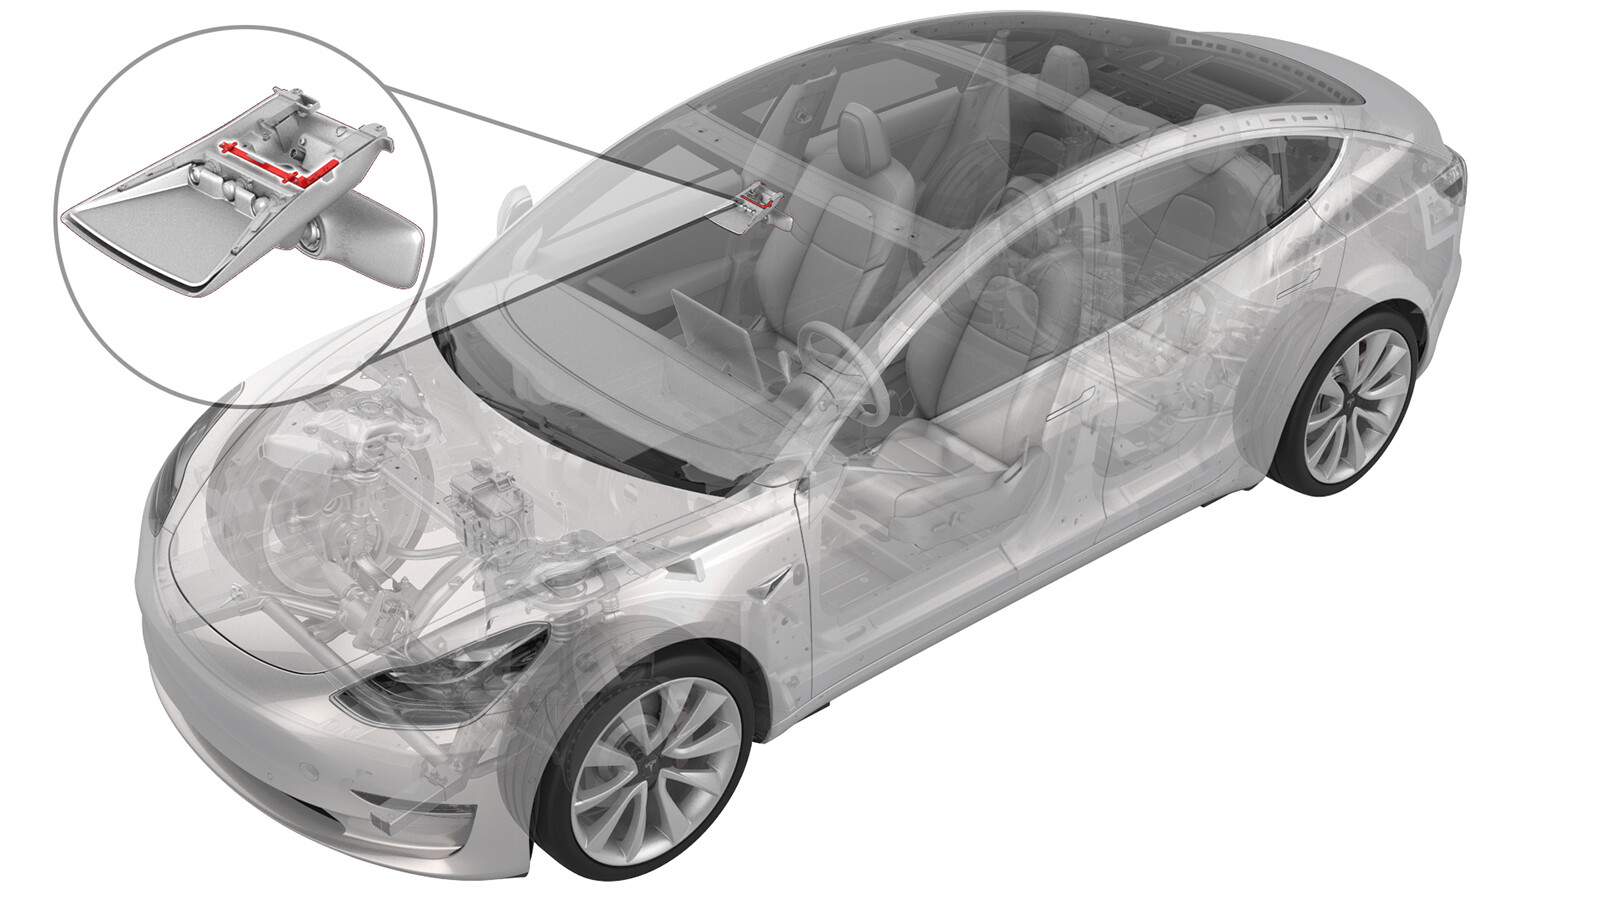
센서 - 상대 습도와 온도(탈거 및 장착)
 교정 코드
10206001 0.40
메모: 절차에서 명시적으로 언급하지 않는 한 위 교정 코드 및 FRT는 연결된 절차를 포함하여 이 절차를 수행하는 데 필요한 모든 작업을 반영합니다. 명시적으로 지시하지 않는 한 교정 코드를 누적하지 마십시오.
참고: FRT와 그 생성 방법에 대한 자세한 내용은 표준 정비 작업시간을 참조하십시오. FRT 값에 대한 피드백을 제공하려면 ServiceManualFeedback@tesla.com으로 이메일을 보내십시오.
메모: 아래 절차를 수행할 때 개인 보호을(를) 참조하여 적절한 PPE를 착용했는지 확인하십시오. 안전하고 건강한 작업 사례는 인체공학적 주의 사항의 내용을 참조하십시오.
탈거
- 상대습도 및 온도 센서를 탈거합니다. 참조 항목: 센서 - 상대 습도와 온도(탈거 및 교체).
그래핀 블록 교체
경고
새 그래핀 폼 블록을 장착합니다. 오래된 그래핀 폼 블록은 재사용하지 마십시오. 새 폼 블록을 장착하기 전에 접촉 패드에서 접착제 잔여물을 모두 청소합니다.
-
ESD 키트를 준비합니다.
경고ESD 키트를 부적절하게 사용하면 구성품이 손상될 수 있습니다.참고자세한 내용은 TN-14-92-003 "정전기 방전 도구"를 참조하십시오.
-
버튼 커넥터가 접지 지점(콘센트, 차량 섀시 등)에 가깝도록 ESD 매트를 작업대에 편평하게 놓습니다.
-
접지 코드의 버튼 커넥터를 ESD 매트의 버튼 커넥터에 끼웁니다.
참고커넥터가 ESD 매트에 안정적으로 고정됐는지 확인하십시오.
-
손목 스트랩 끝에서 악어 클립 어댑터를 탈거하여 바나나 플러그를 노출시킵니다.
-
손목 스트랩의 바나나 플러그를 접지 코드에 연결합니다.
-
접지 코드를 접지원에 연결합니다. 다음 중에서 선택하십시오.
- TN-14-92-003-R1 NEMA 5-15 콘센트가 있는 서비스 센터에 따라 다음을 수행합니다.
- 접지 표시기를 콘센트에 연결하고 오른쪽의 라이트 2개가 켜지는지 확인합니다.
- 접지 코드 끝에서 악어 클립 어댑터를 탈거하여 바나나 플러그를 노출시킵니다.
- 접지 코드의 바나나 플러그를 접지 표시기에 연결합니다.
- 접지된 NEMA 5-15 이외 콘센트가 있는 서비스 센터의 경우 다음을 수행합니다.
- 적절한 어댑터를 콘센트에 연결합니다.참고접지된 NEMA 5-15 외 콘센트가 있는 서비스 센터는 접지 표시기를 해당 지역 콘센트 유형에 적합한 어댑터가 필요합니다. 어댑터를 구할 수 없는 경우 ServiceTooling@teslamotors.com에 문의하여 도움을 받으십시오.
- 접지 표시기를 어댑터에 연결하고 오른쪽의 라이트 2개가 켜지는지 확인합니다.
- 접지 코드 끝에서 악어 클립 어댑터를 탈거하여 바나나 플러그를 노출시킵니다.
- 접지 코드의 바나나 플러그를 접지 표시기에 연결합니다.
- 적절한 어댑터를 콘센트에 연결합니다.
- 접지되지 않은 콘센터가 있는 서비스 센터의 경우 다음을 수행합니다.
- 접지 코드의 악어 클립 어댑터를 차량의 도색되지 않은 금속 부분에 끼웁니다.
- TN-14-92-003-R1 NEMA 5-15 콘센트가 있는 서비스 센터에 따라 다음을 수행합니다.
-
ESD 손목 스트랩을 착용합니다.
-
온도 및 습도 센서에서 그래핀 폼 블록을 탈거합니다.
참고접착제 주변 영역에 열을 가한 다음 핀셋을 사용하여 그래픽 폼 블록을 부드럽게 들어 올려 분리합니다.
-
IPA 천을 사용하여 온도 및 습도 센서 폼 블록이 놓일 영역을 닦아냅니다.
참고1분 동안 건조시킵니다.
-
폼 블록 로케이터 도구를 온도 및 습도 센서에 고정합니다.
참고도구의 기준점을 기판의 정렬 구멍과 정렬합니다.TIp다음 공구 사용을 권장합니다.
- M3 THS 폼 고정구 - 1727102-00-A
-
핀셋을 사용하여 그래핀 블록을 온도 및 습도 센서에 조심스럽게 장착합니다.
참고그래핀 블록이 금색 사각형 내부에 완전히 장착되었고 칩에 가장 가까운 구멍이 덮이지 않은 상태로 남아 있는지 확인하십시오.TIp다음 공구 사용을 권장합니다.
- 핀셋 - 1126453-00-A
- ESD 손목 스트랩을 탈거합니다.
장착
- 상대습도 및 온도 센서를 장착합니다. 참조 항목: 센서 - 상대 습도와 온도(탈거 및 교체).