2025-09-11
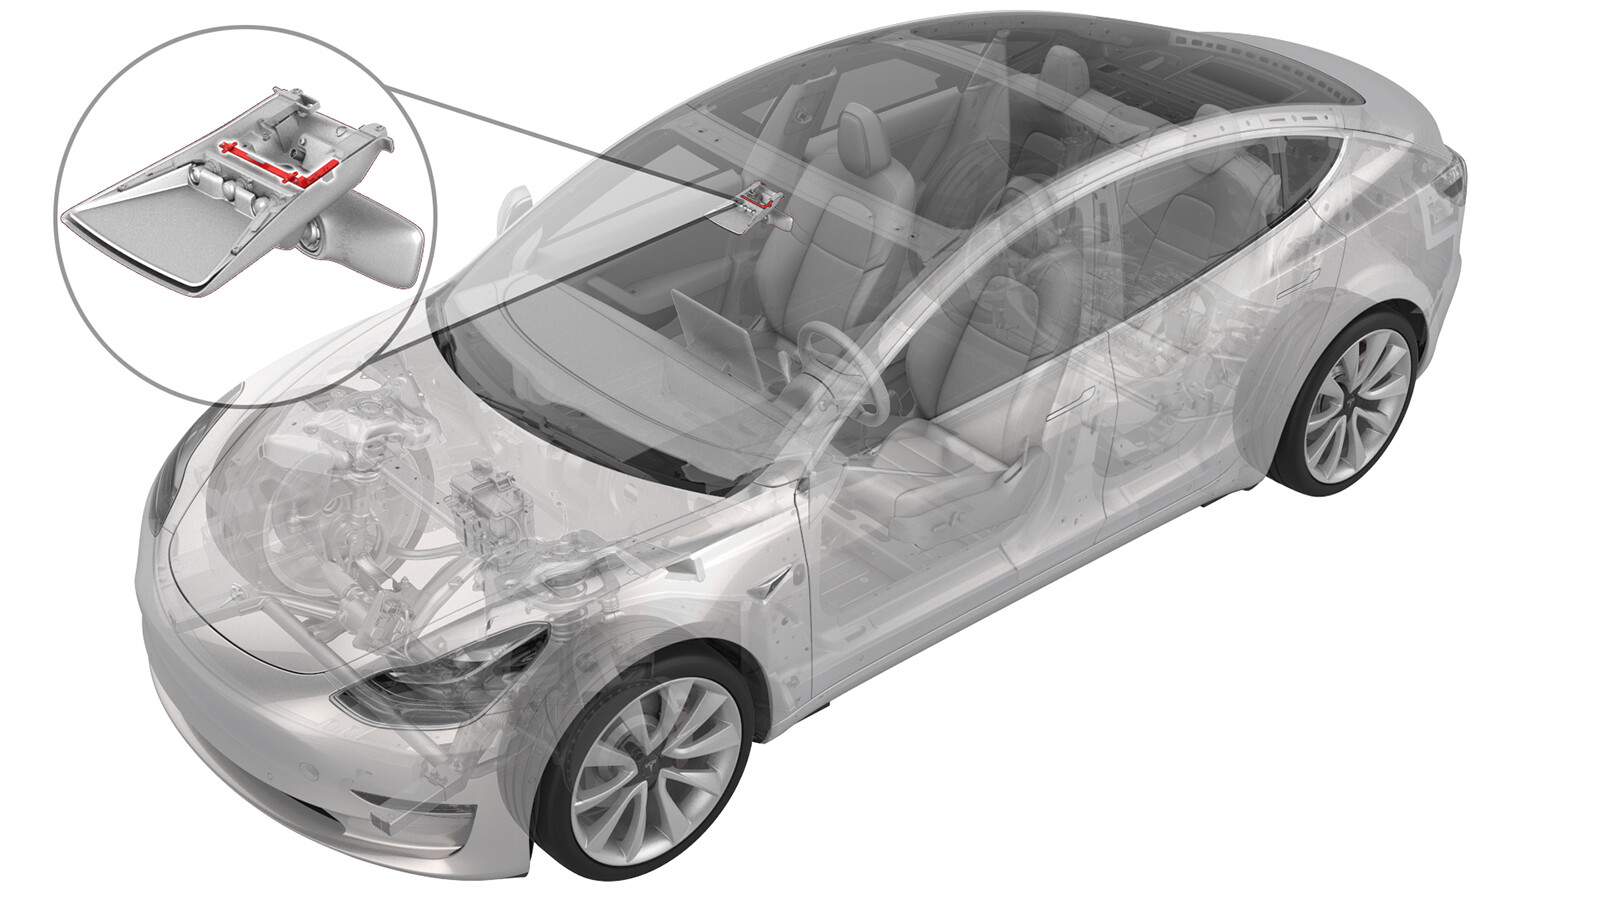
센서 - 상대 습도와 온도(탈거 및 교체)
 교정 코드
10206002 0.24
메모: 절차에서 명시적으로 언급하지 않는 한 위 교정 코드 및 FRT는 연결된 절차를 포함하여 이 절차를 수행하는 데 필요한 모든 작업을 반영합니다. 명시적으로 지시하지 않는 한 교정 코드를 누적하지 마십시오.
참고: FRT와 그 생성 방법에 대한 자세한 내용은 표준 정비 작업시간을 참조하십시오. FRT 값에 대한 피드백을 제공하려면 ServiceManualFeedback@tesla.com으로 이메일을 보내십시오.
메모: 아래 절차를 수행할 때 개인 보호을(를) 참조하여 적절한 PPE를 착용했는지 확인하십시오. 안전하고 건강한 작업 사례는 인체공학적 주의 사항의 내용을 참조하십시오.
- 2025-07-11: 교체 부품 요구 사항에 대한 정보를 추가했습니다.
- 2024-12-02: 참고 사항 및 정비 모드 지침을 업데이트했습니다.
경고
이 절차에 포함되어 있는 비디오는 보충 목적의 개요로만 제공됩니다. 구성품의 손상 및/또는 신체 상해를 방지하려면 절차에 나열된 모든 단계를 따르십시오.
탈거
- LH 전면 도어를 열고 LH 전면 창문을 내립니다.
-
터치스크린을 사용하여 DAS 보정을 지웁니다. 계속하기 전에 메시지가 자동으로 사라질 때까지 기다립니다.
참고컨트롤 > 정비 > 카메라 보정 > 보정 초기화참고보정이 지워졌는지 확인합니다.참고다음 주행 도중 "보정 진행 중" 메시지 및 진행률 아이콘이 나타납니다.
- 하단 쿼드 카메라 커버를 탈거합니다. 참조 항목: 쿼드 카메라 커버 - 하단(탈거 및 교체).
- 리어 뷰 미러를 탈거합니다. 참조 항목: 미러 - 후방(탈거 및 교체).
- 트리플 카메라 후드를 탈거합니다. 참조 항목: 글레어 실드(탈거 및 교체).
- 승객 카메라의 상단 쿼드 카메라 커버에서 전기 하네스를 연결 해제한 다음 차량에서 카메라 커버를 탈거합니다.
-
트리플 카메라 어셈블리를 윈드실드 브래킷에 고정하는 나사(4개)를 탈거한 다음 브래킷에서 어셈블리를 분리합니다.
-
습도 및 온도 센서 커넥터에서 전기 커넥터를 연결 해제합니다.
-
PH00(Phillips #00) 스크루드라이버를 사용하여 습도 및 온도 센서를 윈드실드 브래킷에 고정하는 나사(2개)를 탈거합니다.
참고규격에 맞는 드라이버를 사용하여 나사를 탈거합니다. 그렇지 않으면 나사 헤드가 벗겨질 수 있습니다.참고나사가 작으니 잃어버리지 않도록 주의하십시오.
-
윈드실드 브래킷에서 상대 습도 및 온도 센서를 탈거합니다.
참고센서 회로 기판을 위로 기울여 플라스틱 정렬 핀 위에 놓은 다음 센서 회로 기판을 위로 움직여 핀을 탈거합니다.
장착
참고
장착하기 전에 접촉 패드에 그래핀 폼 블록이 있는지 확인하고, 센서 폼 패드에서 파란색 테이프를 제거합니다. 폼이 분해되었거나 더 이상 존재하지 않으면 새 그래핀 폼 블록을 장착합니다. 오래된 폼에 남아 있는 접착제 잔여물을 모두 청소합니다. 폼은 윈드실드의 온도를 센서로 전달하는 데 필요합니다.
참고
교체 부품 번호의 일련 번호가 PGT25067 이상으로 시작하는지 확인하십시오. 자세한 내용은 Toolbox 기술 자료 8984500을 참조하십시오.
-
전에 습도 및 온도 센서 회로 기판의 폼 패드가 윈드실드에 접촉하는 부위를 이소프로필 알코올(IPA) 와이프로 닦아내고 계속하기 전에 건조시킵니다.
경고장착하기 전에 윈드실드에서 접착제 잔여물을 모두 제거하고 윈드실드가 물기 없이 건조한 상태인지 확인하십시오. 윈드실드가 젖어 있으면 폼 패드가 달라붙지 않습니다. 센서의 구멍을 윈드실드 브래킷의 플라스틱 정렬 핀에 맞춥니다.
-
습도 및 온도 센서 회로 기판을 윈드실드 브래킷에 장착합니다.
참고PCB의 구멍을 플라스틱 정렬 핀과 맞춥니다.
-
PH00(Phillips #00) 스크루드라이버를 사용하여 습도 및 온도 센서를 윈드실드 브래킷에 고정하는 나사(2개)를 장착합니다.
 0.12 Nm (1 lbs-in)경고Wiha 정밀 토크 렌치 또는 이와 유사한 공구를 사용하여 나사를 윈드실드 브래킷에 고정합니다. 브래킷의 나사산은 매우 정교하며 매우 쉽게 제거될 수 있습니다.
 -
전기 커넥터를 습도 및 온도 센서에 연결합니다.
-
트리플 카메라 어셈블리를 윈드실드 브래킷에 배치한 다음 어셈블리를 윈드실드 브래킷에 고정하는 나사(4개)를 장착합니다.
 1 Nm (.7 lbs-ft)TIp다음 공구를 사용하는 것이 좋습니다.
- T10 소켓
- 트리플 카메라 후드를 장착합니다. 참조 항목: 글레어 실드(탈거 및 교체).
- 리어 뷰 미러를 장착합니다. 참조 항목: 미러 - 후방(탈거 및 교체).
- 하단 쿼드 카메라 커버를 장착합니다. 참조 항목: 쿼드 카메라 커버 - 하단(탈거 및 교체).
-
정비 모드 또는 Toolbox를 사용하여 다음 루틴을 수행합니다(참조 항목: 0005 - 정비 모드):
UPDATE_CAN-REDEPLOYvia Toolbox: (link)via Service Mode Plus:
- Drive Inverter Replacement ➜ Drive Inverter DIRE1L Replacement ➜ CAN Redeploy
- Drive Inverter Replacement ➜ Drive Inverter DIRE1R Replacement ➜ CAN Redeploy
- Drive Inverter Replacement ➜ Drive Inverter DIRE2 Replacement ➜ CAN Redeploy
- Drive Inverter ➜ Front Drive Inverter Replacement ➜ CAN Redeploy
- Drive Inverter ➜ Rear Drive Inverter Replacement ➜ CAN Redeploy
- Drive Inverter ➜ Rear Left Drive Inverter Replacement ➜ CAN Redeploy
- Drive Inverter ➜ Rear Right Drive Inverter Replacement ➜ CAN Redeploy
- Drive Unit ➜ Front Drive Unit Replacement ➜ CAN Redeploy
- Drive Unit ➜ Rear Drive Unit Replacement ➜ CAN Redeploy
- Thermal ➜ HVAC ➜ CAN Redeploy
- chassis ➜ DPB Post Replacement ➜ CAN Redeploy
- chassis ➜ ESP Post Replacement ➜ CAN Redeploy
- chassis ➜ IDB Post Replacement ➜ CAN Redeploy
- chassis ➜ RCU Post Replacement ➜ CAN Redeploy
- chassis ➜ ESP Replacement Panel ➜ CAN Redeploy
- chassis ➜ IBST Replacement Panel ➜ CAN Redeploy
- LH 전면 창문을 올리고 LH 전면 도어를 닫습니다.
-
이제 카메라 자체 보정을 하게 하려면 수동 주행이 필요하다고 고객에게 알려줍니다.
참고자체 보정은 도로 유형과 상태에 따라 160km(100마일)의 수동 주행이 필요할 수 있습니다. 오토파일럿 기능을 실행하려는 경우 자체 보정이 완료될 때까지 "오토파일럿 기능을 현재 사용할 수 없음: 오토파일럿 기능을 시도하려는 경우, "카메라 보정 시 수동 주행이 필요합니다" 메세지가 표시됩니다.