2019-08-13
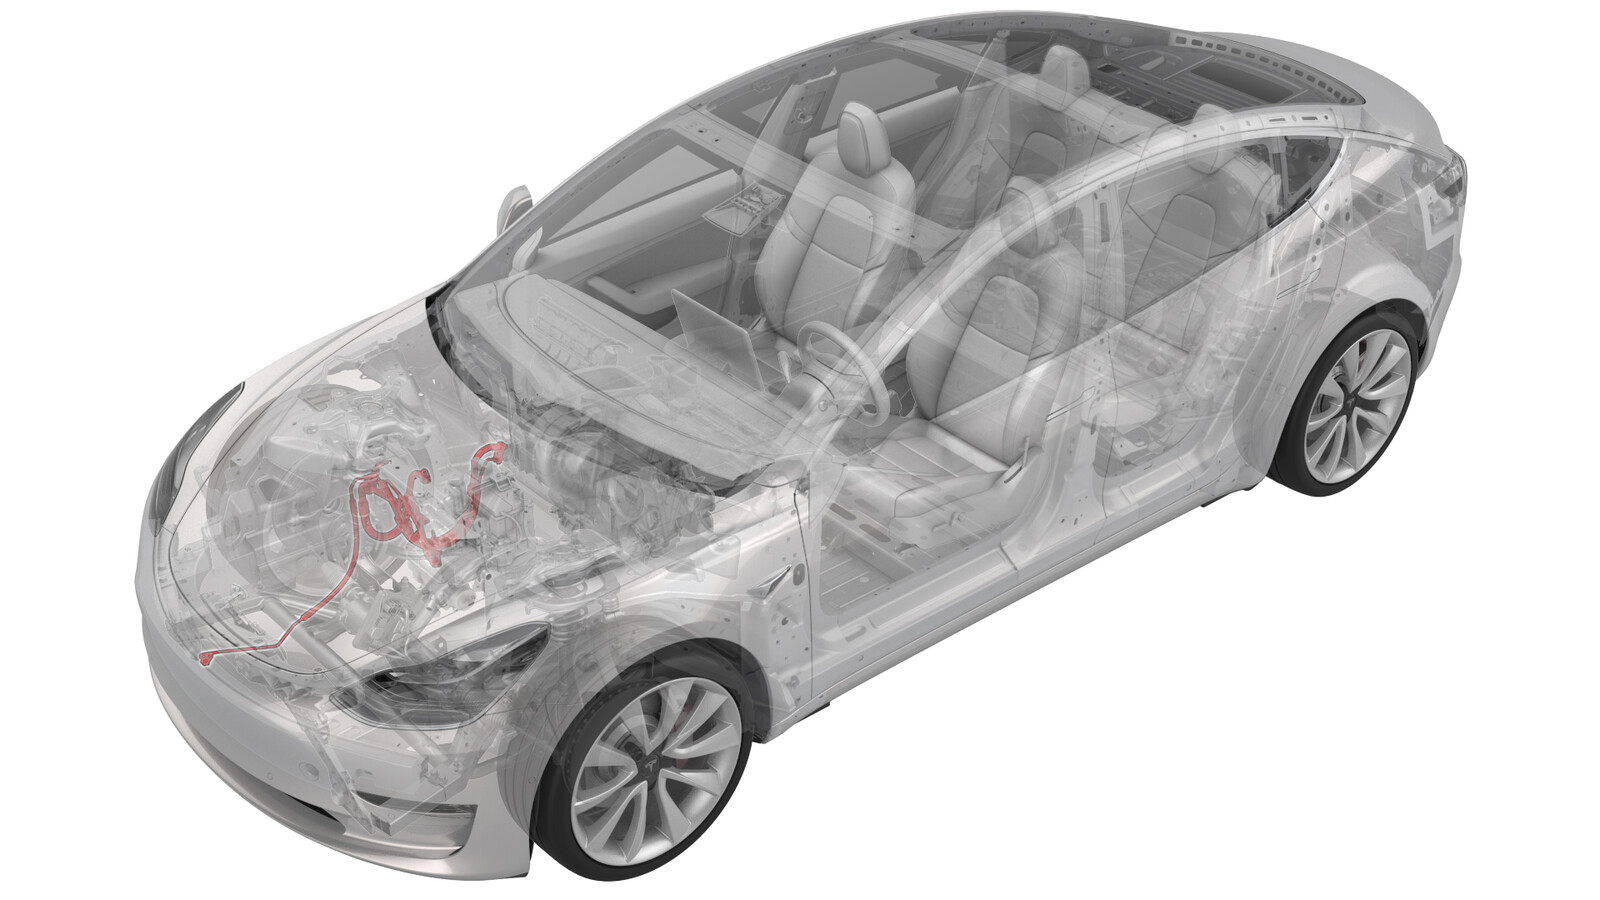
A/C 냉매 누출 감지
 교정 코드
18200200 1.50
메모: 절차에서 명시적으로 언급하지 않는 한 위 교정 코드 및 FRT는 연결된 절차를 포함하여 이 절차를 수행하는 데 필요한 모든 작업을 반영합니다. 명시적으로 지시하지 않는 한 교정 코드를 누적하지 마십시오.
참고: FRT와 그 생성 방법에 대한 자세한 내용은 표준 정비 작업시간을 참조하십시오. FRT 값에 대한 피드백을 제공하려면 ServiceManualFeedback@tesla.com으로 이메일을 보내십시오.
메모: 아래 절차를 수행할 때 개인 보호을(를) 참조하여 적절한 PPE를 착용했는지 확인하십시오. 안전하고 건강한 작업 사례는 인체공학적 주의 사항의 내용을 참조하십시오.
- 1053591-00-A 도구, 손전등, UV
- 1080563-01-A UV 누출 감지 키트
절차
- 후면 후드 내 에이프런을 탈거합니다. 후드 내 에이프런 - 후면(탈거 및 교체)을(를) 참조하십시오.
- 실내 흡기 덕트를 탈거합니다. 덕트 - 상단 - 실내 흡기(탈거 및 교체)을(를) 참조하십시오.
- 후드 래치 커버를 탈거합니다. 커버 - 후드 래치(탈거 및 교체)을(를) 참조하십시오.
- 후드 내 보관 유닛을 탈거합니다. 후드 내 보관 유닛(탈거 및 교체)을(를) 참조하십시오.
- A/C 포트에서 캡을 탈거합니다.
-
A/C 장비에서 호스를 차량에 연결한 다음 A/C 회수를 수행합니다.
참고A/C 시스템이 방출된 후 회수한 A/C 냉매 및 오일의 양을 기록합니다.
-
A/C 시스템 진공 처리를 수행합니다.
참고A/C 시스템 진공 처리 완료에 30분이 걸립니다.
- A/C 냉매 재충전을 수행합니다.
- 운전석 및 동승석의 온도를 LO로 설정하고 A/C 시스템을 AUTO로 설정합니다.
-
UV 조명 및 UV 검사 키트를 사용하여 TXV 밸브 영역에서 A/C 냉매 누출이 있는지 확인합니다.
참고A/C 냉매 누출이 있는 경우 TXV 밸브를 교체합니다. TXV 밸브 - 증발기(히트 펌프 이외)(탈거 및 교체)을(를) 참조하십시오.
-
UV 조명 및 UV 검사 키트를 사용하여 냉각 장치 및 EXV 밸브 영역에서 A/C 냉매 누출이 있는지 확인합니다.
참고A/C 냉매 누출이 있는 경우 냉각 장치 및 EXV 밸브를 교체합니다. 칠러 및 EXV 어셈블리(히트 펌프 이외)(탈거 및 교체)을(를) 참조하십시오.
-
UV 조명 및 UV 검사 키트를 사용하여 컴프레서 방출 및 인입 라인 영역에서 A/C 냉매 누출이 있는지 확인합니다.
참고A/C 냉매 누출이 있는 경우 컴프레서-콘덴서 고압 파이프를 교체합니다. 파이프 - 고압 - 컴프레서에서 콘덴서(히트 펌프 이외)(탈거 및 교체)을(를) 참조하십시오.
-
UV 조명 및 UV 검사 키트를 사용하여 고압/저압 냉매 파이프 영역에서 A/C 냉매 누출이 있는지 확인합니다.
참고A/C 냉매 누출이 있는 경우 고압/저압 냉매 파이프를 교체합니다. 파이프 - 냉매 - 고압/저압(히트 펌프 이외)(탈거 및 교체)을(를) 참조하십시오.
- 전면 에어로 실드 패널을 탈거합니다. 패널 - 에어로 실드 - 전면(탈거 및 교체)을(를) 참조하십시오.
- 전면 페시아 밸런스를 탈거합니다. 밸런스 - 전면 페시아(탈거 및 교체)을(를) 참조하십시오.
-
UV 조명 및 UV 검사 키트를 사용하여 콘덴서 연결부 및 콘덴서 자체에 A/C 냉매 누출이 있는지 확인합니다.
참고A/C 냉매 누출이 있는 경우 콘덴서를 교체합니다. 콘덴서(탈거 및 교체)을(를) 참조하십시오.
- 전면 페시아 밸런스를 장착합니다. 밸런스 - 전면 페시아(탈거 및 교체)을(를) 참조하십시오.
- 전면 에어로 실드 패널을 장착합니다. 패널 - 에어로 실드 - 전면(탈거 및 교체)을(를) 참조하십시오.
- 차량을 내립니다.
- 리프트에서 차량을 내립니다.
- 차량에서 A/C 라인을 탈거합니다.
- A/C 포트에 캡을 장착합니다.
- 후드 내 보관 유닛을 장착합니다. 후드 내 보관 유닛(탈거 및 교체)을(를) 참조하십시오.
- 후드 래치 커버를 장착합니다. 커버 - 후드 래치(탈거 및 교체)을(를) 참조하십시오.
- 실내 흡기 덕트를 장착합니다. 덕트 - 상단 - 실내 흡기(탈거 및 교체)을(를) 참조하십시오.
-
후면 후드 내 에이프런을 장착합니다. 후드 내 에이프런 - 후면(탈거 및 교체)을(를) 참조하십시오.