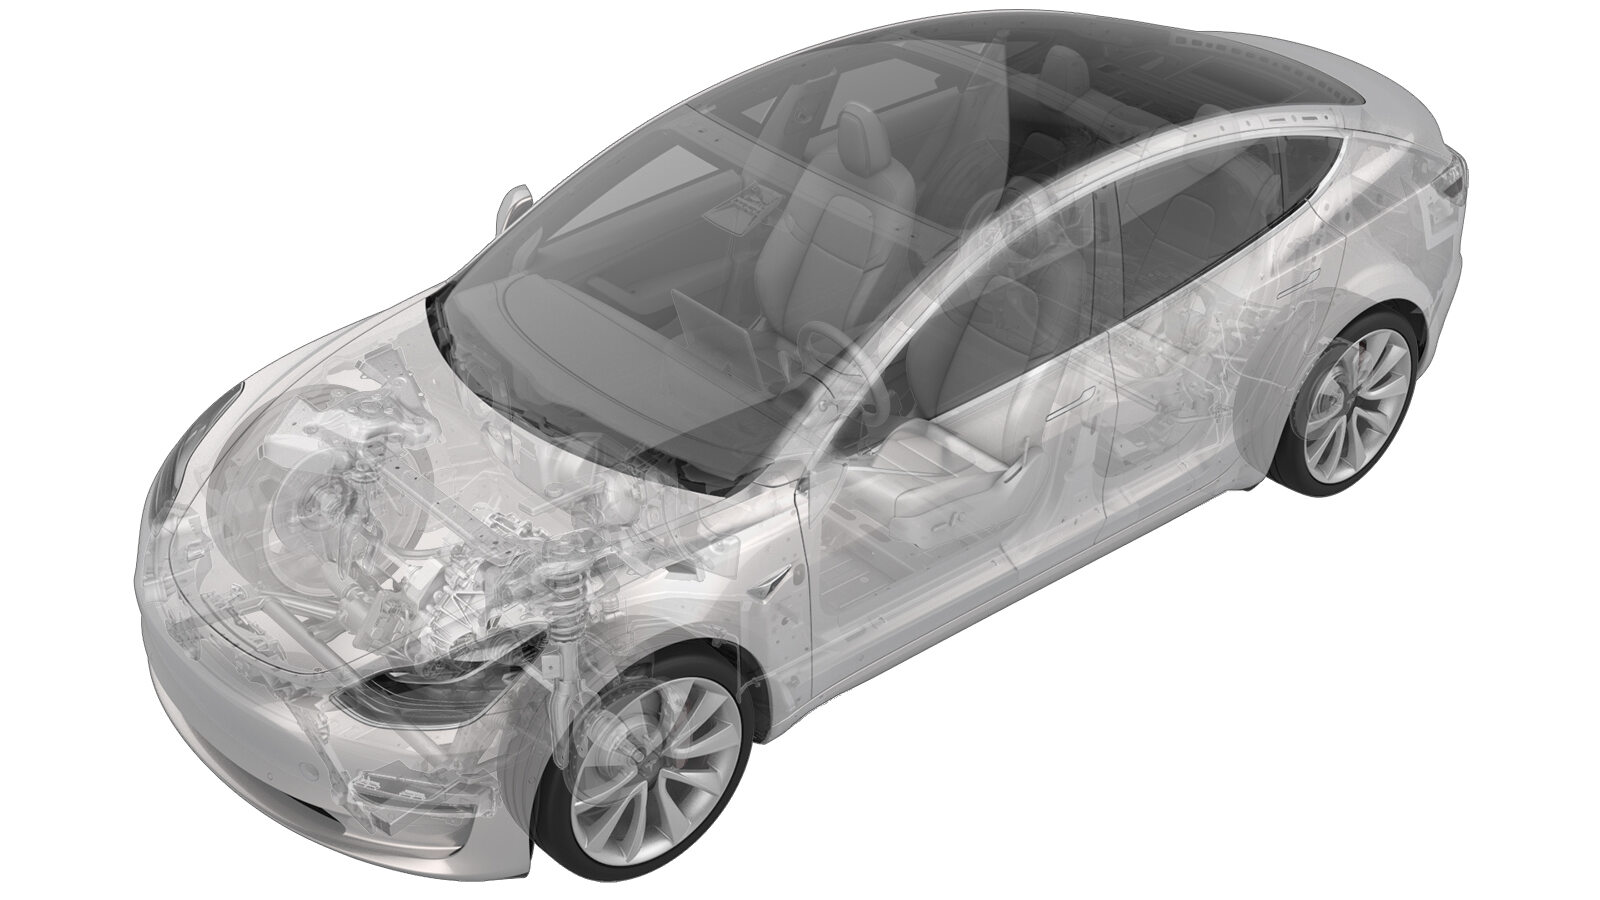
2022-11-29
하네스 - 필터 - 안테나 - LH(탈거 및 교체)
 교정 코드
17108302 0.36
메모: 절차에서 명시적으로 언급하지 않는 한 위 교정 코드 및 FRT는 연결된 절차를 포함하여 이 절차를 수행하는 데 필요한 모든 작업을 반영합니다. 명시적으로 지시하지 않는 한 교정 코드를 누적하지 마십시오.
참고: FRT와 그 생성 방법에 대한 자세한 내용은 표준 정비 작업시간을 참조하십시오. FRT 값에 대한 피드백을 제공하려면 ServiceManualFeedback@tesla.com으로 이메일을 보내십시오.
메모: 아래 절차를 수행할 때 개인 보호을(를) 참조하여 적절한 PPE를 착용했는지 확인하십시오. 안전하고 건강한 작업 사례는 인체공학적 주의 사항의 내용을 참조하십시오.
탈거
-
Open all the doors and fully lower all the windows.
참고If the vehicle is being powered down, latch the rear doors to prevent accidental closure.
- Move the LH and RH front seats fully forward.
- Remove the LH 2nd row seat side bolster. See 볼스터 - 측면 - 시트 - 2열 - LH(탈거 및 교체).
- Remove the LH side rail trim. See 트림 - 사이드 레일 - LH(탈거 및 교체).
- Remove the LH upper C-pillar trim. See 트림 - C필러 - 상단 - LH(탈거 및 교체).
-
Release the clip and tabs (x4) that attach the LH rear C-pillar trim to the body, and then set the trim aside.
참고Pull the rear of the trim forward, and then upward to remove it.TIp다음 공구를 사용하는 것이 좋습니다.
- Plastic trim tool
- Remove the RH 2nd row seat side bolster. See 볼스터 - 측면 - 시트 - 2열 - LH(탈거 및 교체).
- Remove the RH side rail trim. See 트림 - 사이드 레일 - LH(탈거 및 교체).
- Remove the RH upper C-pillar trim. See 트림 - C필러 - 상단 - LH(탈거 및 교체).
-
Release the clip and tabs (x4) that attach the RH rear C-pillar trim to the body, and then set the trim aside.
참고Pull the rear of the trim forward, and then upward to remove it.TIp다음 공구를 사용하는 것이 좋습니다.
- Plastic trim tool
- Remove the package tray trim. See 트림 - 패키지 트레이(탈거 및 교체).
-
Disconnect the LH antenna filter harness connector from the LH C-pillar ground.
TIp다음 공구를 사용하는 것이 좋습니다.
- Pick Miniature Soft Grip, 90도 팁, 6인치
-
Remove the LH antenna filter harness from the backlight glass.
참고Peel the tape back found at each end of harness housing seal.TIp다음 공구를 사용하는 것이 좋습니다.
- Plastic trim tool
-
Disconnect the LH antenna filter harness connector from the heater grid, and then remove the harness from the vehicle.
경고Gently disconnect the harness. Do not damage the heater grid.TIp다음 공구를 사용하는 것이 좋습니다.
- Pick Miniature Soft Grip, 90도 팁, 6인치
장착
-
Position the LH antenna filter harness on the vehicle, and then connect the harness connector to the heater grid.
-
Connect the LH antenna filter harness connector to the LH C-pillar ground.
-
Install the LH antenna filter harness on the backlight glass.
참고Apply a small piece of tape at each end of the seal clip.TIp다음 공구를 사용하는 것이 좋습니다.
- Felt tape
- Scissors
- Install the package tray trim. See 트림 - 패키지 트레이(탈거 및 교체).
-
Install the clip and tabs (x4) that attach the LH rear C-pillar trim to the body.
참고Slide the back tabs into package tray, and then push the front tabs toward the rear.
- Install the LH upper C-pillar trim. See 트림 - C필러 - 상단 - LH(탈거 및 교체).
- Install the LH side rail trim. See 트림 - 사이드 레일 - LH(탈거 및 교체).
- Install the LH 2nd row seat side bolster. See 볼스터 - 측면 - 시트 - 2열 - LH(탈거 및 교체).
- Raise the LH 2nd row seat.
- Repeat step 5 through step 9 for the RH side of the vehicle.
- Move the LH and RH front seats to the original positions.
- Raise all the windows and close all the doors.