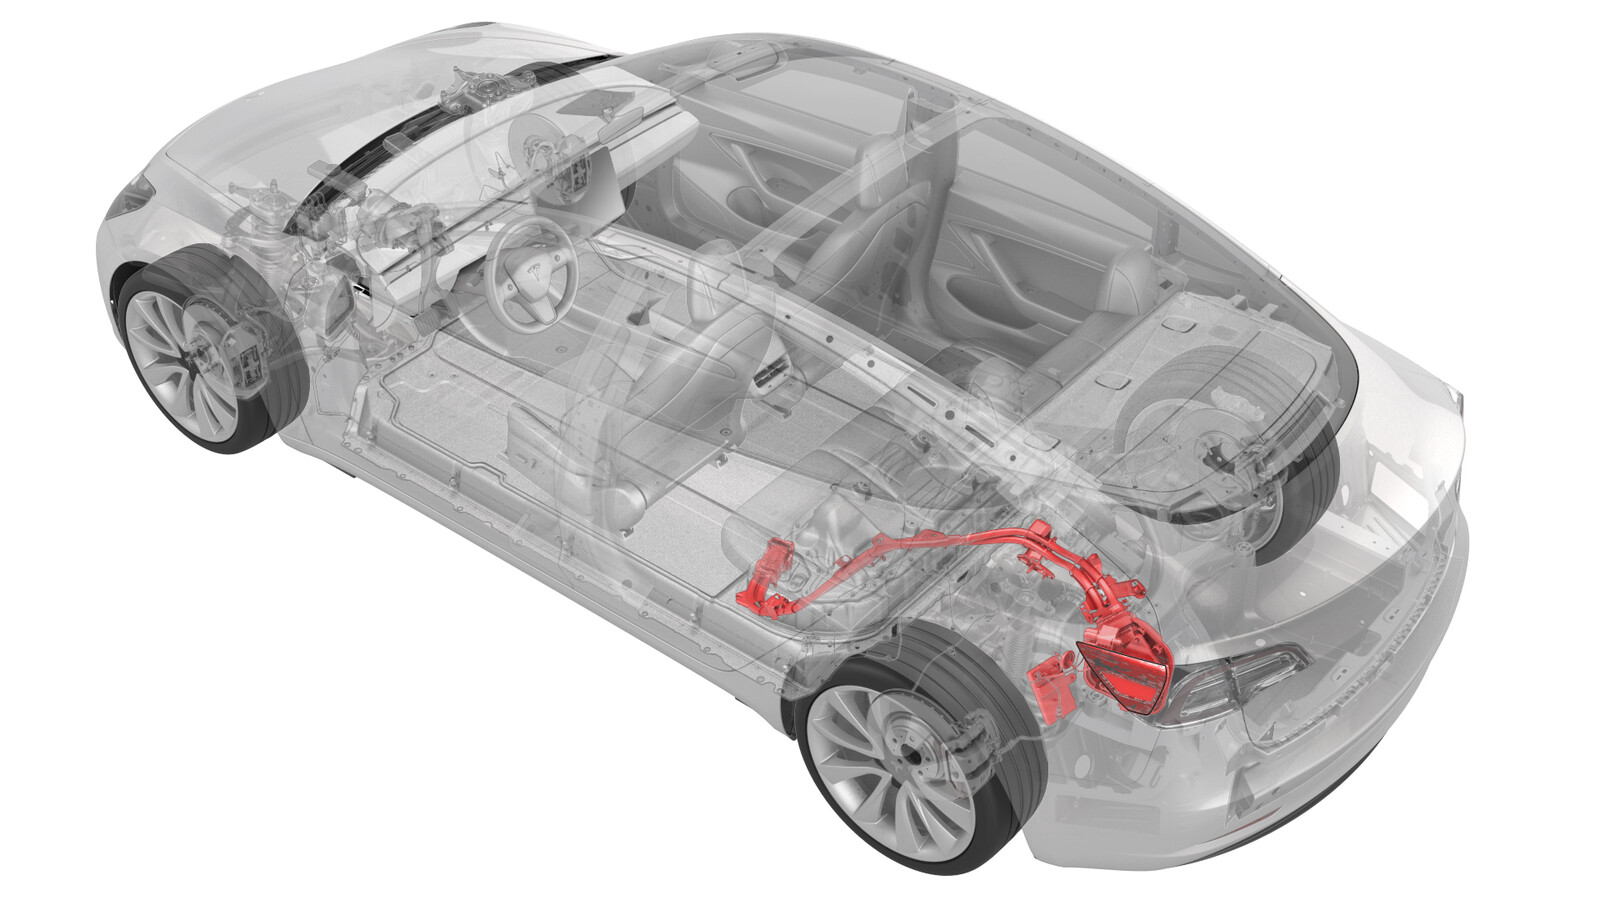
충전 포트(cp) 및 버스바-HV 배터리(단상)(새로 장착)
 교정 코드
44013106 1.98
메모: 절차에서 명시적으로 언급하지 않는 한 위 교정 코드 및 FRT는 연결된 절차를 포함하여 이 절차를 수행하는 데 필요한 모든 작업을 반영합니다. 명시적으로 지시하지 않는 한 교정 코드를 누적하지 마십시오.
참고: FRT와 그 생성 방법에 대한 자세한 내용은 표준 정비 작업시간을 참조하십시오. FRT 값에 대한 피드백을 제공하려면 ServiceManualFeedback@tesla.com으로 이메일을 보내십시오.
메모: 아래 절차를 수행할 때 개인 보호을(를) 참조하여 적절한 PPE를 착용했는지 확인하십시오. 안전하고 건강한 작업 사례는 인체공학적 주의 사항의 내용을 참조하십시오.
- 2023-05-24: Replaced the vehicle electrical isolation procedure with the charge port voltage check procedure.
모든 필수 인증 교육을 완료한 기술자만 이 절차를 수행할 수 있습니다. Tesla는 타사 서비스 제공업체 기술자가 이 절차를 수행하기 전에 동등한 교육을 받을 것을 권장합니다. Tesla 기술자 요구 사항에 대한 자세한 내용이나 타사 기술자에 대한 분야별 설명은 HV Certification Requirements를 참조하십시오. 고전압 케이블, 버스바 또는 피팅을 다룰 때에는 항상 적합한 개인 보호 장비(PPE)와 클래스 0(1000V)의 최소 정격을 갖는 절연 HV 장갑을 착용해야 합니다. 추가 안전 정보는 기술 노트 TN-15-92-003고압 인식 주의 사항
을 참조하십시오.
고전압에 노출되는 절차를 수행하기 전에 작업자에게 모든 장신구(시계, 팔찌, 반지, 목걸이, 귀걸이, ID 태그, 피어싱 장신구 등)를 벗으라고 하고 주머니에서 모든 물건(열쇠, 동전, 펜, 연필, 공구, 패스너 등)을 꺼내 놓으십시오.
Proper Personal Protective Equipment (PPE) is required to perform this procedure:
- High Voltage (HV) insulating gloves
- Leather glove protectors
- High voltage glove tester
- Safety glasses
- Electrical hazard rated safety shoes
A glove inflator is the only recommended way to test HV gloves. Both HV gloves must pass testing before beginning this procedure. If either glove does not pass the air check, discard the pair.
Make sure that the HV gloves are not expired. HV gloves can be used up to 12 months after the testing date printed on the glove, but only 6 months after first use even if the gloves are still within the 12-month period.
탈거
- Open all doors and lower all windows.
- Move both front seats forward.
- Open the trunk and the charge port door.
- Perform the charge port voltage check procedure. See 충전 포트(CP) 전압 점검.
- Remove the charge port to HV battery harness. See Charge Port and HV Harness Assembly (NACS) (Remove and Replace).
-
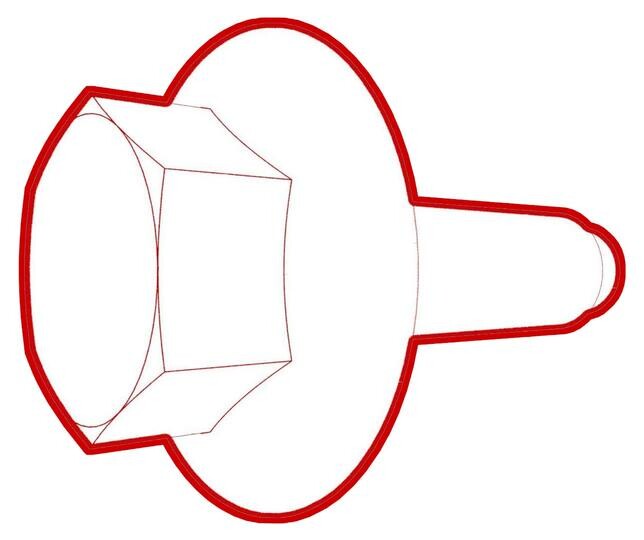
Remove the bolt that attaches the
charge port ECU to the body.
 5.5 Nm (4.1 lbs-ft)
 -
Slide the charge port ECU to the right
to release the tabs (x2) that attach the ECU to the body, and then remove the old ECU
from the vehicle.
- Remove the ancillary bay cover. See 커버 - 보조 베이(탈거 및 교체).
- Remove the old input assembly and charge port. See DC 입력 어셈블리 - HV 배터리(하네스 유형)(탈거 및 교체).
장착
- Install the Busbar type DC input assembly, but do not connect 12V at this stage. See DC 입력 어셈블리 - HV 배터리(버스바 유형)(탈거 및 교체)
- Install the ancillary bay cover. See 커버 - 보조 베이(탈거 및 교체).
-
Slide the new Busbar type charge port
ECU onto the bracket that attaches the ECU to the body.
-
Install the bolt that attaches the
charge port ECU to the body.
 5.5 Nm (4.1 lbs-ft)
 -
Install the new Busbar type charge
port. See Charge Port (Busbar Type) (NACS) (Remove and Replace).
참고The above procedure uses existing ECU and charge port connectors in the main body harness. For this retrofit procedure, use the retrofit harness to connect the ECU and charge port electrical connections.
- Install the charge port to HV battery busbar. See 버스바 - 충전 포트-HV 배터리(NACS)(탈거 및 교체).
- Reinstall the vehicle firmware. See 소프트웨어 재설치 - 터치스크린.
-
Verify the charging system is
operating correctly.
참고Use the customer's charging equipment if available. Ensure all the charging adapters are present.
- Move both front seats to their original positions.
- Raise all windows and close all doors.