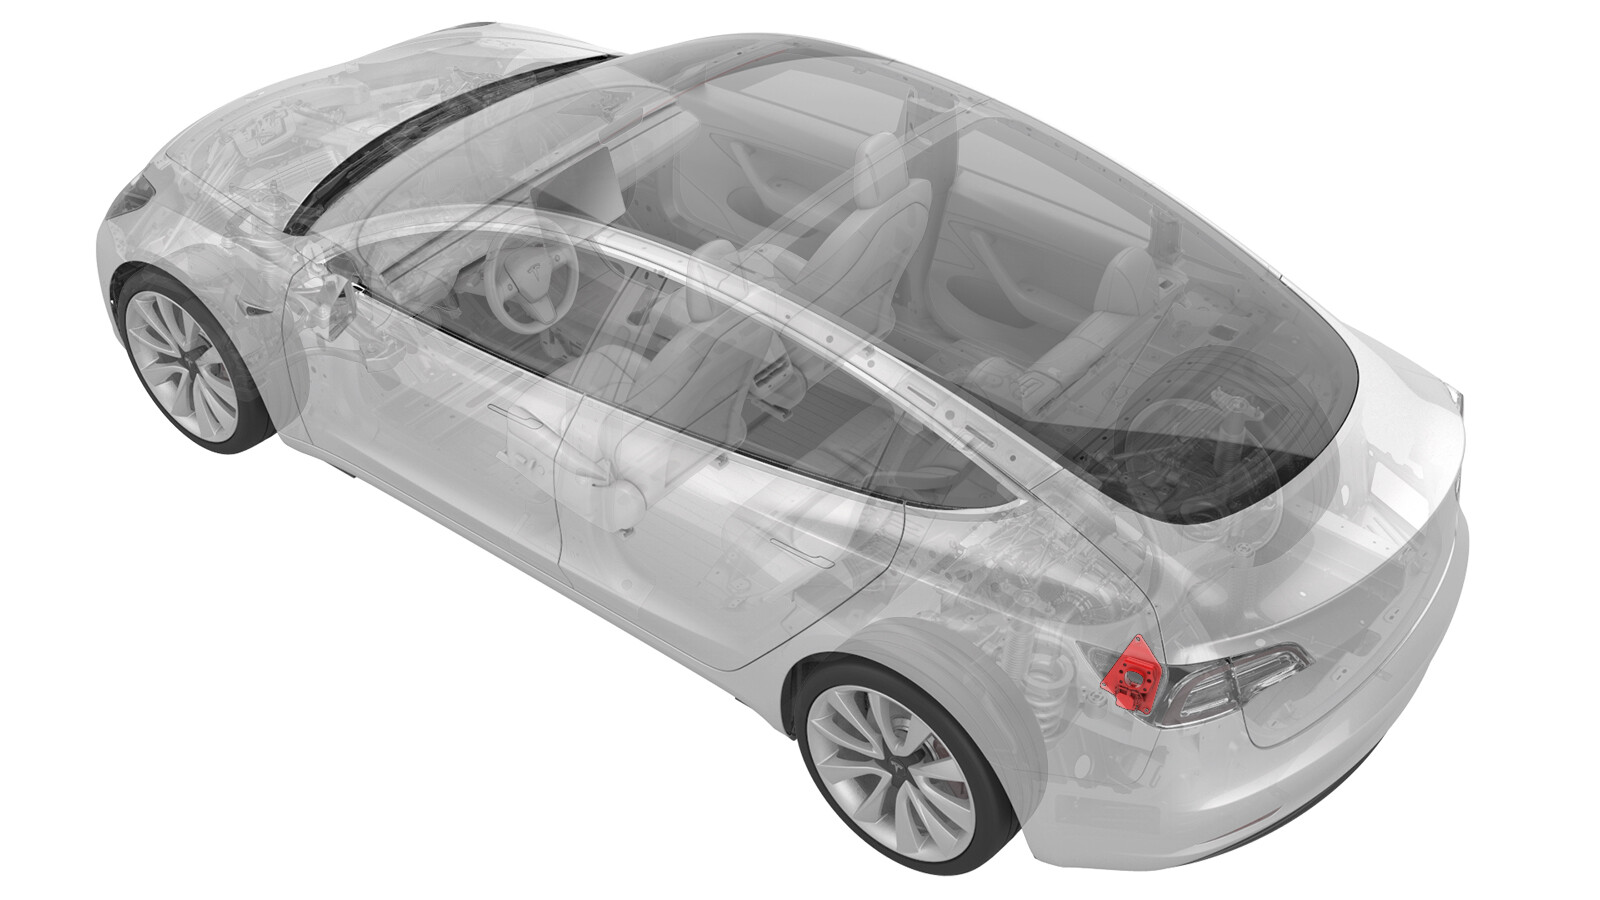
데드프런트 - 핀 - 충전 포트(CP)(북미)(손상되지 않음)(탈거 및 교체)
 교정 코드
44012112 0.18
메모: 절차에서 명시적으로 언급하지 않는 한 위 교정 코드 및 FRT는 연결된 절차를 포함하여 이 절차를 수행하는 데 필요한 모든 작업을 반영합니다. 명시적으로 지시하지 않는 한 교정 코드를 누적하지 마십시오.
참고: FRT와 그 생성 방법에 대한 자세한 내용은 표준 정비 작업시간을 참조하십시오. FRT 값에 대한 피드백을 제공하려면 ServiceManualFeedback@tesla.com으로 이메일을 보내십시오.
메모: 아래 절차를 수행할 때 개인 보호을(를) 참조하여 적절한 PPE를 착용했는지 확인하십시오. 안전하고 건강한 작업 사례는 인체공학적 주의 사항의 내용을 참조하십시오.
필요 장비:
- 1552269-00-A 데드 프론트 장착 도구, Model 3
- 1076921-00-B 절연 멀티미터, Fluke 1507(북미)
- 1108272-00-B 캡, 로직 연결, 인버터, 3DU
- 1130480-00-A 테스트 프로브, 슬림, Fluke TP38
- 1076899-00-A ESD-Safe Express Plus HEPA Vacuum
모든 필수 인증 교육을 완료한 기술자만 이 절차를 수행할 수 있습니다. Tesla는 타사 서비스 제공업체 기술자가 이 절차를 수행하기 전에 동등한 교육을 받을 것을 권장합니다. Tesla 기술자 요구 사항에 대한 자세한 내용이나 타사 기술자에 대한 분야별 설명은 HV Certification Requirements를 참조하십시오. 고전압 케이블, 버스바 또는 피팅을 다룰 때에는 항상 적합한 개인 보호 장비(PPE)와 클래스 0(1000V)의 최소 정격을 갖는 절연 HV 장갑을 착용해야 합니다. 추가 안전 정보는 기술 노트 TN-15-92-003고압 인식 주의 사항
을 참조하십시오.
고전압에 노출되는 절차를 수행하기 전에 작업자에게 모든 장신구(시계, 팔찌, 반지, 목걸이, 귀걸이, ID 태그, 피어싱 장신구 등)를 벗으라고 하고 주머니에서 모든 물건(열쇠, 동전, 펜, 연필, 공구, 패스너 등)을 꺼내 놓으십시오.
이 절차를 수행하려면 적합한 개인 보호 장비(PPE)가 필요합니다.
- 고전압(HV) 절연 장갑
- 가죽 장갑 보호구
- 고전압 장갑 테스터
- 보안경
- 전기 위험 등급 안전 장화
장갑 팽창 장치는 HV 장갑을 테스트하기 위해서 유일하게 권장되는 방법입니다. 이 절차를 시작하기 전에 오른쪽과 왼쪽 HV 장갑 모두 테스트를 통과해야 합니다. 어느 한쪽 장갑이 공기 점검 테스트를 통과하지 못하면 양쪽 장갑을 모두 폐기하십시오.
HV 장갑 사용 기한이 만료되지 않았는지 확인하십시오. HV 장갑의 사용 기한은 장갑에 인쇄된 테스트 날짜로부터 최대 12개월이며, 장갑의 사용 기한이 12개월 기간 내에 있더라도 최초 사용일로부터 6개월간만 사용해야 합니다.
탈거
- LH 도어를 열고 모든 창문을 내립니다.
- 후면 후드 내 에이프런을 탈거합니다. 참조 항목: 후드 내 에이프런 - 후면(탈거 및 교체).
-
2열 하단 시트 쿠션의 RH 탭을 분리하여 차량에서 쿠션의 RH 전면 가장자리를 분리한 다음 12V 캡을 사용하여 하단 쿠션을 받칩니다.
- 충전 포트 도어를 엽니다.
- 12V 전원을 연결 해제합니다. 참조 항목: 12V/LV 전원(연결 해제 및 연결).
- 고전압 장갑, 가죽 외부 장갑 및 기타 PPE를 착용하고 지침이 있을 때까지 제거하지 마십시오.
- 충전 포트 전압 점검 절차를 수행합니다. 참조 항목: 충전 포트(CP) 전압 점검.
-
조심스럽게 니들 노즈 플라이어를 사용하여 데드프런트를 충전 포트 어셈블리에서 당겨 차량에서 탈거합니다. 남은 데드프런트에 대해 이 단계를 반복합니다.
-
충전 포트에 파손된 핀 데드프런트 조각 또는 잔해물이 있는지 점검하고 ESD 안전 진공청소기로 충전 포트 어셈블리에서 제거합니다.
참고일부 조각은 제거하려면 니들 노즈 플라이어, 구부러진 수술용 클램프 또는 포켓 스크루드라이버가 필요할 수 있습니다.
장착
-
표시된 대로 새 충전 포트 핀 데드 프론트를 데드 프론트 장착 도구의 핀에 장착합니다.
TIp또는 다음 공구를 사용할 수 있습니다.
- 3mm 육각 소켓
- 6인치 익스텐션
-
무반동 망치를 사용하여 충전 포트 핀 데드 프론트를 충전 포트 핀에 완전히 안착시킵니다.
- 다른 새 충전 포트 핀 데드 프론트에 대해 1단계~2단계를 반복합니다.
- 가죽 외부 장갑, 고전압 장갑 및 기타 고전압 PPE를 제거합니다.
- 12V 전원을 다시 연결합니다. 참조 항목: 12V/LV 전원(연결 해제 및 연결).
- 후면 후드 내 에이프런을 장착합니다. 참조 항목: 후드 내 에이프런 - 후면(탈거 및 교체).
- 2열 하단 시트 쿠션을 장착합니다. 참조 항목: 시트 쿠션 - 하단 - 2열(탈거 및 교체).
- 차량이 정상적으로 충전되는지 확인합니다.