2025-09-11
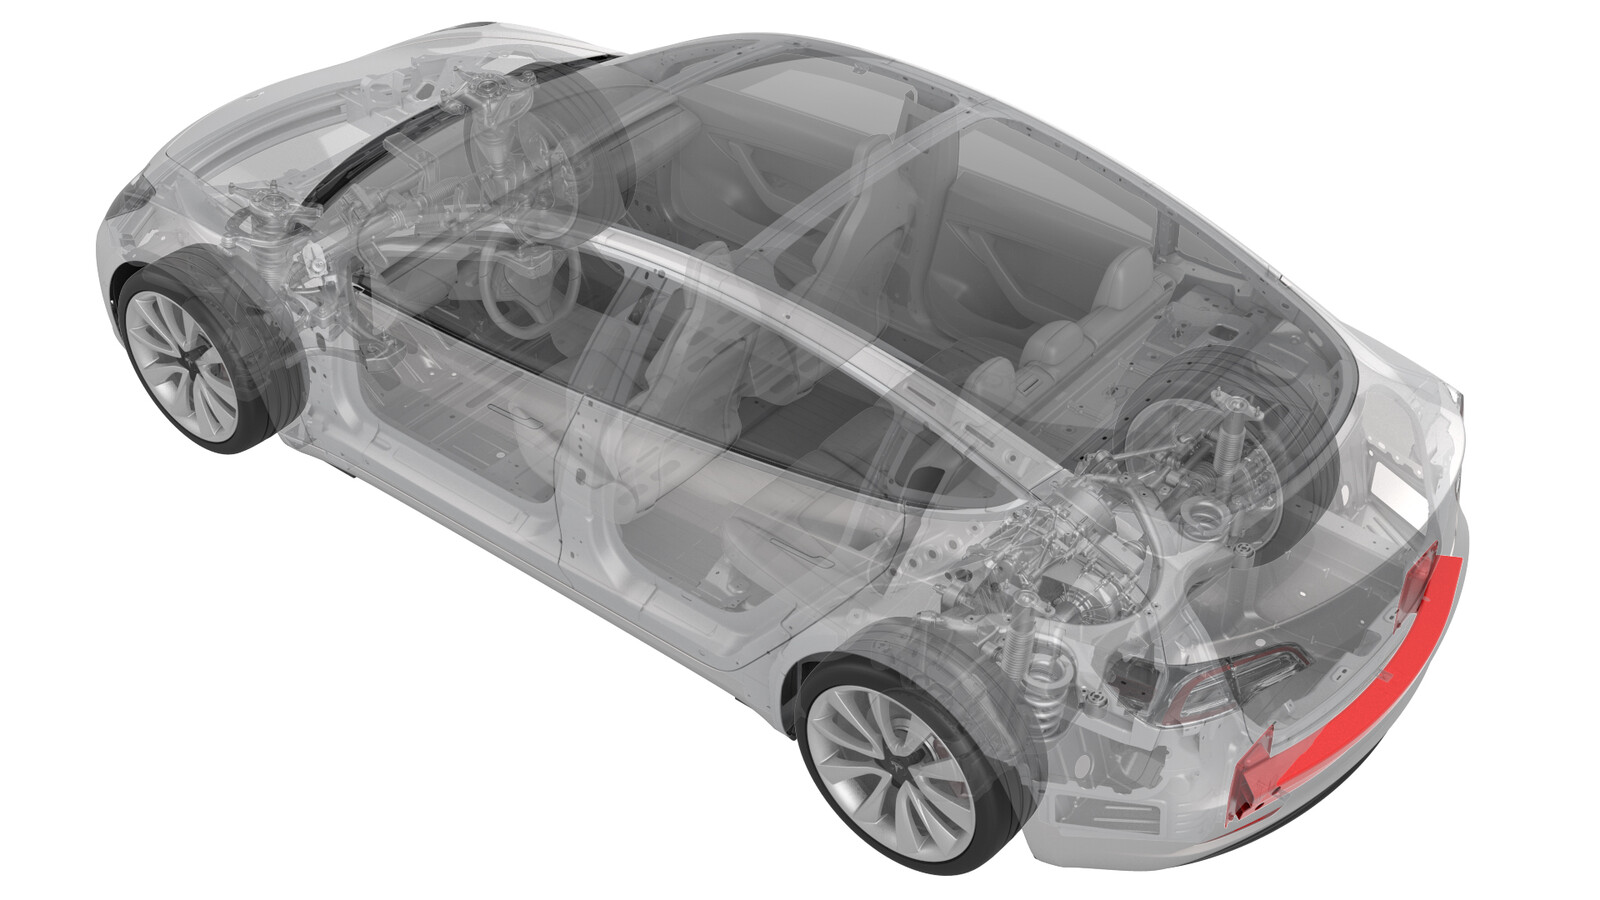
범퍼 빔 - 후면(탈거 및 교체)
 교정 코드
10013102 1.14
메모: 절차에서 명시적으로 언급하지 않는 한 위 교정 코드 및 FRT는 연결된 절차를 포함하여 이 절차를 수행하는 데 필요한 모든 작업을 반영합니다. 명시적으로 지시하지 않는 한 교정 코드를 누적하지 마십시오.
참고: FRT와 그 생성 방법에 대한 자세한 내용은 표준 정비 작업시간을 참조하십시오.
메모: 아래 절차를 수행할 때 개인 보호을(를) 참조하여 적절한 PPE를 착용했는지 확인하십시오. 메모: 안전하고 건강한 작업 사례는 인체공학적 주의 사항의 내용을 참조하십시오.
교정 코드
10013102 1.14
메모: 절차에서 명시적으로 언급하지 않는 한 위 교정 코드 및 FRT는 연결된 절차를 포함하여 이 절차를 수행하는 데 필요한 모든 작업을 반영합니다. 명시적으로 지시하지 않는 한 교정 코드를 누적하지 마십시오.
참고: FRT와 그 생성 방법에 대한 자세한 내용은 표준 정비 작업시간을 참조하십시오.
메모: 아래 절차를 수행할 때 개인 보호을(를) 참조하여 적절한 PPE를 착용했는지 확인하십시오. 메모: 안전하고 건강한 작업 사례는 인체공학적 주의 사항의 내용을 참조하십시오.
토크 규격
| 설명 | 토크 값 | 권장 공구 | 재사용/교체 | 참고 |
|---|---|---|---|---|
| 후면 범퍼 빔을 차체에 고정하는 너트 |  60 Nm (44.2 lbs-ft) |
|
재사용 |
탈거
- 후면 중앙 브래킷을 탈거합니다. 참조 항목: 브래킷 - 후면 - 중앙(탈거 및 교체).
-
후방 범퍼 빔을 차체에 고정하는 너트를 탈거한 다음 차량에서 후방 범퍼 빔을 탈거합니다.
TIp이 단계를 수행할 때에는 보조 작업자의 도움을 받는 것이 좋습니다.참고다음 공구를 사용하는 것이 좋습니다.
- 15mm 딥소켓
- 6인치 익스텐션
장착
참고
최신 개정판 범퍼 빔에는 각 측면에 스터드용 구멍이 3개 있습니다. 최신 개정판 범퍼 빔을 장착하는 경우 교체 부품에 추가 스터드용 구멍(2개)을 뚫어야 합니다. 차체 손상으로 인해 수리하는 경우 구멍을 뚫지 말고 새 후면 차체 패널을 장착하십시오. 새 후면 차체 패널을 장착하는 경우, 공장 출고 시 장착된 볼트(2개)는 교체하지 않습니다. 참조 항목: 후면 차체 패널.
-
차체에 후방 범퍼를 배치한 후, 차체에 후방 범퍼 빔을 고정하는 너트를 장착합니다.
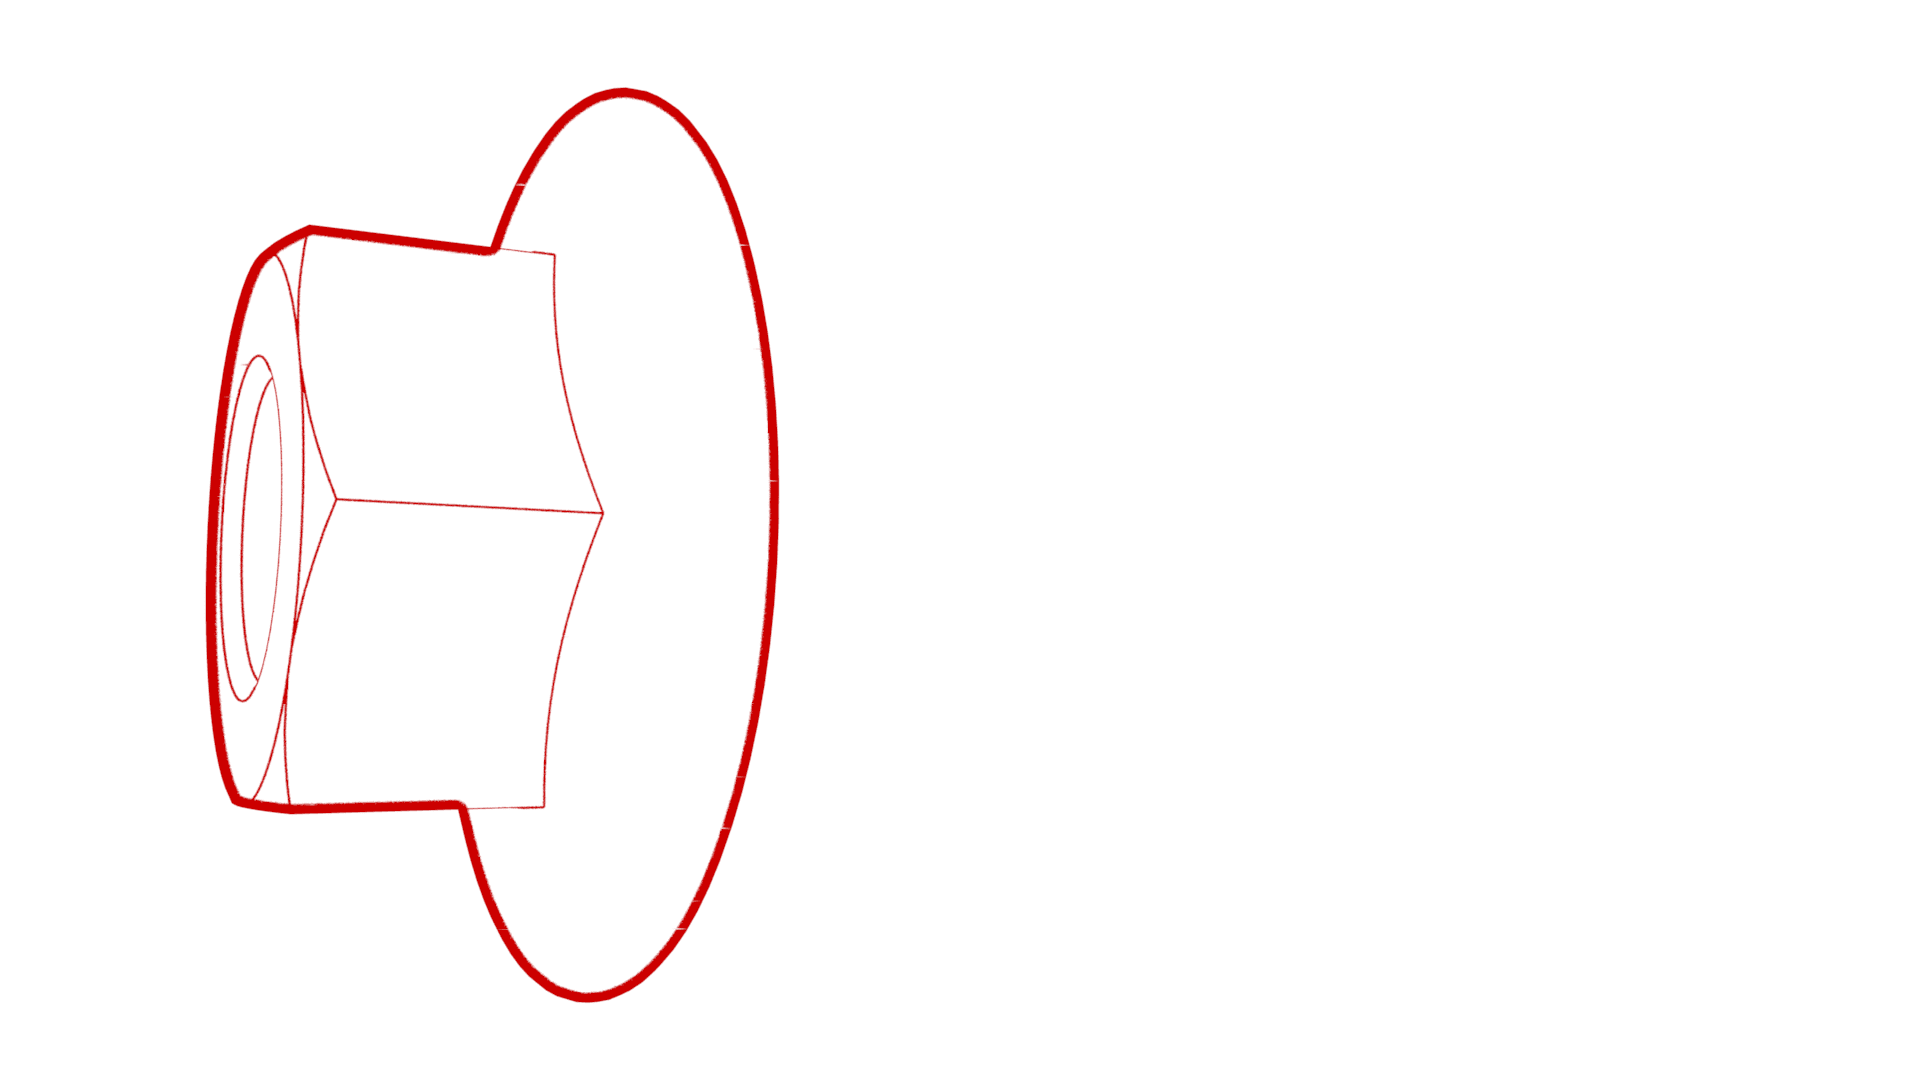 60 Nm (44.2 lbs-ft)TIp이 단계를 수행할 때에는 보조 작업자의 도움을 받는 것이 좋습니다.참고다음 공구를 사용하는 것이 좋습니다.
- 15mm 딥소켓
- 6인치 익스텐션
- 후면 중앙 브래킷을 장착합니다. 참조 항목: 브래킷 - 후면 - 중앙(탈거 및 교체).