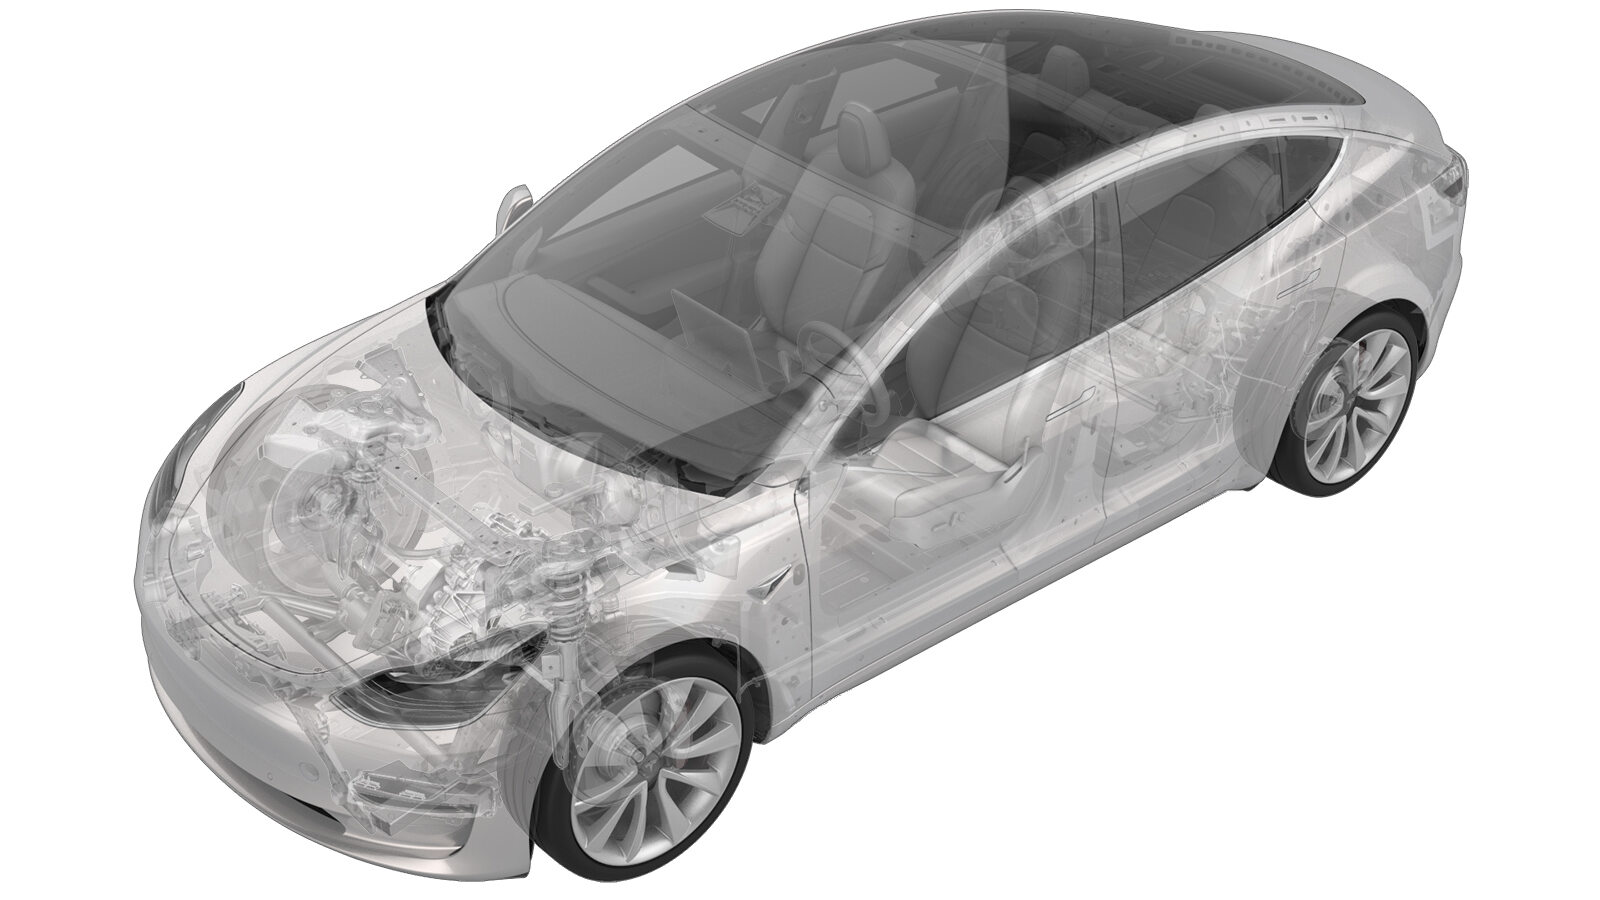
트랙 - 내측 - 전면 동승석 시트(탈거 및 교체)
 교정 코드
13013102 0.66
메모: 절차에서 명시적으로 언급하지 않는 한 위 교정 코드 및 FRT는 연결된 절차를 포함하여 이 절차를 수행하는 데 필요한 모든 작업을 반영합니다. 명시적으로 지시하지 않는 한 교정 코드를 누적하지 마십시오.
참고: FRT와 그 생성 방법에 대한 자세한 내용은 표준 정비 작업시간을 참조하십시오. FRT 값에 대한 피드백을 제공하려면 ServiceManualFeedback@tesla.com으로 이메일을 보내십시오.
메모: 아래 절차를 수행할 때 개인 보호을(를) 참조하여 적절한 PPE를 착용했는지 확인하십시오. 안전하고 건강한 작업 사례는 인체공학적 주의 사항의 내용을 참조하십시오.
메모: 절차에서 명시적으로 언급하지 않는 한 위 교정 코드 및 FRT는 연결된 절차를 포함하여 이 절차를 수행하는 데 필요한 모든 작업을 반영합니다. 명시적으로 지시하지 않는 한 교정 코드를 누적하지 마십시오.
참고: FRT와 그 생성 방법에 대한 자세한 내용은 표준 정비 작업시간을 참조하십시오. FRT 값에 대한 피드백을 제공하려면 ServiceManualFeedback@tesla.com으로 이메일을 보내십시오.
참고: 아래 절차를 수행할 때 개인 보호의 내용을 참조하여 적절한 PPE를 착용했는지 확인하십시오.
참고: 안전하고 건강한 작업 사례는 인체공학적 주의 사항의 내용을 참조하십시오.
탈거
- 펌웨어가 버전 2023.2.11 이상인지 확인합니다. 펌웨어 버전이 2023.2.11 이상이 아닌 경우 차량 펌웨어를 업데이트합니다.
- 차량에서 전면 동승석 시트를 탈거합니다. 시트 어셈블리 - 1열 - LH(탈거 및 교체)을(를) 참조하십시오.
- 시트 어셈블리에서 전면 동승석 시트 안쪽 실드를 탈거합니다. 사이드 실드 - 내측 - 운전석 시트(탈거 및 교체)을(를) 참조하십시오.
- 전면 동승석 시트 버클을 탈거합니다. 버클 - 1열 - LH(탈거 및 교체)을(를) 참조하십시오.
-
시트를 젖혀 등받이로 지지되도록 하여 시트 쿠션 아래쪽에 접근할 수 있도록 합니다.
경고필요한 경우 시트 쿠션을 손상되지 않도록 보호합니다.
-
전면 동승석 시트 안쪽 트랙을 시트 어셈블리에 고정하는 볼트(2개)를 탈거하여 폐기합니다.
 23 Nm (17.0 lbs-ft)TIp다음 공구를 사용하는 것이 좋습니다.
- Torx T50 소켓
-
트랙 브리지 어셈블리에서 전면 동승석 전면 시트 내측 시트 트랙을 분리합니다.
참고브리지 택 모터 탭을 들어 올린 다음, 내측 시트 트랙을 밀어 분리합니다.
-
시트 커버 양쪽을 바깥쪽으로 말아 레일에서 플라스틱 트림을 잠금 해제하고 시트 레일에서 커버를 빼냅니다.
장착
-
시트 트랙 커버(2개)를 시트 레일의 전면 가장자리에 정렬하고 커버가 시트 레일에 안착될 때까지 밉니다.
-
전면 동승석 시트 내측 트랙을 트랙 브리지 어셈블리에 장착합니다.
참고트랙 모터 케이블은 정사각형으로 맞물려 있으며 내측 트랙과 정렬되어야 합니다. 필요에 따라 케이블을 손으로 돌려 정렬합니다. 트랙 모터 브리지가 완전히 안착할 때까지 내측 트랙 안으로 밀어 넣습니다.
-
전면 동승석 시트 내측 트랙을 시트 어셈블리에 고정하는 새 볼트(2개)를 장착합니다.
 23 Nm (17.0 lbs-ft)TIp다음 공구를 사용하는 것이 좋습니다.
- Torx T50 소켓
- 시트를 수직 위치로 되돌립니다.
- 전면 동승석 시트 버클을 장착합니다. 버클 - 1열 - LH(탈거 및 교체)을(를) 참조하십시오.
- 시트 어셈블리에 전면 동승석 시트 안쪽 실드를 장착합니다. 사이드 실드 - 내측 - 운전석 시트(탈거 및 교체)을(를) 참조하십시오.
- 차량에 전면 동승석 시트를 장착합니다. 시트 어셈블리 - 1열 - LH(탈거 및 교체)을(를) 참조하십시오.
-
북미 차량의 전면 동승석 시트를 서비스하는 경우:
- 보정을 시작하기 전에 전면 동승석 시트에서 모든 물체를 제거하십시오.
- 차량 터치스크린에서 를 터치하고 차량 펌웨어 버전을 확인합니다. 차량 펌웨어가 2023.2.11 이상인 경우 소프트웨어 재설치를 수행합니다. 참조 항목: 소프트웨어 재설치 - 터치스크린. 차량 펌웨어가 2023.2.11 이상이 아닌 경우 차량 펌웨어를 업데이트합니다. 참조 항목: 소프트웨어 업데이트.
- Toolbox 3가 설치된 노트북을 차량에 로컬로 연결합니다. 참조 항목: Toolbox(연결 및 연결 해제).
- 차량 게이트웨이를 잠금 해제합니다. 참조 항목: 게이트웨이(잠금 해제).
- Toolbox에서 Actions 탭을 클릭한 다음 "OCS"를 검색합니다.
- PROC_OCS1P_SELF-CALIBRATIONvia Toolbox: (link)via Service Mode Plus: Safety & Restraints ➜ Seats ➜ OCS1P Self Capacitance Calibration 루틴을 Run합니다.
- Actions 탭을 클릭한 다음 "Seat calibration"을 검색합니다.
- PROC_VCRIGHT_SEAT-CALIBRATEvia Toolbox: (link)via Service Mode Plus: Low Voltage ➜ Seats ➜ Calibrate 루틴을 Run합니다.
- Toolbox를 연결 해제하고 차량에서 노트북을 탈거합니다.