2025-01-03
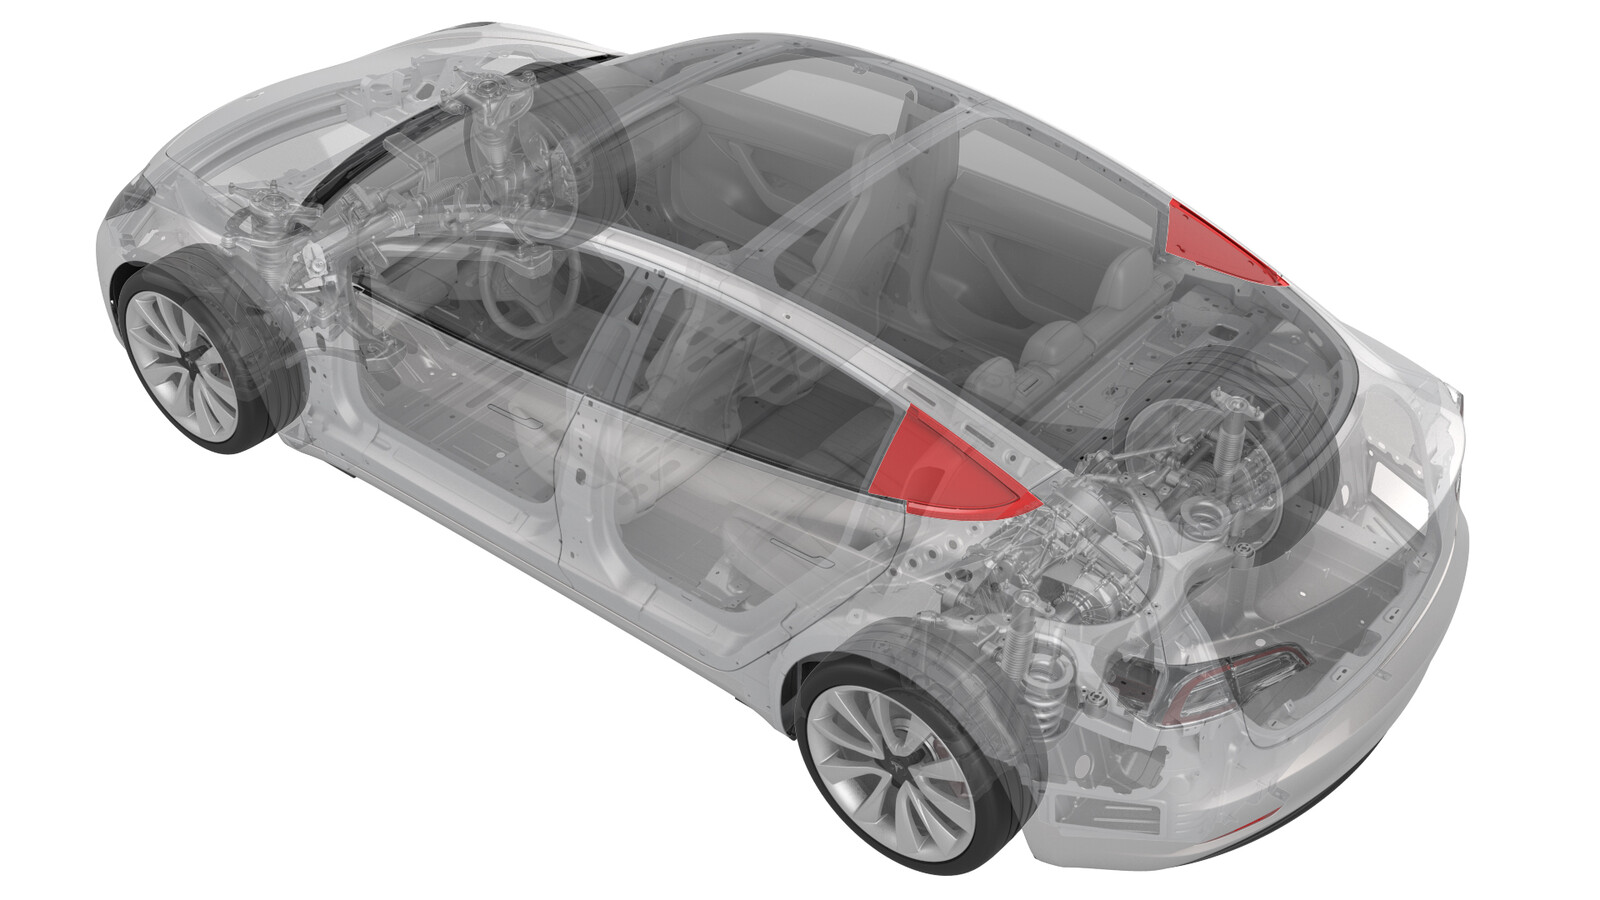
글라스 - 차체 - 후면 쿼터 - LH(탈거 및 교체)
 교정 코드
10203002 1.08
메모: 절차에서 명시적으로 언급하지 않는 한 위 교정 코드 및 FRT는 연결된 절차를 포함하여 이 절차를 수행하는 데 필요한 모든 작업을 반영합니다. 명시적으로 지시하지 않는 한 교정 코드를 누적하지 마십시오.
참고: FRT와 그 생성 방법에 대한 자세한 내용은 표준 정비 작업시간을 참조하십시오. FRT 값에 대한 피드백을 제공하려면 ServiceManualFeedback@tesla.com으로 이메일을 보내십시오.
메모: 아래 절차를 수행할 때 개인 보호을(를) 참조하여 적절한 PPE를 착용했는지 확인하십시오. 안전하고 건강한 작업 사례는 인체공학적 주의 사항의 내용을 참조하십시오.
- 2024-12-10: 장착 전 글라스 검사 서비스 요구 사항에 대한 새로운 주의 사항을 추가했습니다.
- 2024-07-26: 상단 브라이트 트림을 탈거하도록 단계를 추가했습니다.
- 2023-07-11: 브라이트 워크 탈거 단계에 접이식 칼날을 추가했습니다.
경고
유럽만 해당: 디이소시아네이트 작업에 대한 훈련을 받고 모든 필수 인증 과정을 완료한 기술자만이 우레탄 및 디이소시아네이트가 포함된 기타 제품을 사용하는 절차를 수행할 수 있습니다. 디이소시아네이트가 함유된 제품으로 작업할 때는 적절한 개인 보호 장비(PPE)를 착용해야 합니다.
경고
새로운 글라스 구성품(윈드실드, 루프, 도어 및 고정 글라스)은 장착 전에 Tesla의 내부 품질 기준을 충족해야 하는지 검사해야 합니다. 이 절차를 시작하기 전에 장착 전 글라스 검사기술된 검사를 수행하십시오.
탈거
- LH 후면 도어를 엽니다.
- LH 후면 창문을 완전히 내립니다.
- 트렁크를 엽니다.
- LH 상단 브라이트 워크를 탈거합니다. 참조 항목: 브라이트 워크 - 상부 - LH(탈거 및 교체).
-
클립 프라이툴 공구를 이용해 C필러에 후면 기본 씰을 고정하는 클립을 풉니다.
- LH 후면 기본 씰을 후면 쿼터 글라스 부분으로부터 차량 전면으로 당깁니다.
- LH 2열 시트 사이드 볼스터를 탈거합니다. 참조 항목: 볼스터 - 측면 - 시트 - 2열 - LH(탈거 및 교체).
- LH 사이드 레일 트림을 탈거합니다. 참조 항목: 트림 - 사이드 레일 - LH(탈거 및 장착).
- LH 상단 C필러 트림을 탈거합니다. 참조 항목: 트림 - C필러 - 상단 - LH(탈거 및 교체).
-
글라스 탈거를 쉽게 하기 위해 니퍼와 일자 드라이버를 사용해 LH 후면 쿼터 차체 글라스 내측의 위치 포스트를 부러뜨립니다.
- LH 후면 쿼터 차체 글라스의 외측 부분을 청소합니다.
-
차체와 도장을 보호하기 위해 LH 후면 쿼터 차체 글라스의 후면에 마스킹 테이프를 부착합니다.
-
플라스틱 트림 공구를 사용하여 LH 후면 쿼터 차체 글라스에서 LH 쿼터 브라이트 워크의 후면 가장자리를 들어 올린 다음, 접이식 칼날을 사용하여 브라이트 워크를 차량에 고정하는 우레탄을 절단하여 차량에서 트림을 탈거합니다.
경고절단 도구를 사용할 때에는 항상 절단 방지 장갑을 사용하십시오.경고후면 쿼터 브라이트 워크를 LH 상단 차체 측면 브라이트 워크에 고정하는 클립에 주의하십시오.
- 남아 있는 모든 클립 부품을 LH 쿼터 브라이트 워크의 상단 부분에서 탈거합니다.
-
접이식 칼날을 사용해 LH 후면 쿼터 차체 글라스 주변의 고무 씰을 잘라 내어 글라스를 탈거할 때 접근이 쉽도록 합니다.
경고절단 도구를 사용할 때에는 항상 절단 방지 장갑을 사용하십시오.참고이렇게 하면 LH 후면 쿼터 차체 글라스를 자를 때 차체 손상을 방지하고 와이어가 씰에 밀착되는 것을 막을 수 있습니다.
- 6피트 길이의 사각 와이어로 한 쌍의 T자형 핸들을 준비합니다.
-
차체 씰 사이의 LH 후면 쿼터 차체 글라스 후면 모서리에 사각 와이어를 감습니다.
-
LH 후면 쿼터 차체 글라스를 차체로부터 절단한 후 글라스를 차량에서 탈거합니다.
TIp톱질하듯이 우레탄을 절개합니다.
- 날개 스크래퍼 세트를 사용해 차체에 남아 있는 우레탄을 치웁니다.
- 마스킹 테이프를 후면 쿼터 글라스 부분에서 탈거합니다.
-
이소프로필 알코올(IPA) 천으로 차체의 우레탄 경로 주위를 닦아냅니다. 최소한 약 1분 정도 해당 부분을 건조시킵니다.
장착
- 우레탄 경로 및 LH 후면 쿼터 차체 글라스를 탈거하는 중 도장이 손상된 모든 부분에 프라이머를 도포합니다. 최소한 1분 정도 프라이머를 건조시킨 후 작업을 진행합니다.
-
코킹 건과 우레탄을 준비합니다.
참고우레탄 개구부는 폭 7mm, 높이 12mm여야 합니다.
- 본래의 경로를 따라 차체에 우레탄을 도포합니다.
-
LH 후면 쿼터 차체 글라스를 차량 위에 배치하고, 후면 쿼터 브라이트 워크 클립을 상단 브라이트 워크 안으로 밀어 넣습니다.
참고위치 포스트가 차체의 구멍과 정렬되어 있는지 확인한 후 후면 위치 포스트에서 압력을 가하며 앞쪽으로 작업을 진행하면서 후면 쿼터 차체 글라스를 차체에 장착합니다.참고후면 위치 포스트에서 시작하면 후면 쿼터 브라이트 워크를 차체에 피팅하는 데 도움이 됩니다.
- 우레탄이 양생되는 동안 테이프를 이용해 LH 후면 쿼터 차체 글라스를 고정시킵니다.
- LH 후면 기본 씰을 완전히 안착시킵니다.
-
클립을 C필러에 고정시킵니다.
- 트렁크를 닫습니다.
- LH 상단 C필러 트림을 장착합니다. 참조 항목: 트림 - C필러 - 상단 - LH(탈거 및 교체).
- LH 사이드 레일 트림을 장착합니다. 참조 항목: 트림 - 사이드 레일 - LH(탈거 및 장착).
- LH 2열 시트 사이드 볼스터를 장착합니다. 참조 항목: 볼스터 - 측면 - 시트 - 2열 - LH(탈거 및 교체).
- LH 상단 브라이트 워크를 장착합니다. 참조 항목: 브라이트 워크 - 상부 - LH(탈거 및 교체).
- LH 후면 도어를 닫습니다.
-
우레탄이 양생된 후 마스킹 테이프를 떼어냅니다.
경고접착제 제조사가 권장하는 최소 주행 재개 가능 시간이 경과할 때까지 차량을 주행하지 마십시오. Dow Betaseal Express의 주행 재개 가능 시간은 -18˚C(0˚F) 이상의 온도에서 1시간 이상입니다. 필요한 경우, 테이프를 차량 글라스에 부착한 상태로 두고 24 시간 후에는 테이프를 제거할 수 있다고 고객에게 알려주십시오. 또한 고객에게 다음 24시간 동안 고속 주행과 과속 방지턱 통과를 피해야 한다고 조언하십시오.