2026-01-21
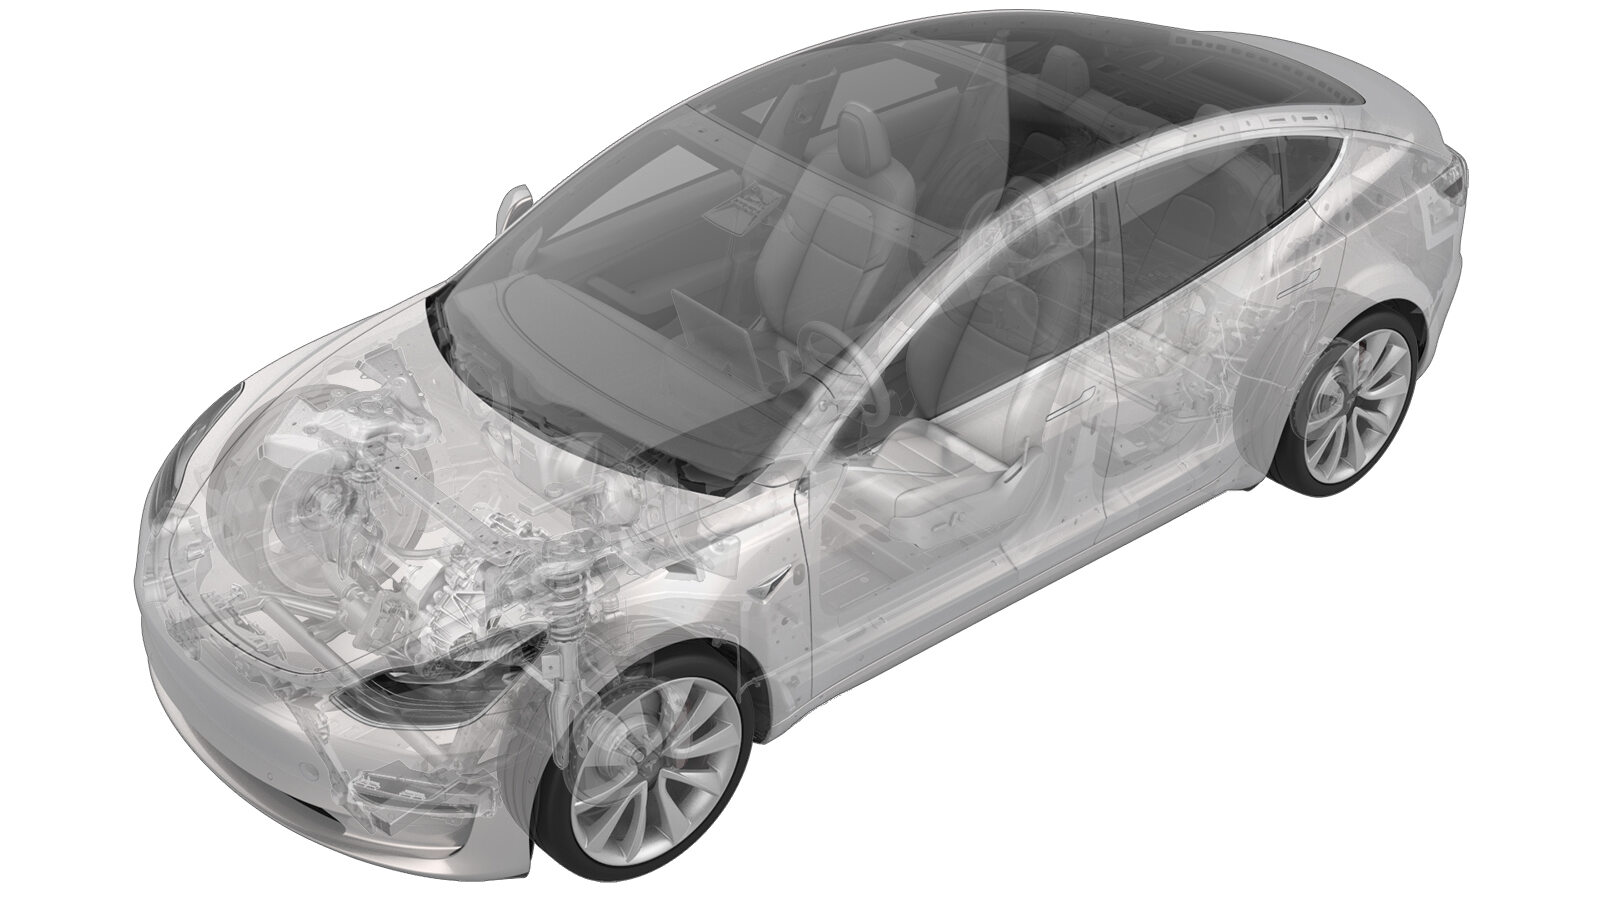
스티어링 랙(RWD)(RHD)(탈거 및 교체)
 교정 코드
32010112 1.86
메모: 절차에서 명시적으로 언급하지 않는 한 위 교정 코드 및 FRT는 연결된 절차를 포함하여 이 절차를 수행하는 데 필요한 모든 작업을 반영합니다. 명시적으로 지시하지 않는 한 교정 코드를 누적하지 마십시오.
참고: FRT와 그 생성 방법에 대한 자세한 내용은 표준 정비 작업시간을 참조하십시오. FRT 값에 대한 피드백을 제공하려면 ServiceManualFeedback@tesla.com으로 이메일을 보내십시오.
메모: 아래 절차를 수행할 때 개인 보호을(를) 참조하여 적절한 PPE를 착용했는지 확인하십시오. 안전하고 건강한 작업 사례는 인체공학적 주의 사항의 내용을 참조하십시오.
탈거
- Remove the front subframe. See 서브프레임 어셈블리 - 전면(RWD)(탈거 및 장착).
-
Remove the outer bolts that attach the steering gear assembly to the front subframe.
-
Remove the inner bolts that attach the steering gear assembly to the front subframe.
-
Remove the steering gear assembly from the front subframe.
장착
-
Position the new steering gear assembly onto the front subframe for installation.
-
Loosely install the inner bolts that attach the steering gear assembly to front subframe.
참고2x bolts, 18mm, 75 Nm. Torque at a later step.
-
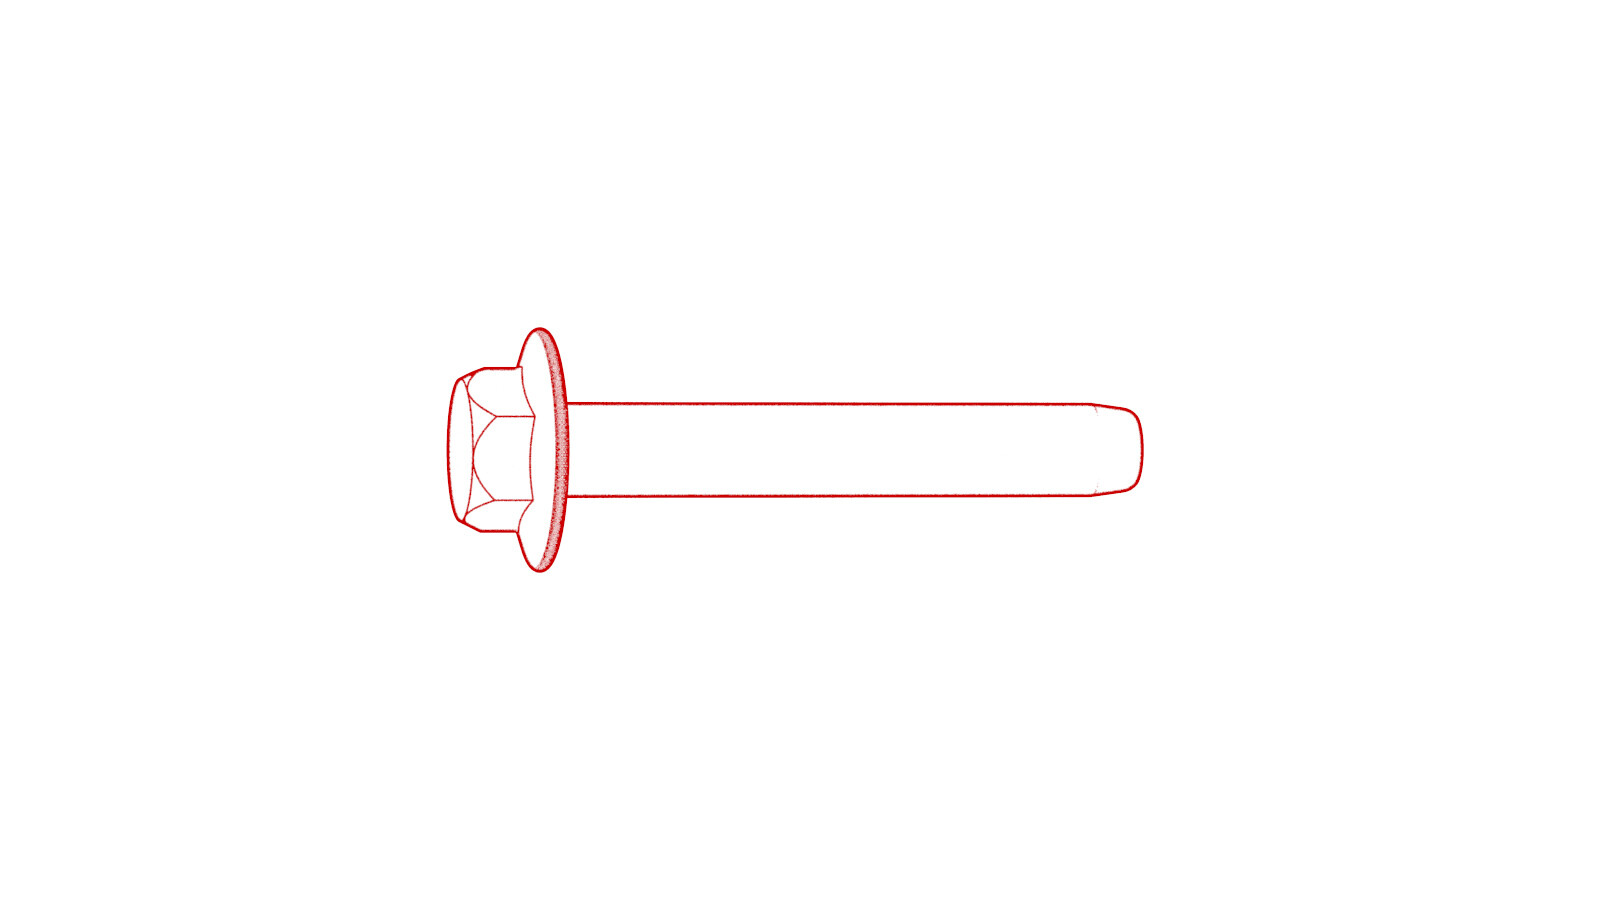
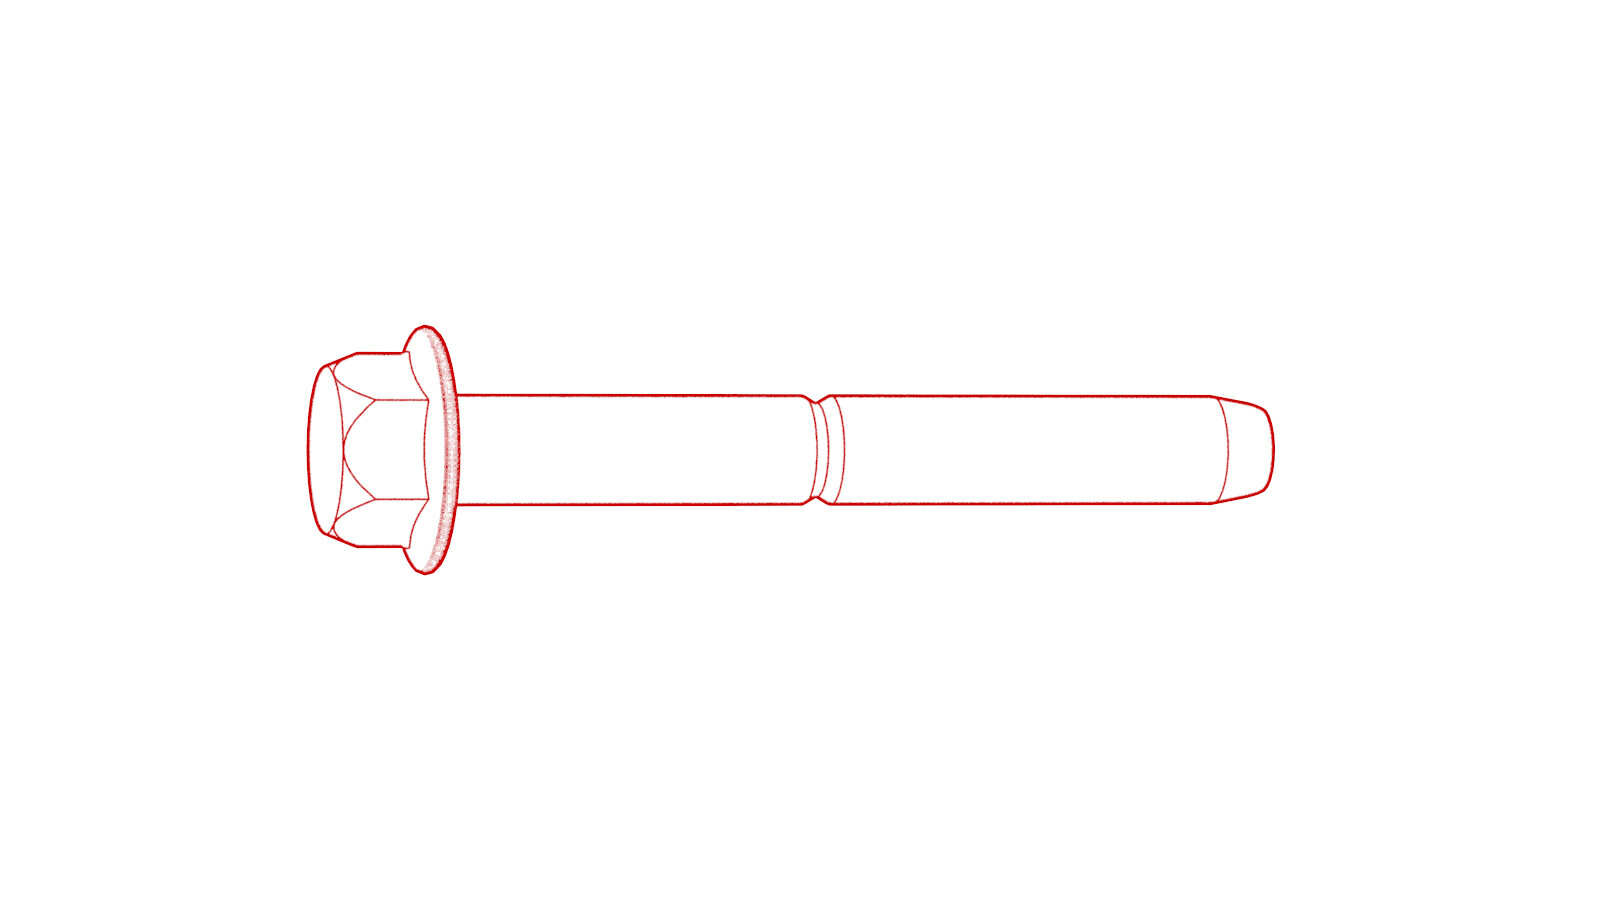
Install the outer bolts that attach the steering gear assembly to the front subframe. For older M3 vehicles with 13 mm bolts:For newer M3 vehicles with 15 mm bolts:
 27 Nm (19.9 lbs-ft)
 47 Nm (34.7 lbs-ft)TIp다음 공구를 사용하는 것이 좋습니다.
- 13mm 소켓
- 육각 헤드 래칫/플렉스 헤드 토크 렌치
- 11인치 익스텐션
- 15mm 소켓
- 육각 헤드 래칫/플렉스 헤드 토크 렌치
- 11인치 익스텐션
-
Torque the inner bolts that attach the steering gear assembly to the front subframe.
 75 Nm (55.3 lbs-ft)TIp다음 공구를 사용하는 것이 좋습니다.
- 18mm 소켓
- 6인치 익스텐션
- Install the front subframe and other components removed during subframe removal. See the Install section in 서브프레임 어셈블리 - 전면(RWD)(탈거 및 장착).
- Redeploy the vehicle firmware. See 소프트웨어 재설치 - 터치스크린.
- EPAS 얼라인먼트 점검(EC) 또는 4휠 얼라인먼트 점검(AC)이 필요한지 여부를 결정하려면 얼라인먼트 요구 사항 표를 참조하십시오. 얼라인먼트 점검/조정을 수행한 경우, 얼라인먼트 점검/조정 교정 코드를 SV에 별도의 활동으로 포함하십시오. 참조 항목: 얼라인먼트 요구 사항 - 서스펜션.