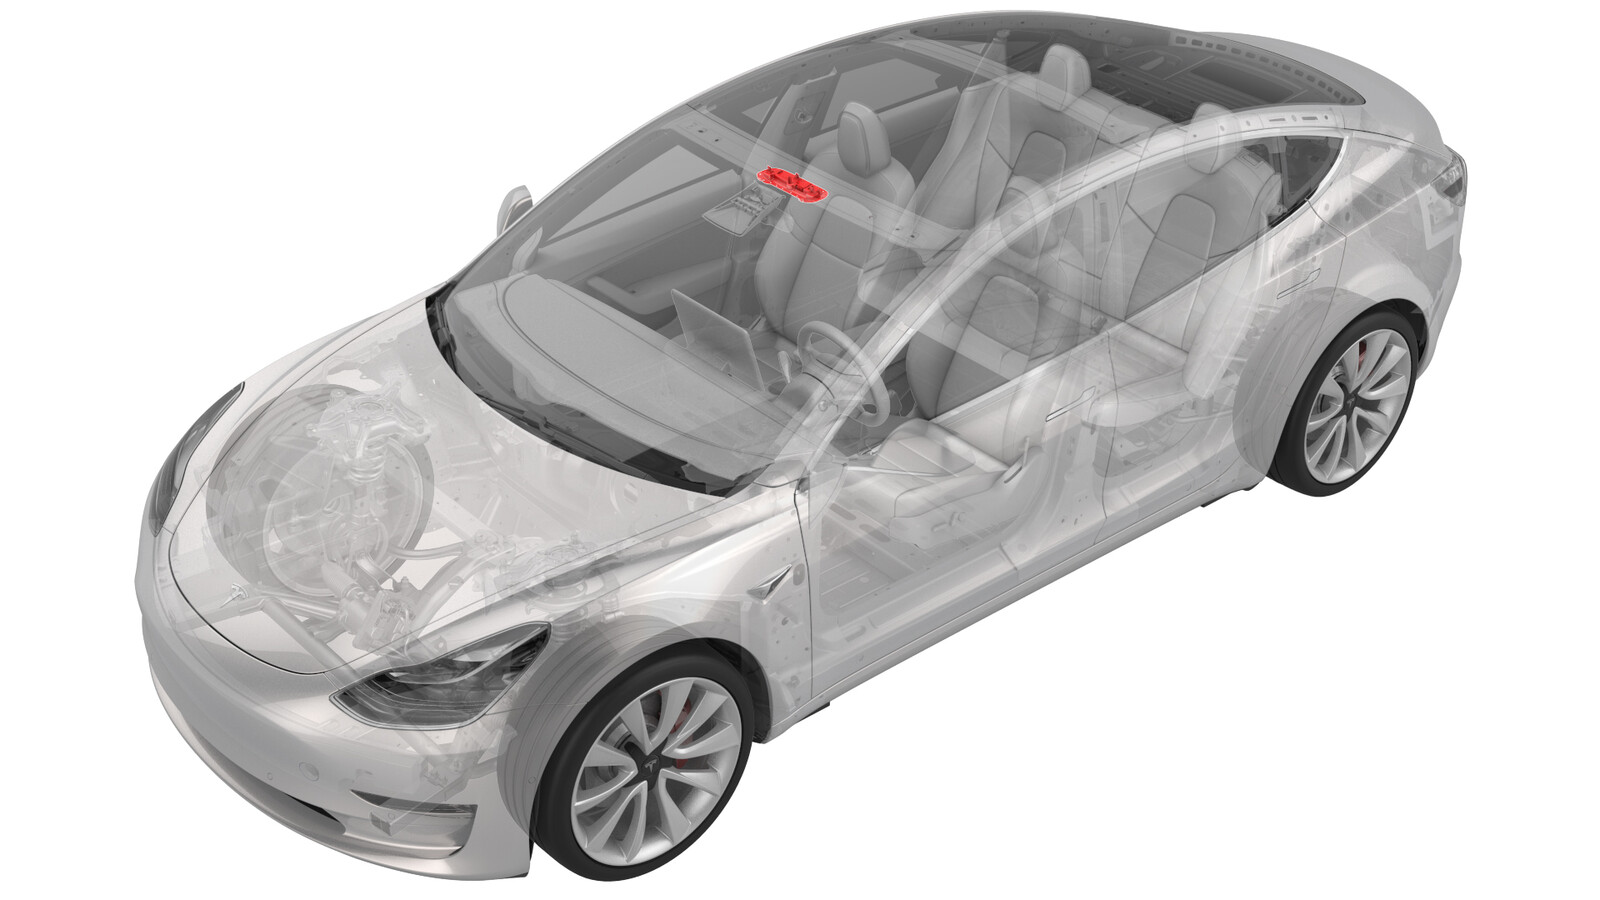
2024-04-16
오버헤드 콘솔 - 전면(e-Call 버튼 포함 안 함)(유럽/중동/아프리카)(새로 장착)
 교정 코드
15202306 0.36
메모: 절차에서 명시적으로 언급하지 않는 한 위 교정 코드 및 FRT는 연결된 절차를 포함하여 이 절차를 수행하는 데 필요한 모든 작업을 반영합니다. 명시적으로 지시하지 않는 한 교정 코드를 누적하지 마십시오.
참고: FRT와 그 생성 방법에 대한 자세한 내용은 표준 정비 작업시간을 참조하십시오. FRT 값에 대한 피드백을 제공하려면 ServiceManualFeedback@tesla.com으로 이메일을 보내십시오.
메모: 아래 절차를 수행할 때 개인 보호을(를) 참조하여 적절한 PPE를 착용했는지 확인하십시오. 안전하고 건강한 작업 사례는 인체공학적 주의 사항의 내용을 참조하십시오.
0.10
- 2023-10-20: Updated steps to change Gateway configuration using Toolbox 3.
Procedure
- Open the LH front door and lower the window.
- Put the vehicle in service mode through the touchscreen. See 정비 모드.
- Disconnect 12V power. See 12V/LV 전원(연결 해제 및 연결).
- Remove the front overhead console. See 오버헤드 콘솔 - 전면(탈거 및 교체).
-
Pull the FOHC connector (X299)
outwards for access
-
Remove 2 - 4 cm of the electrical tape
from the harness.
참고Take care not to damage the wires while using a blade to remove the tape.
-
Release the locking clips from the
connector
-
Remove pin 6 (X299-6) from the
connector
참고Use the pin drag kit to release the locking tab, then pull out the wire.
-
Cut off the terminal from the removed
wire.
-
Apply heat shrink tube to the cut wire
end, and then apply heat to prevent the wire from making contact.
- Remove pin 12 (X299-12) from the electrical connector, and then repeat steps 9and 10.
- Remove pin 14 (X299-14) from the electrical connector, and then repeat steps 9 and 10.
- Remove pin 15 (X299-15) from the electrical connector, and then repeat steps 9 and 10.
- Remove pin 16 (X299-16) from the electrical connector, and then repeat steps 9 and 10.
-
Use electrical tape to attach the
removed wires from connector X299 to the FOHC harness.
참고Use the yellow electrical tape in the kit to denote a rework has been performed.
- Install the front overhead console assembly to the headliner. See 오버헤드 콘솔 - 전면(탈거 및 교체).
- Connect 12V power. See 12V/LV 전원(연결 해제 및 연결).
- Connect a laptop with Toolbox 3 to the vehicle. See Toolbox(연결 및 연결 해제).
- Usie Toolbox 3 to change the configuration value for eCallEnabled to enabled_ui_sos. See 게이트웨이 구성(표시 및 변경).
-
On the touchscreen, touch and make sure that the SOS shortcut button (1) and
the SOS EMERGENCY
CALL button (2) are available on the touchscreen.
참고The SOS shortcut button (1) takes the user directly to the Safety and Security tab, the SOS EMERGENCY CALL button (2) makes the actual call when touched.
-
Using toolbox 3:
- Select the Actions tab, and then type "VFOHC" in the search field.
- Run the ODIN routine TEST-SELF_VCLEFT_X_VFOHCvia Toolbox: (link) and allow the routine to complete.
- Disconnect the laptop from the vehicle.
- Reinstall the vehicle firmware. See 소프트웨어 재설치 - 터치스크린.
- Exit Service Mode. See 정비 모드.
- Inform the customer why the e-Call functionality has changed after the headliner retrofit and instruct them how to use the touchscreen to make an emergency call.