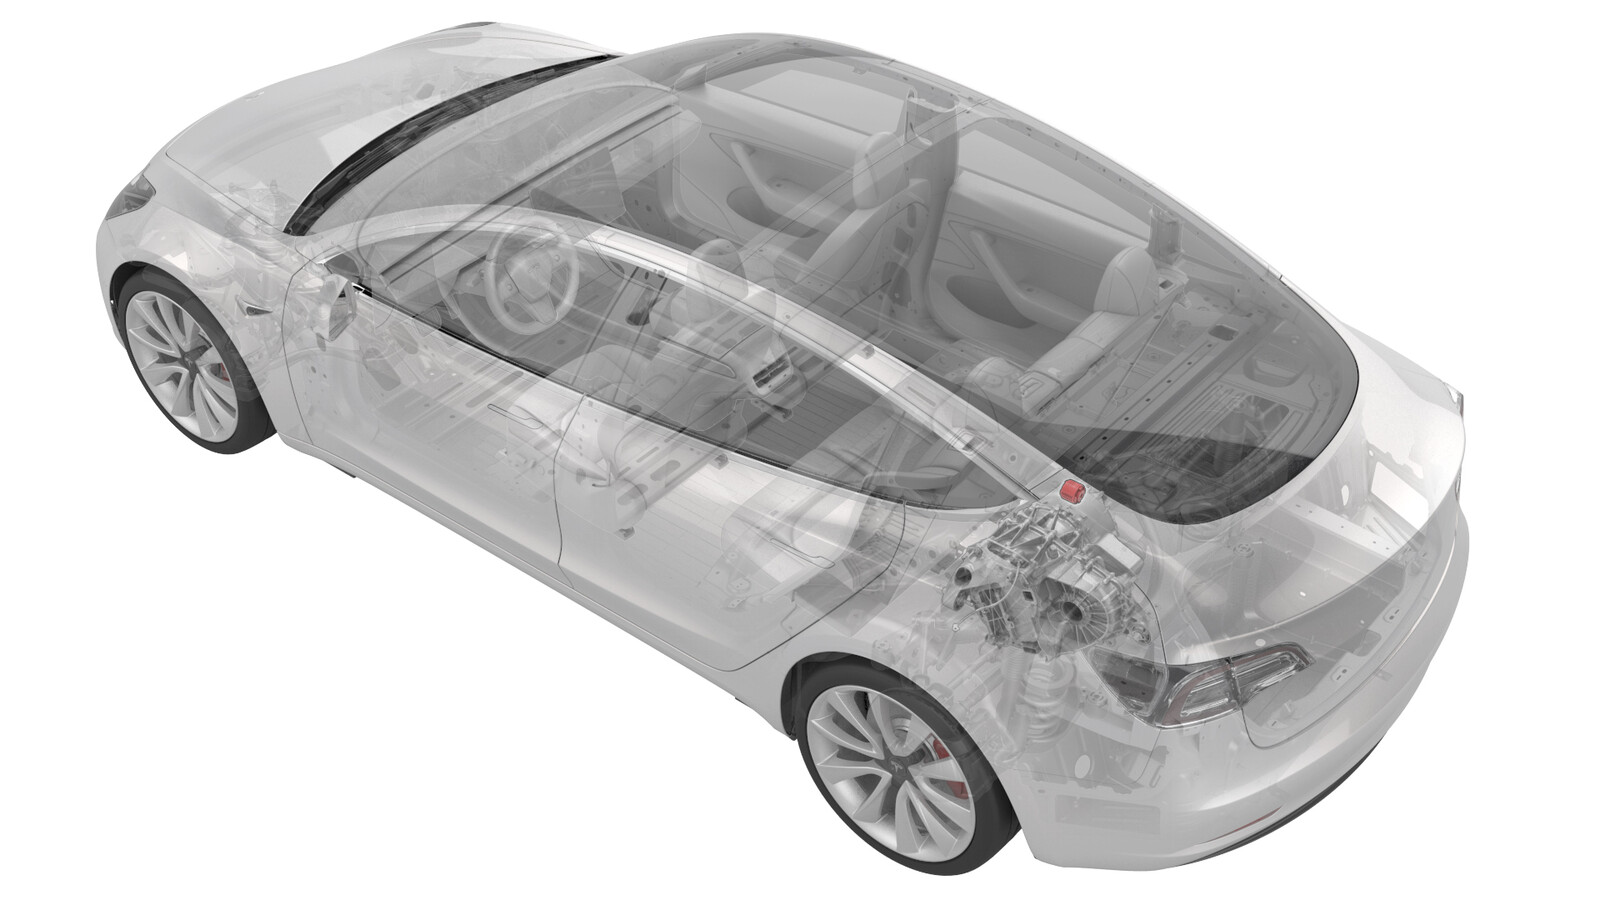
2022-08-02
부싱 - 후륜 구동 장치 - RH(3DU)(탈거 및 교체)
 교정 코드
40012402 4.08
메모: 절차에서 명시적으로 언급하지 않는 한 위 교정 코드 및 FRT는 연결된 절차를 포함하여 이 절차를 수행하는 데 필요한 모든 작업을 반영합니다. 명시적으로 지시하지 않는 한 교정 코드를 누적하지 마십시오.
참고: FRT와 그 생성 방법에 대한 자세한 내용은 표준 정비 작업시간을 참조하십시오. FRT 값에 대한 피드백을 제공하려면 ServiceManualFeedback@tesla.com으로 이메일을 보내십시오.
메모: 아래 절차를 수행할 때 개인 보호을(를) 참조하여 적절한 PPE를 착용했는지 확인하십시오. 안전하고 건강한 작업 사례는 인체공학적 주의 사항의 내용을 참조하십시오.
필요 장비:
- 1137785-00-A 키트, 구동장치 부싱 R&R, Model 3
탈거
- 후륜 구동장치를 탈거합니다. 구동 장치 - 후면(3DU)(탈거 및 장착)을(를) 참조하십시오.
-
후륜 구동장치를 비어 있는 후륜 구동장치 크레이트 위에 놓습니다.
참고크레이트가 없으면 팔레트를 사용합니다.
-
부싱 탈거 공구를 RH 부싱에 장착합니다.
참고특수 공구를 조립할 때, 그림과 같이 "A" 컵, "C" 컵, "D" 컵을 사용합니다.
-
반대쪽 너트를 제자리에 고정한 상태에서 베어링 쪽 부싱 탈거 도구 너트를 렌치로 돌립니다.
-
부싱이 구동장치에서 밀려 나오면 부싱 탈거 공구를 분리한 후 구동장치에서 탈거합니다.
장착
-
부싱 공구를 설정하여 새 부싱을 압입합니다.
참고특수 공구를 조립할 때, 그림과 같이 "D" 컵과 "E" 컵을 사용합니다.
- 스러스트 와셔의 너트를 돌려 새 부싱을 구동장치에 압입합니다.
- 부싱 공구를 분리한 후 구동장치에서 부싱 공구를 탈거합니다.
- 후륜 구동장치를 장착합니다. 구동 장치 - 후면(3DU)(탈거 및 장착)을(를) 참조하십시오.
- 차량 휠 얼라인먼트를 확인하고 필요한 경우 조정합니다. 참조 항목: 4휠 얼라인먼트 점검.