2025-06-27
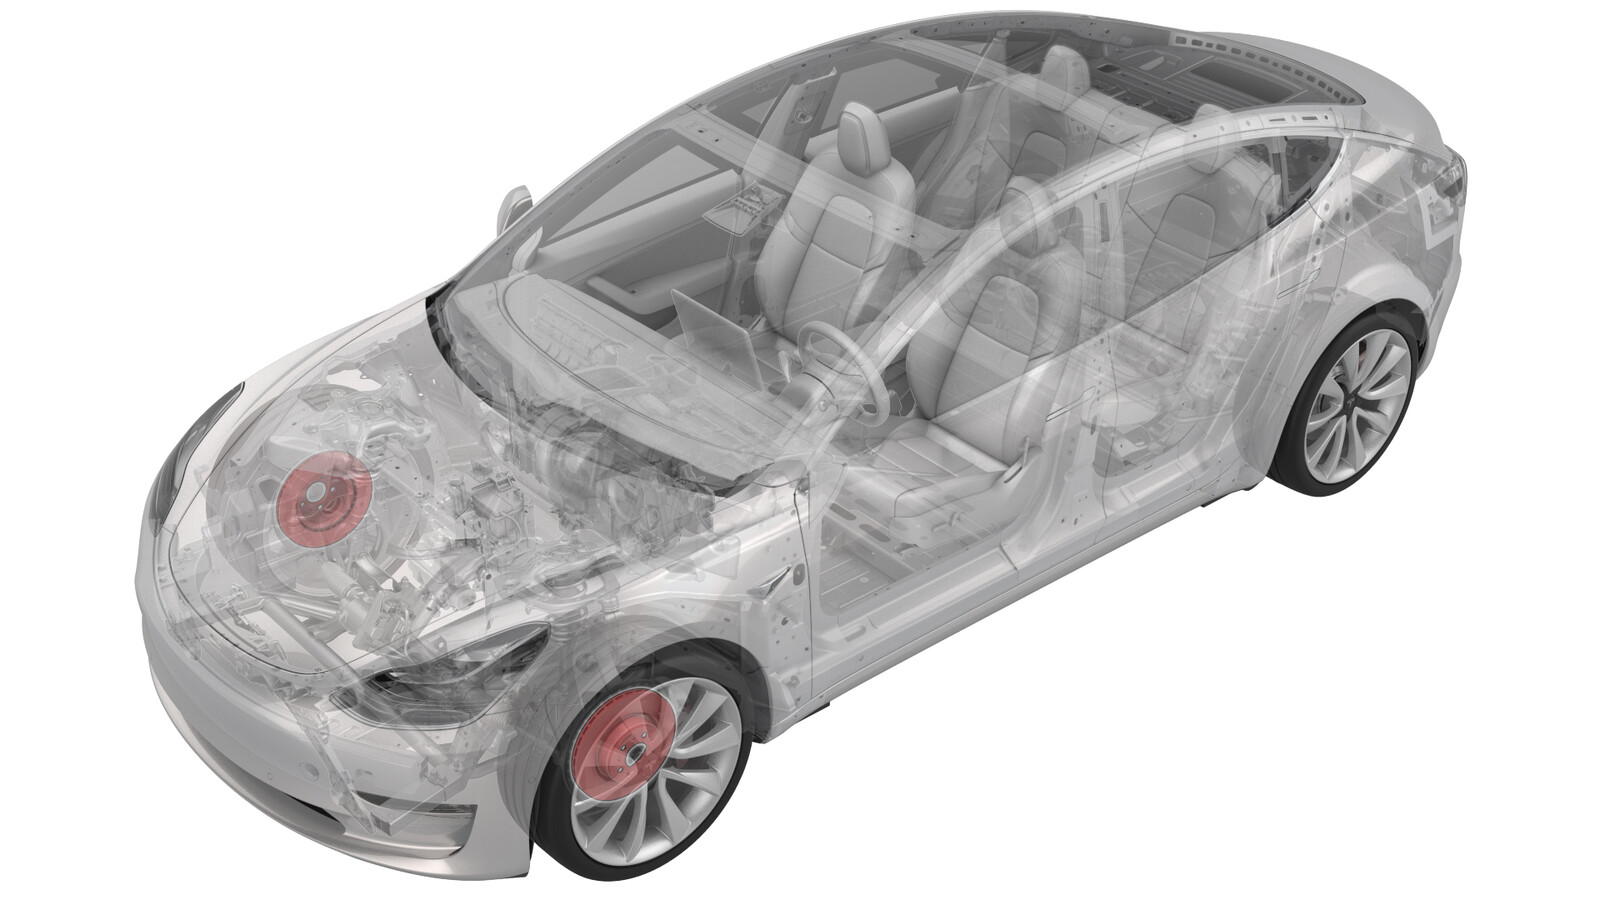
브레이크 로터 - 전면 - LH(탈거 및 교체)
 교정 코드
33010102 0.24
메모: 절차에서 명시적으로 언급하지 않는 한 위 교정 코드 및 FRT는 연결된 절차를 포함하여 이 절차를 수행하는 데 필요한 모든 작업을 반영합니다. 명시적으로 지시하지 않는 한 교정 코드를 누적하지 마십시오.
참고: FRT와 그 생성 방법에 대한 자세한 내용은 표준 정비 작업시간을 참조하십시오. FRT 값에 대한 피드백을 제공하려면 ServiceManualFeedback@tesla.com으로 이메일을 보내십시오.
메모: 아래 절차를 수행할 때 개인 보호을(를) 참조하여 적절한 PPE를 착용했는지 확인하십시오. 안전하고 건강한 작업 사례는 인체공학적 주의 사항의 내용을 참조하십시오.
필요 장비:
- 1134786-00-A 도구, 캘리퍼 스프레더, Model 3
- 2025-05-08: 로터 교체 후 수행해야 하는 브레이크 패드 버니싱 단계를 업데이트했습니다.
- 2023-11-22: 싱글 로터 교체에 대한 별도의 정보를 추가했습니다.
참고
자세한 브레이크 규격은 브레이크의 내용을 참조하십시오.
참고
싱글 로터 교체가(파손으로 인해) 필요한 경우, 해당 액슬 로터는 반드시 런아웃 및 두께를 측정해야 합니다. 브레이크 로터 - 전면 - LH(런아웃 측정)을(를) 참조하십시오.
토크 규격
| 설명 | 토크 값 | 권장 공구 | 재사용/교체 | 참고 |
|---|---|---|---|---|
| LH 전면 브레이크 호스 브래킷에서 LH 전면 너클 |
 5 Nm (3.7 lbs-ft) |
|
재사용 | |
| LH 전면 캘리퍼에서 LH 전면 너클 |
 94 Nm (69.3 lbs-ft) |
|
교체 | 1088969-00-B |
| 브레이크 로터에서 허브 |
 5 Nm (3.7 lbs-ft) |
|
재사용 |
탈거
- 차량을 들어 올려서 전방 LH 휠을 탈거합니다. 휠 어셈블리(탈거 및 장착)을(를) 참조하십시오.
-
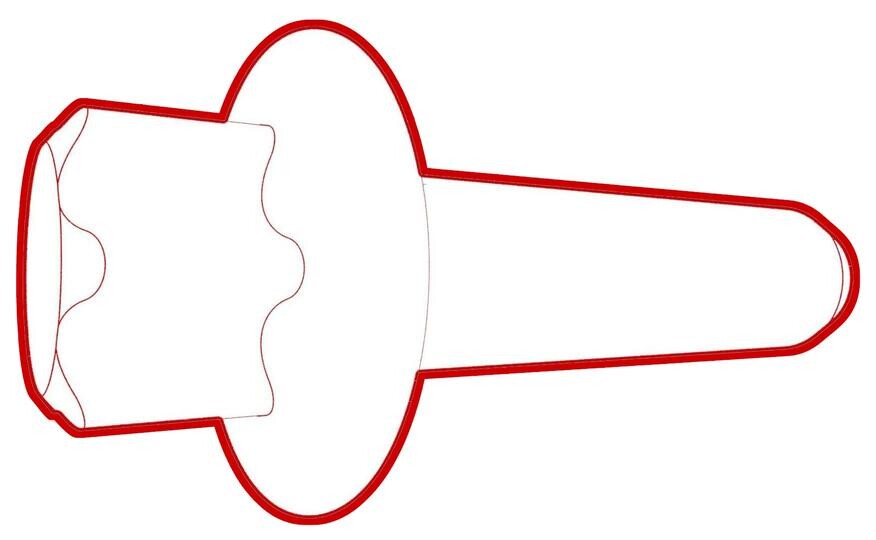
LH 전면 브레이크 호스 브래킷을 LH 전면 너클에 고정하는 볼트를 탈거합니다.
 5 Nm (3.7 lbs-ft)TIp다음 공구를 사용하는 것이 좋습니다.
- 10mm 소켓
- 육각 헤드 래칫/플렉스 헤드 토크 렌치
- 4인치 익스텐션
-
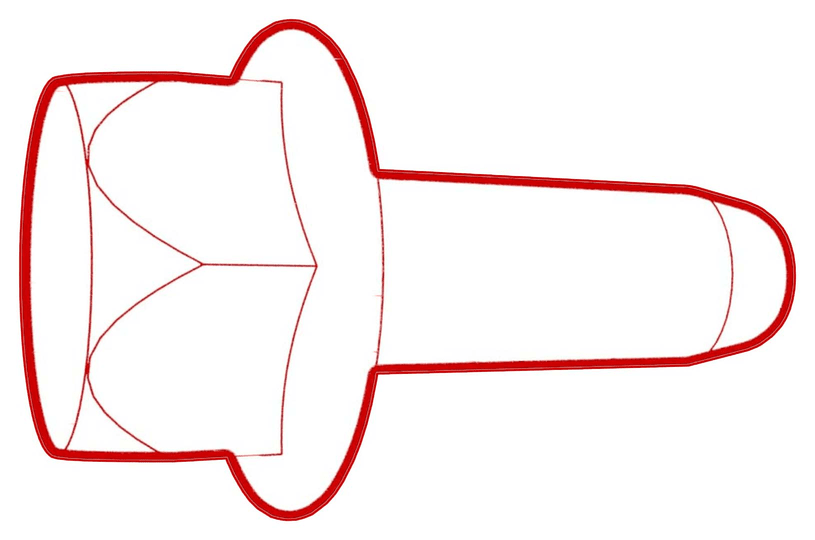
LH 전면 캘리퍼를 LH 전면 너클에 고정하는 볼트를 탈거하여 폐기하고 너클에서 캘리퍼를 탈거한 다음 캘리퍼를 S자형 후크에 겁니다.
 94 Nm (69.3 lbs-ft)TIp다음 공구를 사용하는 것이 좋습니다.
- 외부 Torx E18
- 래칫/토크 렌치
참고필요한 경우 캘리퍼 스프레더 도구를 사용하여 캘리퍼 피스톤을 완전 개방 위치로 밉니다. -
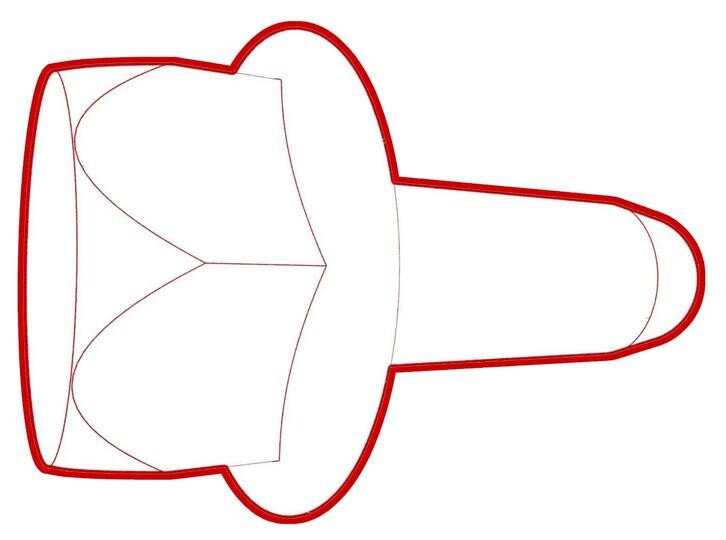
브레이크 로터를 허브에 고정하는 볼트를 탈거한 다음 허브에서 브레이크 로터를 탈거합니다.
 5 Nm (3.7 lbs-ft)TIp다음 공구를 사용하는 것이 좋습니다.
- 10mm 소켓
- 육각 헤드 래칫/플렉스 헤드 토크 렌치
- 2인치 익스텐션
장착
다음을 제외하고, 장착 절차는 탈거의 역순입니다.
- 패치볼트 교체
- 토크로 조인 후 페인트 펜으로 패스너에 표시합니다.
-
브레이크 페달을 5회 이상 밟아 패드가 로터에 안착되게 합니다.
경고차량을 주행하기 전에 항상 브레이크 패드가 올바르게 안착되었는지 확인하십시오.
-
브레이크를 버니싱합니다. 참조 항목: 브레이크 패드 - 버니싱.
참고차량 주행 시, 적절한 브레이크 페달의 느낌과 성능이 달성되었는지 확인하십시오.참고서비스 방문에 브레이크 패드 버니싱 교정 코드 33013000를 별도 활동으로 추가합니다.