2024-08-12
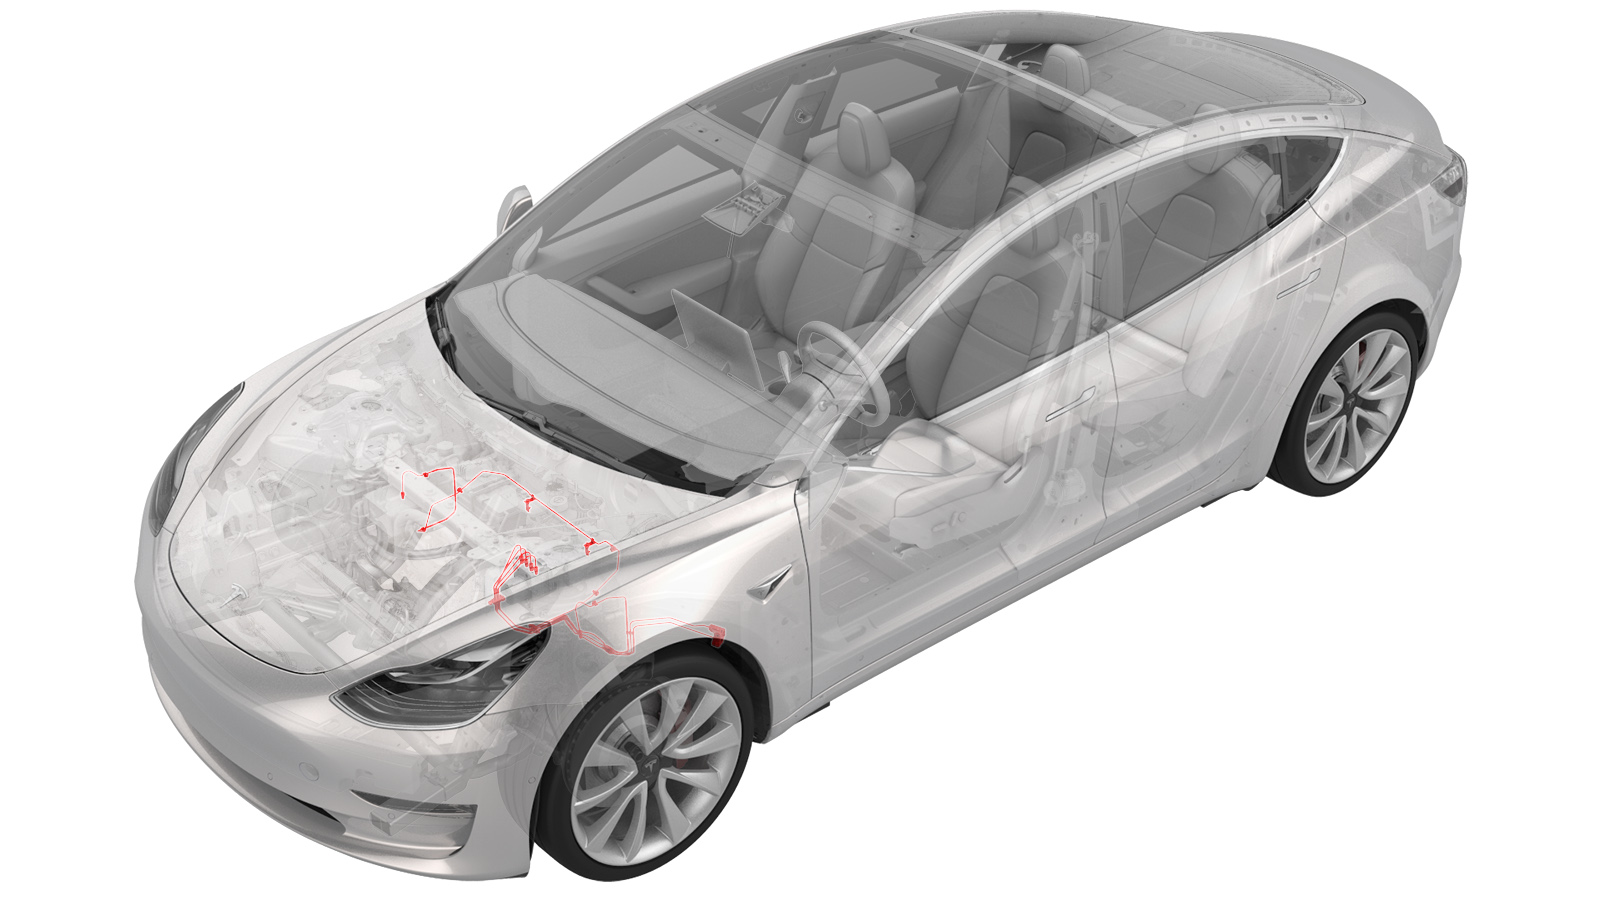
브레이크 라인 - 4개 튜브 번들 - ABS와 휠 연결(듀얼 모터)(탈거 및 교체)
 교정 코드
330339524.62
메모: 절차에서 명시적으로 언급하지 않는 한 위 교정 코드 및 FRT는 연결된 절차를 포함하여 이 절차를 수행하는 데 필요한 모든 작업을 반영합니다. 명시적으로 지시하지 않는 한 교정 코드를 누적하지 마십시오.
참고: FRT와 그 생성 방법에 대한 자세한 내용은 표준 정비 작업시간을 참조하십시오. FRT 값에 대한 피드백을 제공하려면 ServiceManualFeedback@tesla.com으로 이메일을 보내십시오.
메모: 아래 절차를 수행할 때 개인 보호을(를) 참조하여 적절한 PPE를 착용했는지 확인하십시오. 안전하고 건강한 작업 사례는 인체공학적 주의 사항의 내용을 참조하십시오.
경고
브레이크 오일은 페인트를 녹입니다. 도장면에 유출된 브레이크 오일을 닦을 수 있도록 깨끗한 수건과 다량의 물을 준비해 두십시오.
참고
사용한 브레이크 오일은 현지 환경 규정에 따라 폐기합니다.
- Remove the front subframe. See 서브프레임 어셈블리 - 전면(듀얼 모터)(탈거 및 장착).
- Remove the 12V battery bracket. See 브래킷 - 12V 배터리(듀얼 모터)(탈거 및 교체).
-
Remove the bolts (x2) that attach the ground leads (G098 and G099) to the LH side of the body.
참고Discard thread-cutting tri-lobular bolts after removal. If equipped with new bolts (1447438-00-A), the bolts can be reused.
-
Release the white harness clip from the body.
-
Release the black harness clip from the body.
-
Remove the front harness clip from the LH frame rail area.
-
Disconnect the ground connector (G011) from the LH frame rail area.
-
Move the LH side of the front harness aside for access.
-
Disconnect the ABS modulator connector.
참고Disengage locking tab and pull up on the connector to release.
-
Release the front harness clips (x2) at the LH frame rail area.
- ABS 장치 아래에 오일 배출 용기를 배치합니다.
-
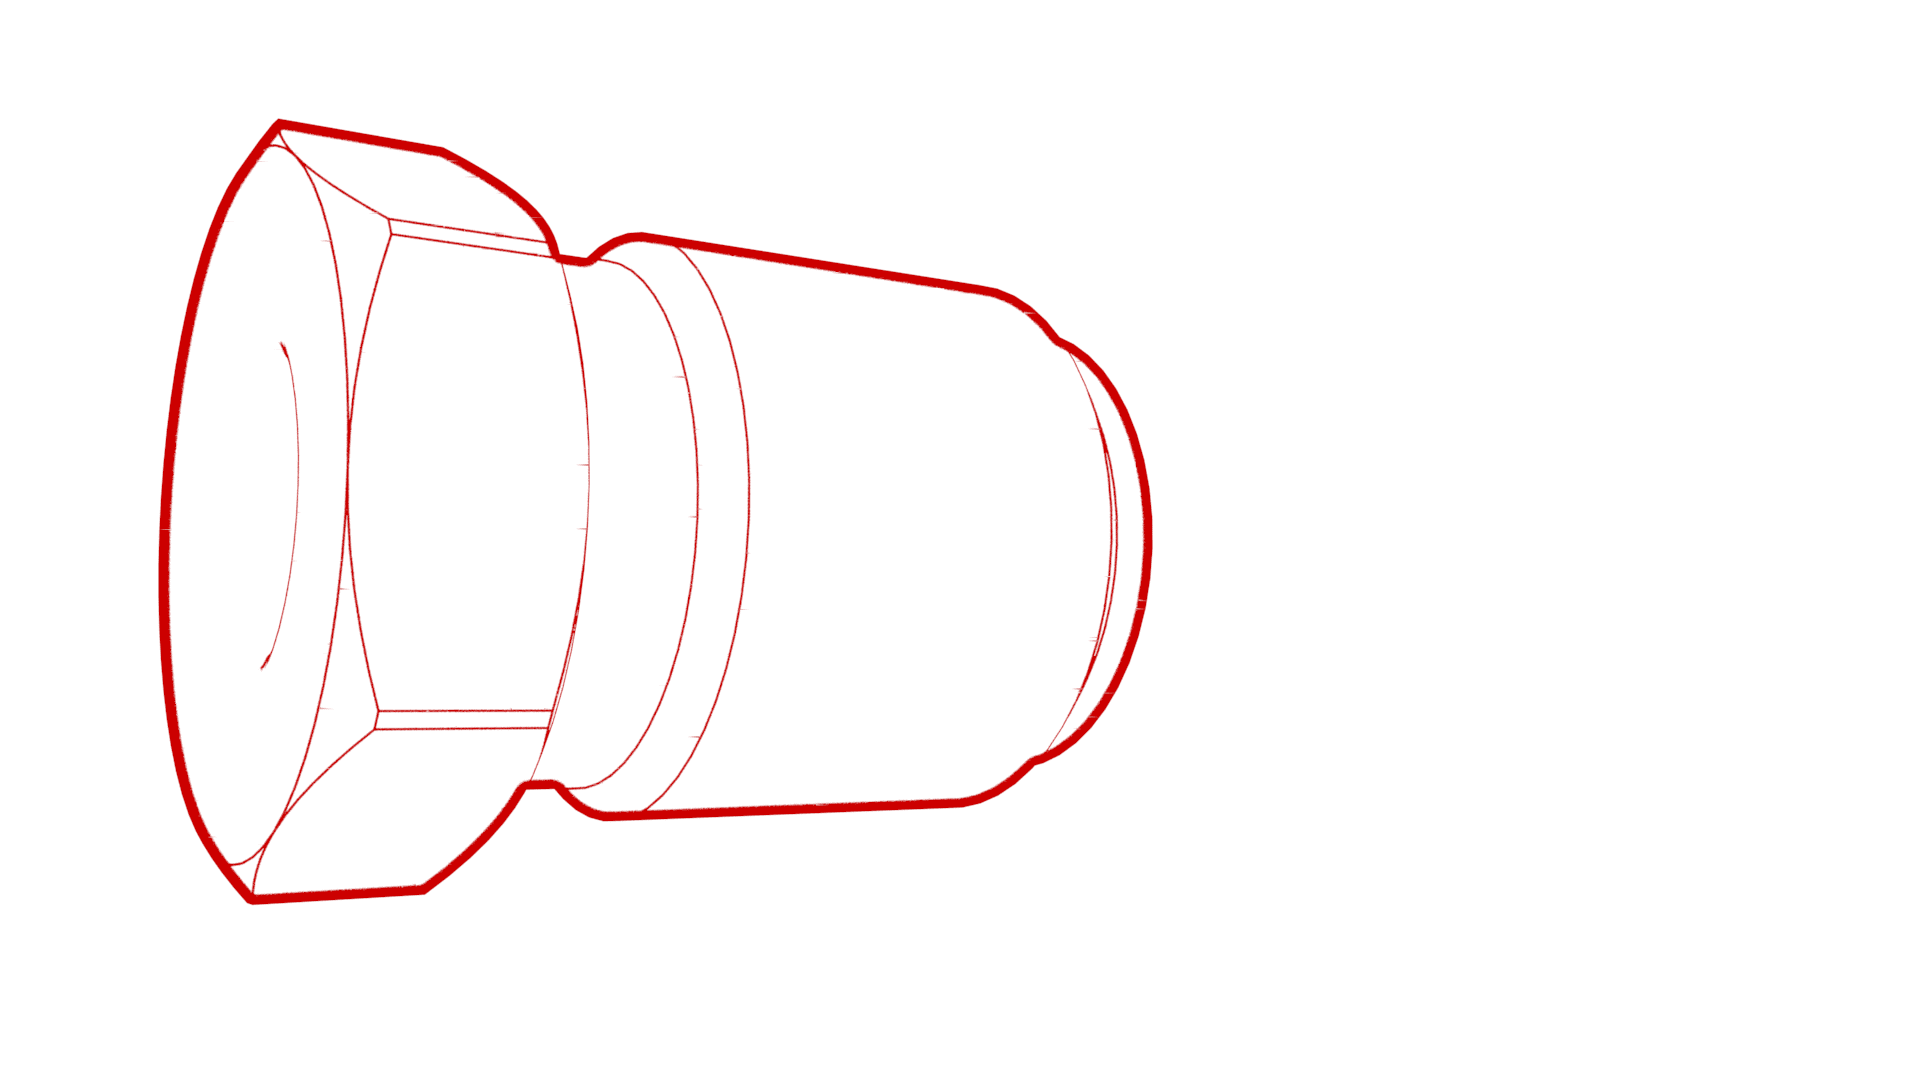
ABS 장치에서 브레이크 라인 튜브 너트를 탈거하고 오일을 배출합니다.
-
Remove the front brake line bundle clip at the LH front rail area.
-
Remove the RH front brake line from the front brake line bundle clip at the LH front rail area.
- Remove the oil drain container from underneath the vehicle.
- Partially raise the vehicle.
-
Remove the thermal beam hose clips (x2) from the body.
- 전면 브레이크 라인 정션 블록 아래에 오일 배출 용기를 배치합니다.
-
정션 블록에서 브레이크 라인 튜브 너트를 탈거하고 오일을 배출합니다.
-
Remove the black clip from the LH front junction block.
-
Release the brake lines from the LH front junction block.
- 전면 LH 브레이크 호스 아래에 오일 배출 용기를 배치합니다.
-
자운스 호스 브래킷의 브레이크 호스에서 브레이크 라인 튜브 너트를 탈거하여 오일을 배출합니다.
-
Remove the LH front brake line clip from the body.
- 전면 RH 브레이크 호스 아래에 오일 배출 용기를 배치합니다.
-
자운스 호스 브래킷의 브레이크 호스에서 브레이크 라인 튜브 너트를 탈거하여 오일을 배출합니다.
-
Remove the RH front brake line clips (x2) from the body.
- Fully raise the vehicle.
-
Release the coolant hose clip on the LH fender.
-
Remove the front brake line bundle clip from the LH body rail area.
-
Remove the LH front side 3 bundle brake lines from the vehicle.
참고Route the front brake line bundle out of steering column area, then route it through LH front wheel liner and front subframe area.
-
Release the clips (x3) that attach the 12V harness to the body.
-
Release the clips (x7) that attach the HV cables to the body.
-
Release the clips (x2) that attach the coolant manifold line from the body.
-
Release the clips (x4) that attach the coolant hoses to the body.
-
Release the clip that attaches the coolant hose to the RH side of the body.
-
Remove the clips (x5) that attach the RH front brake line to the body.
-
Remove the RH front brake line from the vehicle.
참고Route the brake line out of steering column area, then move it towards the RH side, and the remove it out between the front subframe area.
장착
- Remove the RH front brake line from the new front 4 tube brake bundle.
-
Position the RH front brake line to vehicle for installation.
참고Route the RH front brake line through the front subframe area out toward the RH front wheel liner area, then route it to LH frame rail area.
-
Install the clips (x5) that attach the RH front brake line to the body.
-
Install the clip that attaches the RH side coolant hose to the body.
-
Install the clips (x4) that attach the coolant hoses to the body.
-
Install the clips (x2) that attach the coolant manifold line to the body.
-
Install the clips (x7) that attach the HV cables to the body.
-
Install the clips (x3) that attach the 12V harness to the body.
-
Install the left side 3 tube bundle to the vehicle.
참고Route the brake line bundle through the LH front wheel liner and front subframe area, then route it to LH frame rail area.
-
Install the clip that attaches the coolant hose to the LH fender.
-
Install the clip that attaches the front brake line bundle to LH body rail area.
- Partially lower the vehicle.
-
Install the RH front brake line into the brake hose at the jounce hose bracket, and then use a crowfoot extension to install the brake line tube nut into the brake hose.
 16 Nm (11.8 lbs-ft)
 -
Install the RH front brake line clips (2) to the body.
-
자운스 호스 브래킷의 브레이크 호스에 브레이크 라인을 삽입한 후 크로우풋 익스텐션을 사용하여 브레이크 라인 튜브 너트를 브레이크 호스에 장착합니다.
 16 Nm (11.8 lbs-ft)
 -
Install the clip that attaches the LH front brake line clip to body
참고1x clip
-
Install the brake lines into the LH front junction block.
-
Install the clip that secures the brake lines at the LH front junction block.
-
Use a crowfoot extension to install the brake line tube nuts into the junction block.
 16 Nm (11.8 lbs-ft)
 -
Install the thermal beam hose clips (x2) to the body.
- Lower the vehicle.
-
Install the RH front brake line to front brake line bundle clip at the LH front rail area.
-
Install the front brake line bundle clip at the LH front rail area.
-
Install the master cylinder brake lines to the 4 tube bundle clip.
-
브레이크 라인을 ABS 장치에 장착한 후 크로우풋 익스텐션을 사용하여 브레이크 라인 튜브 너트를 ABS 장치에 장착합니다.
 16 Nm (11.8 lbs-ft)
 -
Re-position the LH side of the front harness to the LH frame rail for installation.
-
Install the front harness clips (x2) at the LH frame rail area.
-
Connect the LH frame rail ground connector (G011).
-
Install the front harness clip to the LH frame rail area.
-
Install the white harness clip to the left front fender.
-
Install the black harness clip to the left front fender.
-
Install the bolts (x2) that attach the grounds leads (G098 and G099) to the body (torque 10 Nm).
참고Install new bolts if thread-cutting tri-lobular bolts were installed previously. Hand-start bolts at least 6 rotations before applying torque to avoid damaging the weld nut.
-
Install the ABS modulator connector
참고Gently push connector downward, then engage locking tab
- Reinstall the 12V battery bracket. See 브래킷 - 12V 배터리(듀얼 모터)(탈거 및 교체).
- Install the 12V battery into the vehicle. See 12V/LV 배터리(탈거 및 교체).
- Install the front subframe. See 서브프레임 어셈블리 - 전면(듀얼 모터)(탈거 및 장착).
- Connect 12V power. See 12V/LV 전원(연결 해제 및 연결).
- Remove the HVAC plenum outer duct. See 플레넘 - 인입 - HVAC(탈거 및 교체).
- Perform a coolant air purge. See 냉각 시스템(부분적 보충 및 블리딩).
- Bleed the brakes. See 브레이크 오일 블리딩/플러싱.
- Install the underhood storage unit. See 후드 내 보관 유닛(탈거 및 교체).
- Install the HVAC plenum outer duct. See 플레넘 - 인입 - HVAC(탈거 및 교체).
- Install the rear underhood apron. See 후드 내 에이프런 - 후면(탈거 및 교체).
- Install the front aero shield. See 패널 - 에어로 실드 - 전면(탈거 및 교체).
- Install the LH and RH wheel liner. See 휠 아치 라이너 - 전면 - LH(탈거 및 교체).
- Install all wheels. See 휠 어셈블리(탈거 및 장착).
- Torque the LH and RH front halfshaft nuts to 300 Nm.
- Perform a 4-wheel alignment check. See 4휠 얼라인먼트 점검.