2024-09-09
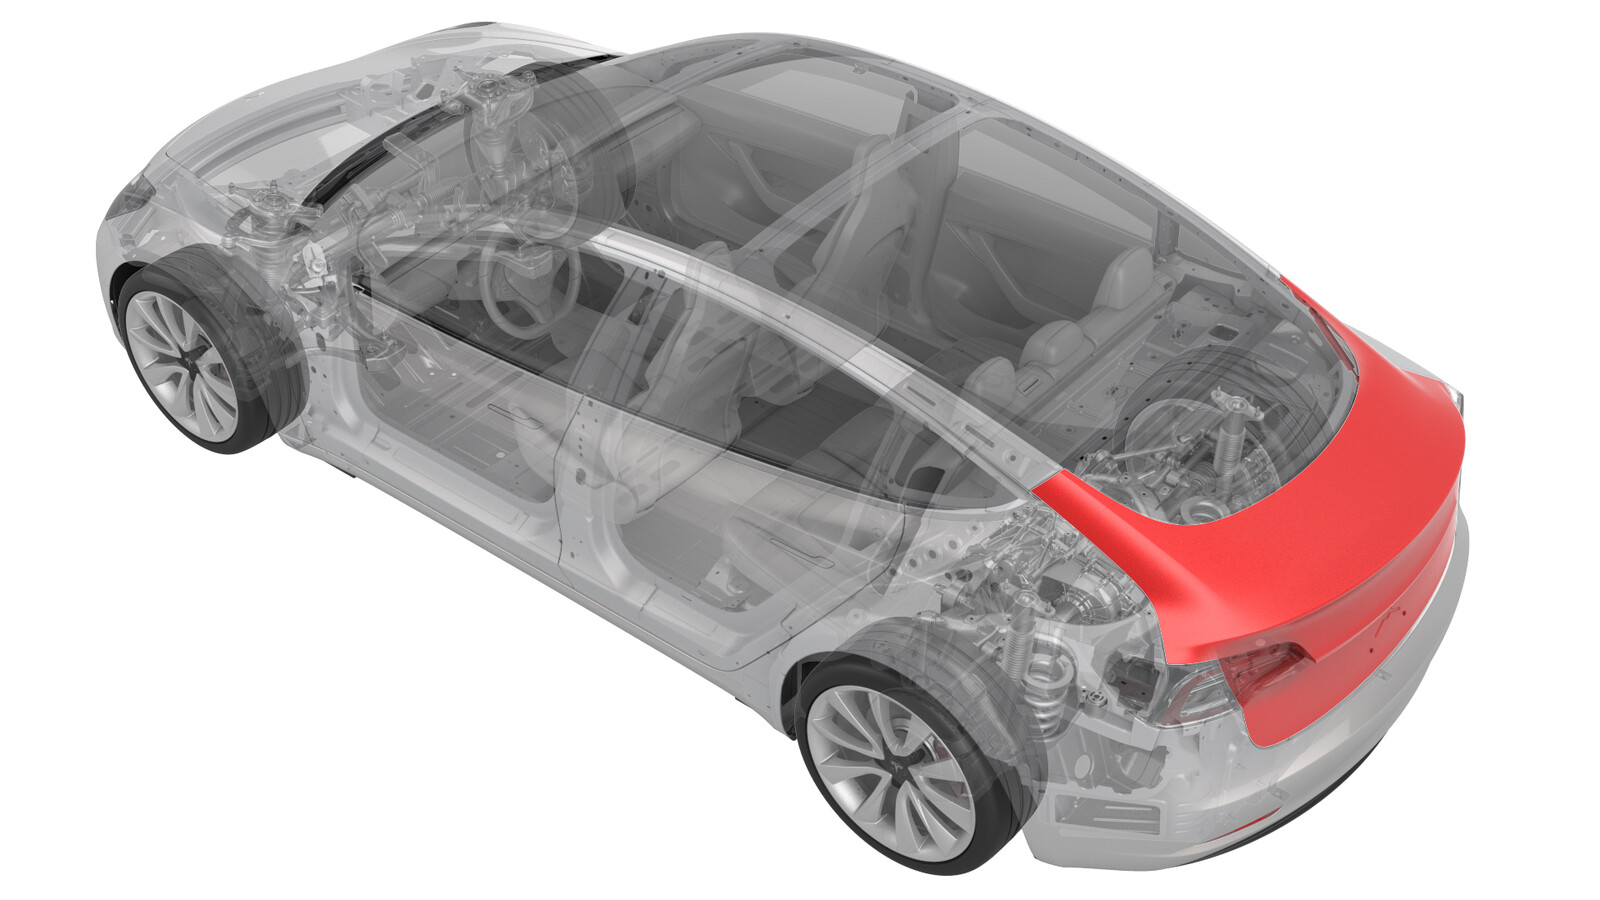
트렁크 정렬
 교정 코드
10000004
조정 가능한 FRT
메모: 이 절차는 조정 가능한 교정 코드를 사용합니다. 상기의 교정 코드 리스트를 사용하여 이 절차를 수행하는 데 소요된 실제 시간을 직접 입력하십시오. 명시적으로 지시하지 않는 한 교정 코드를 누적하지 마십시오.
메모: FRT와 그 생성 방법에 대한 자세한 내용은 표준 정비 작업시간을 참조하십시오. FRT 값에 대한 피드백을 제공하려면 ServiceManualFeedback@tesla.com으로 이메일을 보내십시오.
메모: 아래 절차를 수행할 때 개인 보호의 내용을 참조하여 적절한 PPE를 착용했는지 확인하십시오.
참고: 안전하고 건강한 작업 사례는 인체공학적 주의 사항의 내용을 참조하십시오.
- 2023-12-20: 기존의 조정 불가능한 교정 코드를 조정 가능한 새 교정 코드로 업데이트했습니다.
경고
이 절차에 포함되어 있는 비디오는 보충 목적의 개요로만 제공됩니다. 구성품의 손상 및/또는 신체 상해를 방지하려면 절차에 나열된 모든 단계를 따르십시오.
절차
-
트렁크 간격 및 단차 점검을 수행합니다.
참고최신 규격은 CVIS를 참조하십시오.
-
외부 스위치로 트렁크를 엽니다
-
LH 오버슬램 범퍼를 홈 위치로 집어넣습니다.
참고오버슬램 범퍼 1개, 트렁크에 완전히 안착할 때까지 시계 방향으로 돌립니다
-
RH 오버슬램 범퍼를 홈 위치로 집어넣습니다.
참고오버슬램 범퍼 1개, 트렁크에 완전히 안착할 때까지 시계 방향으로 돌립니다
-
트렁크 실 트림 어셈블리를 탈거합니다.
참고클립 4개, 나머지 클립에 대해 차체에서 멀리 떨어진 끝단의 모서리 위쪽으로 클립을 당겨 분리합니다.
-
차체에 트렁크 스트라이커 위치를 표시합니다
-
트렁크 스트라이커를 탈거합니다.
참고볼트 2개, T45, 24Nm
-
힌지를 트렁크 어셈블리에 고정하는 볼트를 풉니다.
참고볼트 4개, 13mm, 24Nm, 필요한 경우 조정을 수행합니다. 보조 작업자가 있는 것이 좋습니다.
-
힌지를 트렁크 어셈블리에 고정하는 볼트를 조입니다.
참고볼트 4개, 13mm, 24Nm, 힌지를 트렁크 어셈블리에 고정하는 볼트를 손으로 조입니다.
-
트렁크를 닫아 간격/단차를 점검합니다
참고필요에 따라 조정 작업을 합니다. 필요한 경우 보조 작업자가 있는 것이 좋습니다. 최신 규격은 CVIS를 참조하세요.
-
필요한 경우 LH 오버슬램 범퍼를 조정합니다.
참고오버슬램 범퍼 1개
-
필요한 경우 RH 오버슬램 범퍼를 조정합니다.
참고오버슬램 범퍼 1개
-
힌지를 트렁크 어셈블리에 고정하는 볼트를 토크로 조입니다.
참고볼트 4개, 13mm, 24Nm
-
트렁크 스트라이커를 표시한 위치에 정렬하고 차체에 고정하는 볼트를 느슨하게 장착합니다.
참고볼트 2개, T45, 24Nm
-
트렁크를 닫아 간격/단차 및 트렁크가 예상대로 닫히는지 점검합니다.
참고필요한 경우 스트라이커를 조정합니다. 완료되면 트렁크를 엽니다.
-
트렁크 스트라이커를 트렁크에 고정하는 볼트를 토크로 조입니다.
참고볼트 2개, T45, 24Nm
-
트렁크 스트라이커 영역 주위에서 마스킹 테이프를 제거합니다
-
트렁크 실 트림 어셈블리를 장착합니다.
참고클립 4개, 래치를 중앙 슬롯과 정렬하고 2개의 로케이터와 정렬한 다음 눌러서 클립을 고정합니다. 씰이 트림과 겹치도록 조정합니다.
-
터치업 페인트 이전에 트렁크 힌지 볼트 두 개, 와셔, 주변 구역을 소제합니다.
참고1분 동안 건조시킵니다.
-
터치업 페인트를 LH 트렁크 힌지 볼트 헤드에 도포합니다.
참고볼트 2개, 도포하기 전에 터치업 페인트를 흔들어 줍니다.
-
터치업 페인트를 RH 트렁크 힌지 볼트 헤드에 도포합니다.
참고볼트 2개, 도포하기 전에 터치업 페인트를 흔들어 줍니다. 어느 정도 건조시킨 후 트렁크를 닫습니다.
-
트렁크를 닫습니다