2025-06-27
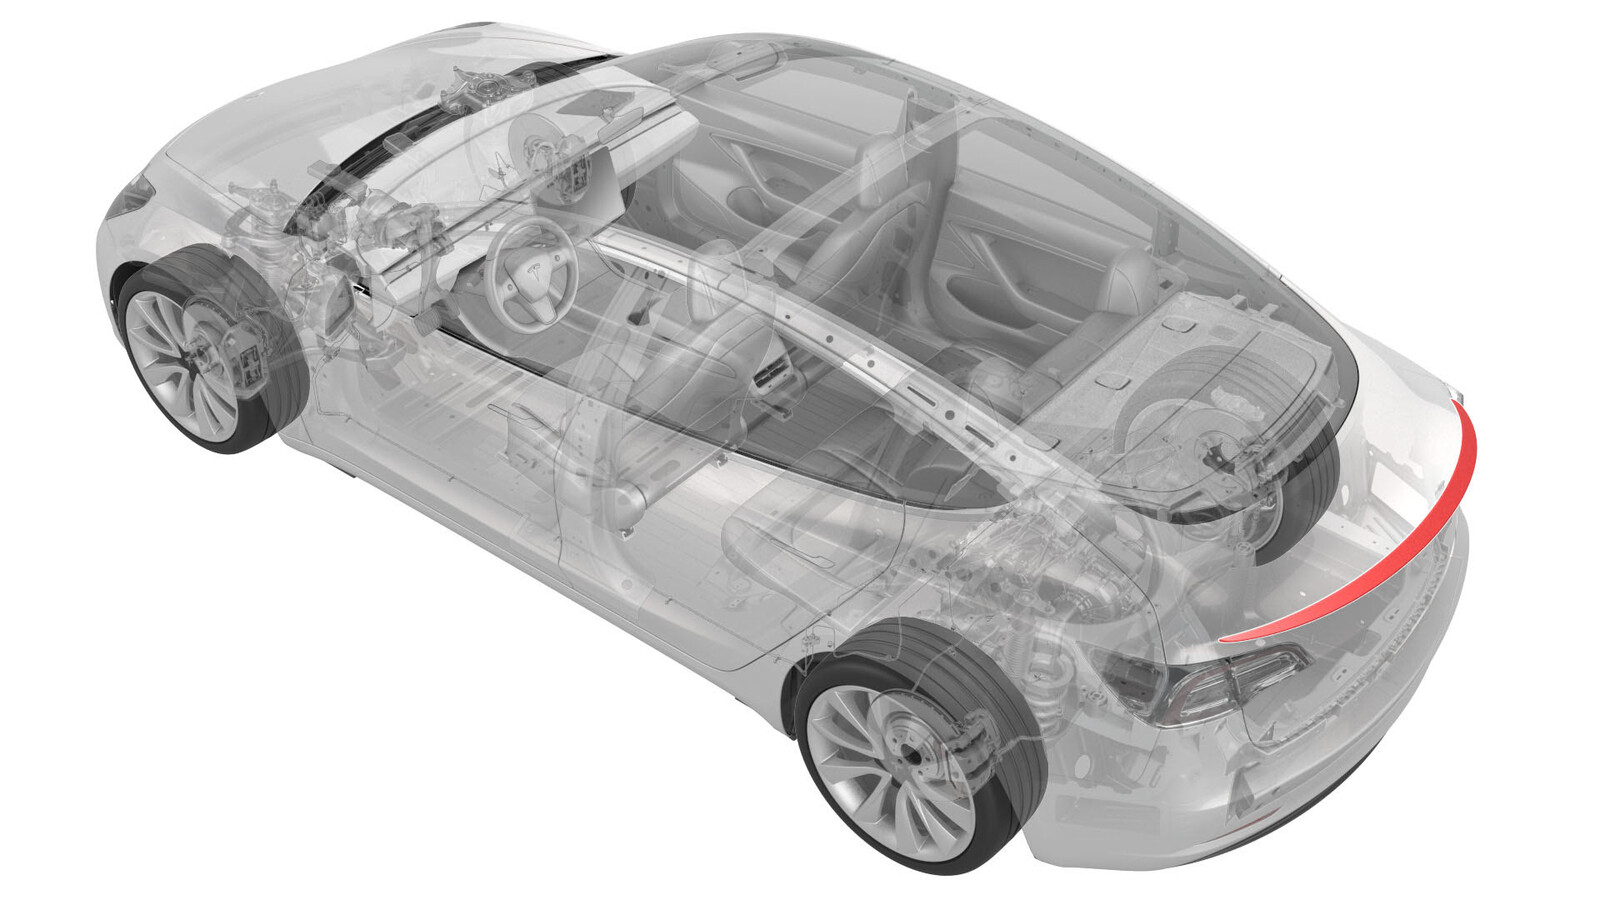
스포일러 - 후면(지그를 이용하여 새로 장착)
 교정 코드
12220416 0.30
메모: 절차에서 명시적으로 언급하지 않는 한 위 교정 코드 및 FRT는 연결된 절차를 포함하여 이 절차를 수행하는 데 필요한 모든 작업을 반영합니다. 명시적으로 지시하지 않는 한 교정 코드를 누적하지 마십시오.
참고: FRT와 그 생성 방법에 대한 자세한 내용은 표준 정비 작업시간을 참조하십시오. FRT 값에 대한 피드백을 제공하려면 ServiceManualFeedback@tesla.com으로 이메일을 보내십시오.
메모: 아래 절차를 수행할 때 개인 보호을(를) 참조하여 적절한 PPE를 착용했는지 확인하십시오. 안전하고 건강한 작업 사례는 인체공학적 주의 사항의 내용을 참조하십시오.
- 2025-05-08: 스포일러를 적시는 비디오를 업데이트했습니다.
- 2025-04-14: 구성 단계를 업데이트했습니다.
- 2025-03-03: 적시는 지침, 적시는 절차 비디오, 접착 촉진제를 사용해서는 안 된다는 참고 사항을 추가했습니다.
필요 장비:
- 1479070-00-A 키트, 스포일러 정렬, M3
절차
경고
트렁크 리드에 접착 촉진제를 바르지 마십시오. 스포일러 테이프의 접착력을 떨어뜨리고 페인트를 손상시킬 수 있습니다.
-
이소프로필 알코올(IPA) 천으로 스포일러 설치 표면을 닦아 건조시킨 후 진행합니다.
참고비 또는 차량 세차 시 발생할 수 있는 습기 또는 오염물을 총소합니다. 그렇지 않으면 리어스포일러의 접착력이 저하될 수 있습니다.참고트렁크 표면에 도장 보수가 필요한 경우, 리어스포일러를 장착하기 전에 판금 도장 전문점 또는 디테일숍에 도움을 요청합니다.참고정상적인 접착 기능을 위해 장착 시 적합한 주변 온도 및 부품 온도는 섭씨 15~43도(화씨 60~110도)입니다.
- 트렁크를 엽니다.
-
스포일러 지그 특수 공구를 트렁크 리드의 LH 및 RH 가장자리에 놓고 마스킹 테이프로 고정합니다.
참고스포일러 지그는 스포일러의 중심 맞추기 및 정렬에 사용되며, 장착 전에 차량에서 탈거합니다.
그림 1. LH에서 본 모습, RH도 유사함 - 작업용 타월을 LH과 RH 범프 스톱에 올려 트렁크가 걸리지 않도록 한 다음, 트렁크를 부분적으로 닫습니다.
-
스포일러 지그 특수 공구 사이에 리어스포일러를 접착제 없이 배치합니다.
그림 2. LH에서 본 모습, RH도 유사함 참고이때 스포일러 접착 테이프 뒷면은 제거하지 않습니다. -
리어스포일러 중앙과 트렁크 리드 중앙에 마스킹 테이프를 붙인 다음, 페인트 마커를 사용하여 마스킹 테이프의 센터링 라인 사이에 약 25mm 간격을 표시합니다.
- 스포일러 지그 특수 공구를 제거합니다.
-
트렁크 리드에 리어스포일러 장착 상태를 확인하십시오.
참고각 리어스포일러의 윤곽선은 다소 차이가 있을 수 있습니다. 리어스포일러가 트렁크 리드 중앙에 있고 모서리가 편평하게 놓여 있는지 확인하십시오.
-
리어스포일러를 탈거할 수 있도록 마스킹 테이프를 절단합니다.
경고플라스틱 날을 사용하여 작업하는 동안 트렁크 리드 또는 리어스포일러의 표면을 손상시키지 않도록 합니다.
-
트렁크 리드에서 리어스포일러를 탈거합니다.
경고트렁크 리드에 접착 촉진제를 바르지 마십시오. 스포일러 테이프의 접착력을 떨어뜨리고 페인트를 손상시킬 수 있습니다.
- 리어스포일러에서 접착제 뒷면을 제거합니다.
- 리어스포일러의 마스킹 테이프에 있는 두 마크를 트렁크 리드의 마스킹 테이프에 있는 두 마크에 맞추어 정렬합니다. 리어스포일러의 모서리를 트렁크 리드로부터 멀리 떨어져 잡고, 먼저 리어스포일러의 중앙 부분을 장착합니다.
- 리어스포일러의 각 끝을 트렁크 리드에 고정합니다.
-
접착제를 적셔줍니다. 한 번에 작은 부분 하나씩 작업하면서 스포일러에 10초간 20파운드 이상의 압력을 가합니다. 특히 스포일러의 끝 부분을 중점으로 스포일러의 전체 길이에 걸쳐 적셔줍니다
-
차량에서 마스킹 테이프를 떼어낸 다음, 작업 구역을 깨끗이 닦아줍니다.
참고리어스포일러 모서리가 트렁크 리드에 편평하고 대칭이 되게 놓였는지 확인하십시오.
- "spoilerType" 구성을 Passive로 변경합니다. 참조 항목: 게이트웨이 구성(표시 및 변경).