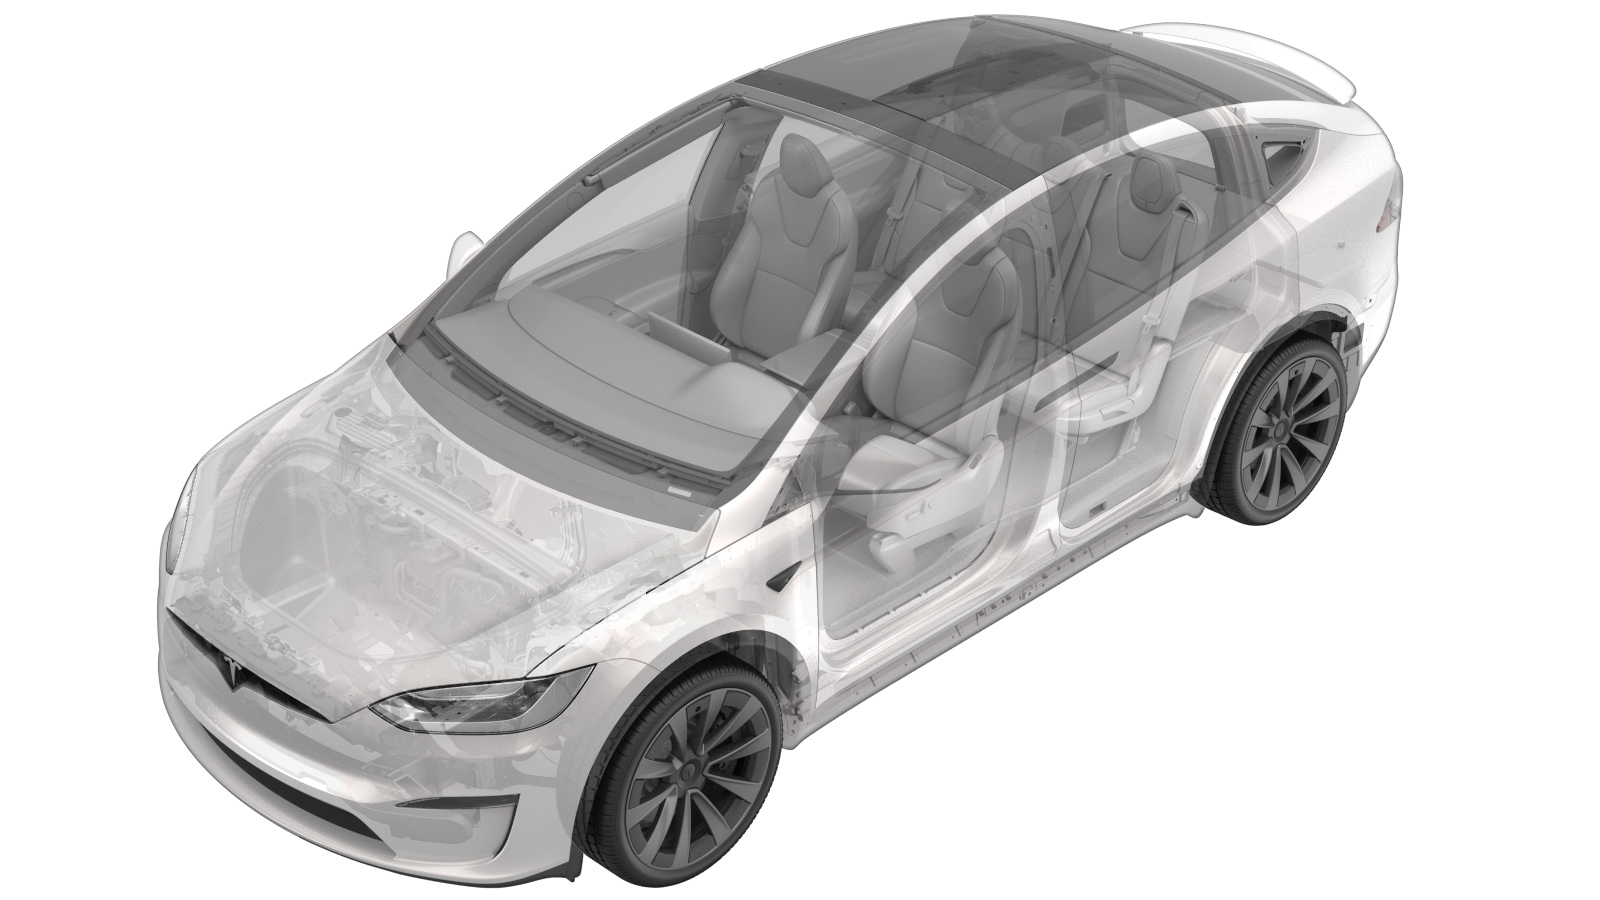
Brightwork - Upper - Front - LH (Remove and Replace)
 Correction code
12200502
0.30
NOTE: Unless otherwise explicitly
stated in the procedure, the above correction code and FRT reflect all of the work
required to perform this procedure, including the linked procedures. Do not stack correction codes unless
explicitly told to do so.
NOTE: See Flat Rate Times to learn
more about FRTs and how they are created. To provide feedback on FRT values, email ServiceManualFeedback@tesla.com.
NOTE: See Personal Protection to make sure proper PPE is worn when
performing the below
procedure.
- 2024-02-07: Added steps for clips securing seal and brightwork to body.
Remove
- Open the LH front door and lower the LH front window.
- Open the LH falcon wing door.
-
Release the LH front door seal from
the B-pillar.
-
Pull back the lower seal on the LH
B-pillar applique, and then remove the screws (x2) that attach the applique to the
vehicle.
 3 Nm (2.2 lbs-ft)TIpUse of the following tool(s) is recommended:
- T25 socket
-
Release the retaining clip that
attaches the LH B-Pillar applique to the body.
NoteThe clip is located about 80mm below camera lens opening.TIpSlide a plastic pry tool behind the applique seal and twist to release the clip.
-
Pull the LH B-pillar applique downward
to release the upper tab, and then pull the applique away from the body.
CAUTIONUse caution as the camera harness is still connected and does not have much slack.
-
Release the locking tabs, and then
disconnect the LH B-Pillar camera electrical connectors (x2).
TIpHold the applique away from body to gain better access to the camera connectors.
-
Remove the LH B-Pillar applique from
the vehicle.
NotePull the B-pillar applique seal away from the applique to release it. Start at the top and work around the applique.
-
Release the LH front door primary seal
from the LH front upper brightwork molding.
-
Separate the LH front upper brightwork
molding seal from the brightwork.
-
Release the clips (x2) that attach the LH front upper brightwork molding seal to the
body at the LH front fender, and then remove the molding seal from the vehicle.
-
Remove the screws (x7) that attach the
LH front upper brightwork to the vehicle, and then remove the brightwork from the
vehicle.
 2.5 Nm (1.8 lbs-ft)NoteThere may be 2 clips at the lower front of the brightwork to be released from the body.TIpUse of the following tool(s) is recommended:
- T20 socket
Install
-
Position the LH front upper brightwork onto the vehicle, and then install the screws
(x7) that attach the brightwork to the vehicle.
 2.5 Nm (1.8 lbs-ft)NoteThere may be 2 clips at the lower front of the brightwork to be fastened to the body.TIpUse of the following tool(s) is recommended:
- T20 socket
-
Fasten the clips (x2) that attach the LH front upper brightwork molding seal to the
body at the LH front fender.
-
Install the LH front upper brightwork
molding seal into the LH front upper brightwork.
-
Install the LH front door primary seal
onto the upper brightwork molding.
NoteEnsure the primary seal is properly seated onto the interior trim.
-
Secure the applique seal into the LH
B-pillar applique. Use P-80 emulsifier to assist with seal installation.
-
Connect the LH B-Pillar camera
electrical connectors (x2), and then secure the locking tabs.
TIpHold the applique away from body to gain better access to the camera connectors.
-
Position the LH B-pillar applique onto
the vehicle, and then secure the clip that attaches the applique to the vehicle..
NoteBe sure to place the top of applique in position behind the upper seal. Insert the top tab first, and then push up and secure the lower clip.
-
Pull back the lower seal on the LH
B-pillar applique, and then install the screws (x2) that attach the applique to the
vehicle.
 3 Nm (2.2 lbs-ft)TIpUse of the following tool(s) is recommended:
- T25 socket
-
Secure the retaining tabs (x3) on the
lower portion of the LH B-Pillar applique seal.
-
Inspect the upper LH B-pillar applique
seal to make sure it is fully seated and adjust as necessary.
-
Secure the top triangle portion of the
LH B-Pillar applique seal into position against the body.
- Close LH falcon wing door.
- Raise the LH front window and close the LH front door.