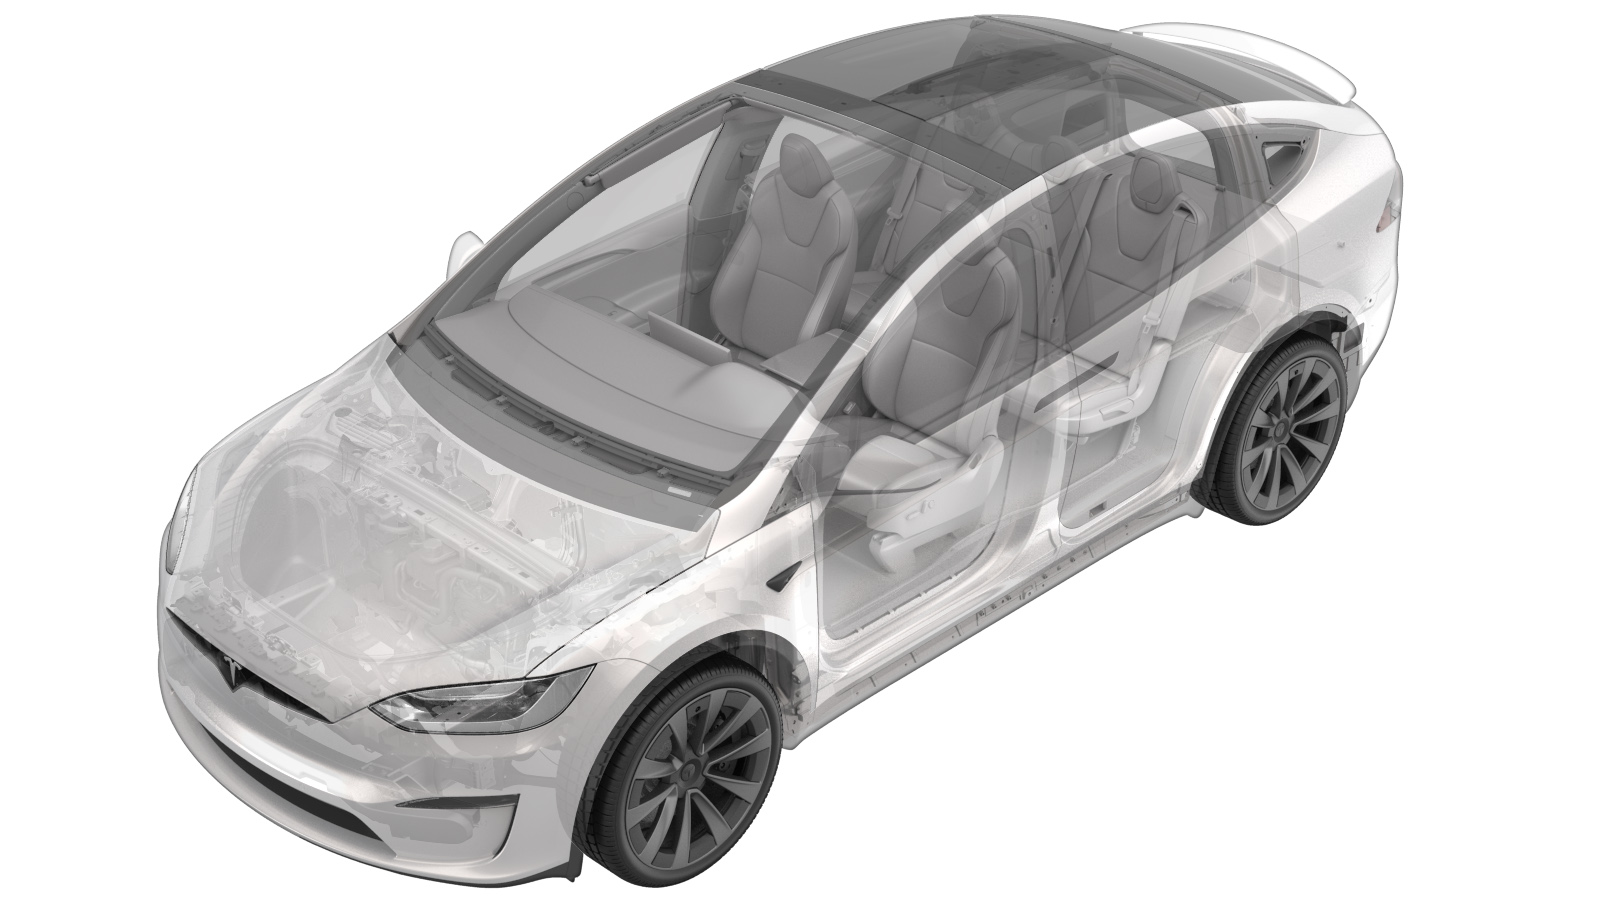
Link - Aft - Lower - Rear - LH (Remove and Replace)
 Correction code
31031432
0.42
NOTE: Unless otherwise explicitly
stated in the procedure, the above correction code and FRT reflect all of the work
required to perform this procedure, including the linked procedures. Do not stack correction codes unless
explicitly told to do so.
NOTE: See Flat Rate Times to learn
more about FRTs and how they are created. To provide feedback on FRT values, email ServiceManualFeedback@tesla.com.
NOTE: See Personal Protection to make sure proper PPE is worn when
performing the below
procedure.
Torque Specifications
- 2024-10-24: Deleted steps for ride height measurement.
| Description | Torque Value | Recommended Tools | Reuse/Replace | Notes |
|---|---|---|---|---|
| Bolt that attaches the rear brake hose to the lower aft link |
 6 Nm (4.4 lbs-ft) |
|
Reuse | |
| Nut and bolt that attaches the rear lower aft link to the knuckle |
 150 Nm (110.6 lbs-ft) |
|
Reuse | |
| Bolts (x2) that attach the rear lower aft link to the vehicle |
 85 Nm (62.7 lbs-ft) |
|
Reuse |
Remove
- Raise and support the vehicle. See Raise Vehicle - 2 Post Lift
- Remove the LH rear wheel. See Wheel Assembly (Remove and Install).
- Remove the mid aero shield panel. See Panel - Aero Shield - Rear (Remove and Replace).
-
Remove the bolt that attaches the LH
rear brake hose to the LH lower aft link, and then release the hose from the lower
link.
TIpUse of the following tool(s) is recommended:
- Nutsetter 1/4in Dr. 6in. X 10 mm magnetic deep
-
Remove the bolts (x2) that attach the
LH rear lower aft link to the subframe.
TIpUse of the following tool(s) is recommended:
- 16 mm socket
-
Remove the nut and bolt that attaches
the LH rear lower aft link to the knuckle, and then remove the lower aft link from the
vehicle.
TIpUse of the following tool(s) is recommended:
- 21 mm socket
Install
-
Position the LH lower aft link into
the vehicle, and then install and hand-tighten the bolts (x2) that attach the link to
the knuckle.
NoteThe bolt will be torqued at a later step.TIpUse of the following tool(s) is recommended:
- 21 mm socket
-
Install the bolts (x2) that attach the
LH rear lower aft link to the vehicle.
 85 Nm (62.7 lbs-ft)TIpUse of the following tool(s) is recommended:
- 16 mm socket
-
Install the bolt that attaches the LH
rear brake hose to the LH rear lower control arm.
 6 Nm (4.4 lbs-ft)TIpUse of the following tool(s) is recommended:
- Nutsetter 1/4in Dr. 6in. X 10 mm magnetic deep
-
If installed, remove and discard
the bolt that attaches the brake rotor to the hub.
NoteA new bolt will not be installed.TIpUse of the following tool(s) is recommended:
- 13 mm socket
-
Torque the bolt that attaches the LH
rear lower aft link to the knuckle and mark it with a paint pen.
 150 Nm (110.6 lbs-ft)TIpUse of the following tool(s) is recommended:
- 21 mm socket
- Install the LH rear wheel. See Wheel Assembly (Remove and Install).
- Install the mid aero shield. See Panel - Aero Shield - Rear (Remove and Replace).
- Remove the vehicle from the lift. See Raise Vehicle - 2 Post Lift.
- Refer to the Alignment Requirement tables to determine whether an EPAS alignment check (EC) or four wheel alignment check (AC) is necessary. If performed, add the alignment check/adjust as a separate activity. See Alignment Requirement - Suspension.