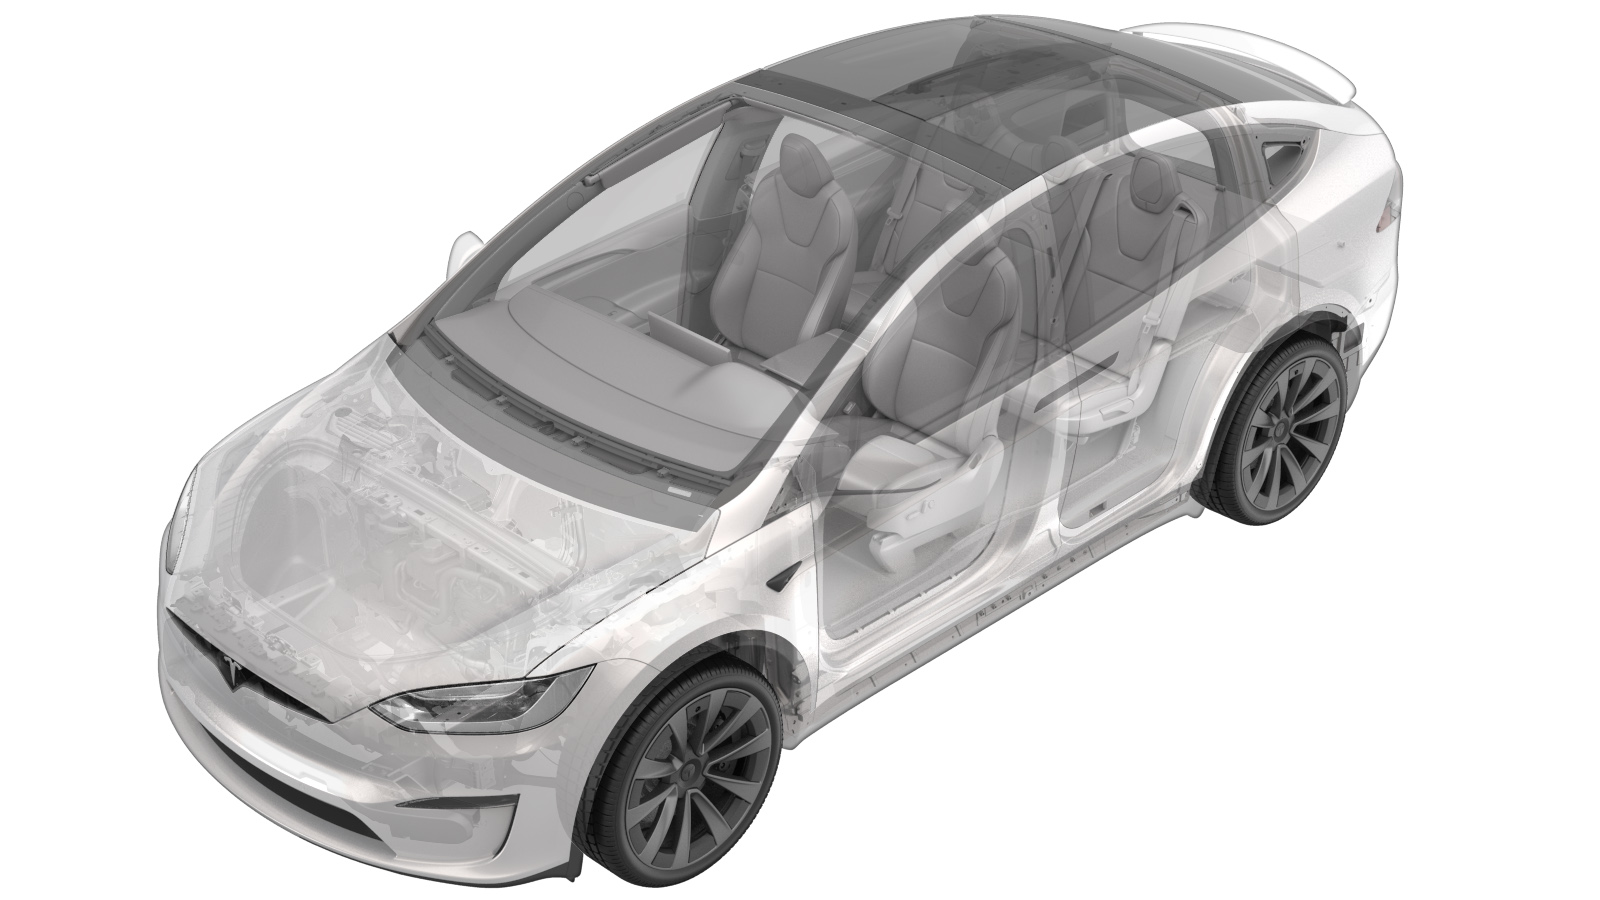
Bracket - Compressor - Air Suspension (Remove and Replace)
 Correction code
31102012
1.14
NOTE: Unless otherwise explicitly
stated in the procedure, the above correction code and FRT reflect all of the work
required to perform this procedure, including the linked procedures. Do not stack correction codes unless
explicitly told to do so.
NOTE: See Flat Rate Times to learn
more about FRTs and how they are created. To provide feedback on FRT values, email ServiceManualFeedback@tesla.com.
NOTE: See Personal Protection to make sure proper PPE is worn when
performing the below
procedure.
Remove
- Remove the front fascia assembly. See Fascia Assembly - Front (Remove and Install).
-
Raise vehicle fully and lower lift
onto locks
NoteSet vehicle to comfortable working height, Make sure there's an audible click of the locks on both sides before lowering, otherwise vehicle may tilt to the side
-
Release the clips (x2) that attach the
electrical harness and air line bundle to the air compressor bracket.
-
Release the locking tabs, and then
disconnect the electrical harnesses (x2) from the air suspension compressor.
-
Release the clip that attaches the
intake valve to the vehicle.
TIpThis valve is located slightly above the air suspension valve block.
-
Remove the fastener assemblies (x3)
that attach the air suspension compressor carrier bracket to the air suspension
compressor bracket, and then support the compressor.
CAUTIONThe air compressor will drop once the fasteners are removed. Support the compressor with hangers and bungee cords.NoteThe fastener assemblies consist of the spring, spring seat, and isolator.TIpUse of the following tool(s) is recommended:
- Torx T30 socket
- 2 in extension
-
Remove the bolts (x2) that attach the
air suspension valve block to the air suspension compressor bracket.
TIpUse of the following tool(s) is recommended:
- Torx T30 socket
- 6 in extension
-
Remove and discard the nuts (x3) that
attach the air suspension compressor bracket to the body.
TIpUse of the following tool(s) is recommended:
- 10 mm deep socket
- 6 in extension
-
Carefully release the air compressor
bracket from the vehicle, but do not fully remove the bracket, as an air hose is still
attached to the bracket.
-
Release the clip that attaches the air suspension intake hose to the air compressor
bracket, and then remove the bracket from the vehicle.
Install
-
Install the clip that attaches the air suspension intake hose to the air compressor
bracket.
-
Position the air compressor bracket on
the vehicle.
-
Install the new nuts (x3) that attach
the air suspension compressor bracket to the body.
 5 Nm (3.7 lbs-ft)TIpUse of the following tool(s) is recommended:
- 10 mm deep socket
- 6 in extension
-
Install the bolts (x2) that attach the
air suspension valve block to the air suspension compressor bracket.
 5 Nm (3.7 lbs-ft)TIpUse of the following tool(s) is recommended:
- Torx T30 socket
- 6 in extension
-
Remove the bungee cords from the air
suspension compressor carrier bracket assembly, position the compressor carrier bracket
assembly on the compressor bracket, and then install the fastener assemblies (x3) that
attach the carrier bracket to the compressor bracket.
 5 Nm (3.7 lbs-ft)TIpUse of the following tool(s) is recommended:
- Torx T30 socket
- 2 in extension
-
Install the clip that attaches the
intake valve to the vehicle.
-
Connect the electrical harnesses (x2)
to the air suspension compressor, making sure the locking tabs engage.
-
Install the clips (x2) that attach the
electrical harness and air line bundle to the air compressor bracket.
-
Lower vehicle partially and set lift
onto locks
NoteRaise lift off locks, then hold lock release lever to keep locks free while vehicle is lowered, Set vehicle to comfortable working height
- Install the front fascia assembly. See Fascia Assembly - Front (Remove and Install).