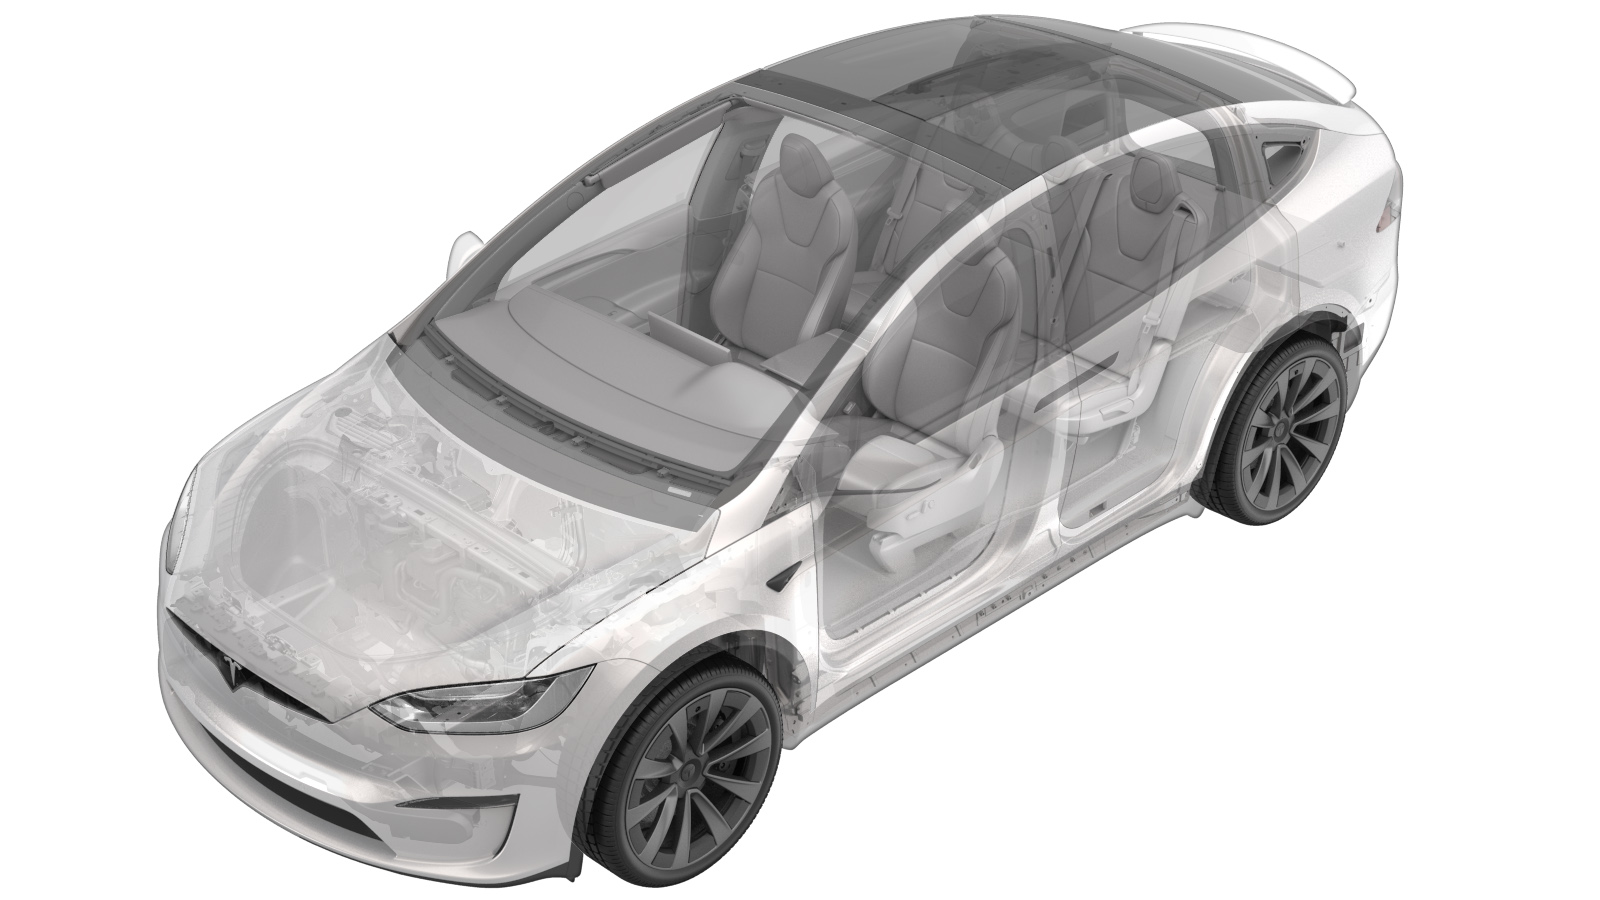
Camera - Triple - Forward Facing (HW3) (Remove and Replace)
 Correction code
17221012
0.30
NOTE: Unless otherwise explicitly
stated in the procedure, the above correction code and FRT reflect all of the work
required to perform this procedure, including the linked procedures. Do not stack correction codes unless
explicitly told to do so.
NOTE: See Flat Rate Times to learn
more about FRTs and how they are created. To provide feedback on FRT values, email ServiceManualFeedback@tesla.com.
NOTE: See Personal Protection to make sure proper PPE is worn when
performing the below
procedure.
Remove
- Remove the lower camera cover. See Camera Cover - Lower (Remove and Replace).
- Remove the rear view mirror. See Mirror - Rear View (Remove and Replace).
-
Carefully pull down on the upper
camera cover to release it from the clips (x4), and then lower the rear view mirror
harness cover.
-
Disconnect the forward facing camera
fan electrical connector.
-
Release the heater grid electrical
harness from the hooks (x2) and the connector retainer.
-
Disconnect the GPS antenna electrical
connector.
-
Remove the bolts (x2) that attach the
glare shield to the windshield, and then remove the assembly from the windshield.
 1 Nm (.7 lbs-ft)NoteTilt the glare shield down and slide the tabs forward.TIpUse of the following tool(s) is recommended:
- Torx T10 bit
-
Remove the screws (x4) that attach the
mounting plate to the winshield.
 0.8 Nm (7 lbs-in)NoteAllow the camera to hang by the harness.TIpUse of the following tool(s) is recommended:
- T10 socket
-
Disconnect the connectors (x2), and
then remove the forward facing triple camera from the vehicle.
TIpUse a prytool if the double connector is difficult to remove.
Install
-
Clean the inner windshield camera
viewing area with a clean microfiber cloth and glass cleaner. Let the windshield fully
dry before continuing.
CAUTIONVerify that the windshield has no stains or leftover residue. Otherwise, Autopilot features may be hindered.
-
Position the forward facing triple
camera into the vehicle, connect the connectors (x2), and then secure the locking
tabs.
-
Position the triple camera to the
camera mounting bracket, and then install the screws (x4) that attach the mounting plate
to the winshield.
 0.8 Nm (7 lbs-in)NoteAllow the camera to hang by the harness.TIpUse of the following tool(s) is recommended:
- T10 socket
-
Position the glare shield assembly to
the windshield, and then install bolts (x2) that attach the assembly to the
windshield.
 1 Nm (.7 lbs-ft)NoteSlide the tabs into the triple camera assembly and align the datums.TIpUse of the following tool(s) is recommended:
- Torx T10 bit
-
Secure the heater grid electrical
harness to the hooks (x2) and the connector retainer.
-
Connect the GPS antenna
connector.
-
Connect the forward facing camera fan
electrical connector.
- Perform pitch verification. See Camera - Forward Facing (Pitch Verification).