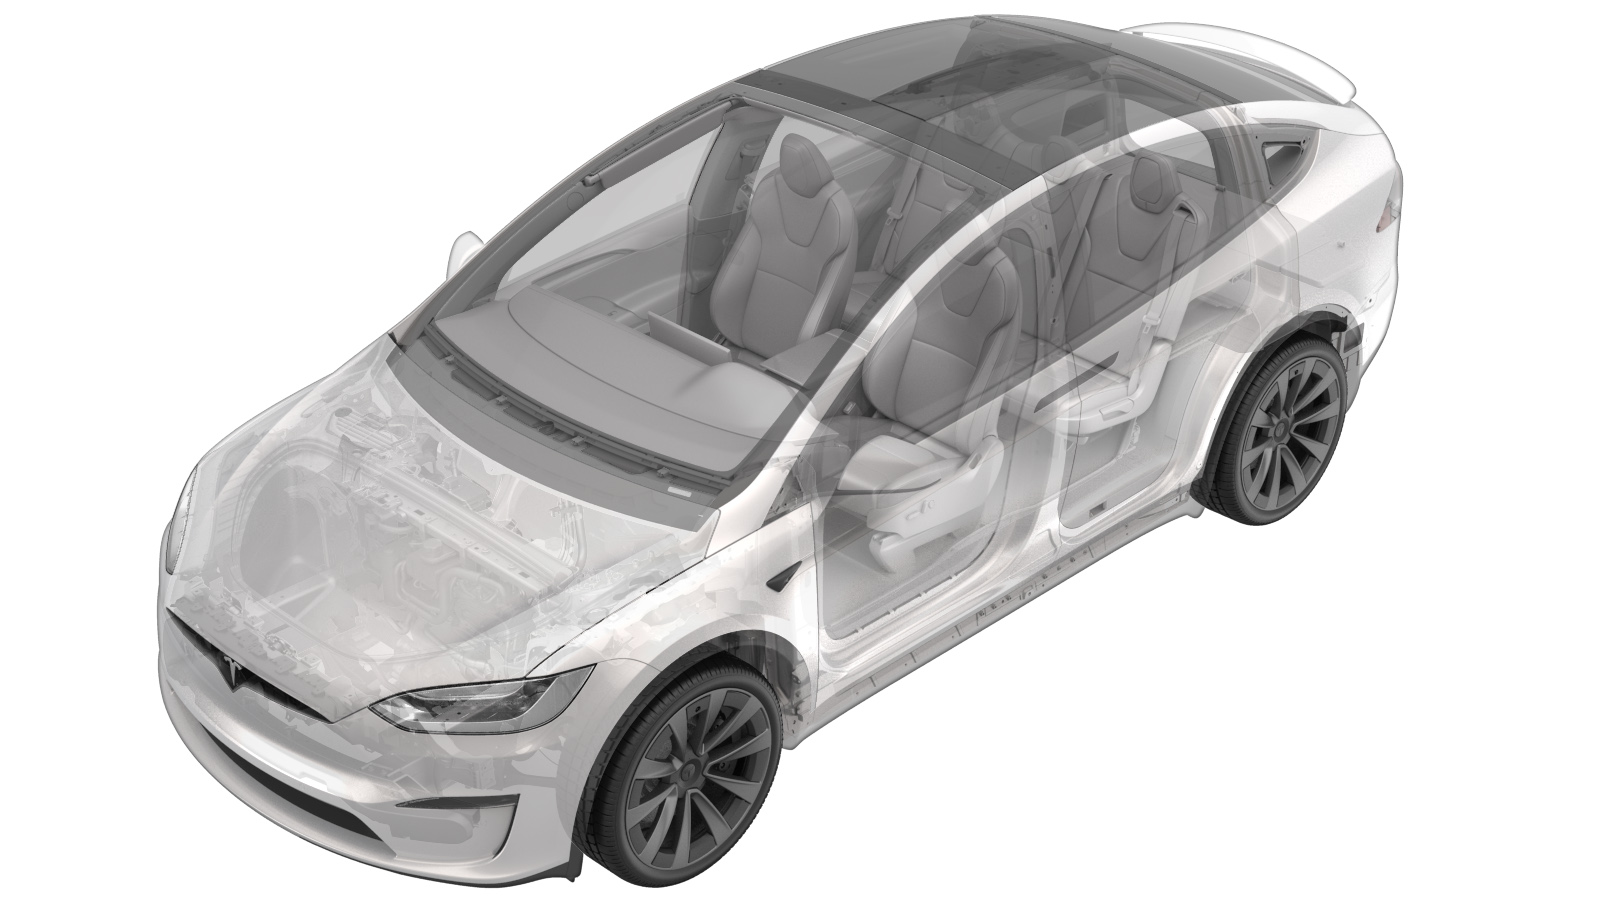
Floor Panel - Front - 2nd Row (5/7 Seat) (Remove and Replace)
 Correction code
15303082
1.80
NOTE: Unless otherwise explicitly
stated in the procedure, the above correction code and FRT reflect all of the work
required to perform this procedure, including the linked procedures. Do not stack correction codes unless
explicitly told to do so.
NOTE: See Flat Rate Times to learn
more about FRTs and how they are
created.
NOTE: See Personal Protection to make sure proper PPE is worn when
performing the below
procedure.
Correction code
15303082
1.80
NOTE: Unless otherwise explicitly
stated in the procedure, the above correction code and FRT reflect all of the work
required to perform this procedure, including the linked procedures. Do not stack correction codes unless
explicitly told to do so.
NOTE: See Flat Rate Times to learn
more about FRTs and how they are
created.
NOTE: See Personal Protection to make sure proper PPE is worn when
performing the below
procedure.
- Open all four doors
- Lower LH and RH front windows
- Move LH front seat forward
-
Remove LH front door sill trim panel
Note8x clips, 3x datums
-
Remove LH rear sill assembly
Note8x clips, 1x datum
-
Release LH front seat belt
NoteTurn release mechanism counter clockwise, turn back clockwise after releasing
-
Remove bolts securing rear of LH front seat tracks to the floor panel
Note2x patch bolts, T45P, 34 Nm, Discard after removal
- Move LH front seat backward
-
Remove bolts securing front of LH front seat tracks to the floor panel
Note2x patch bolts, T45P, 34 Nm, Discard after removal
-
Adjust position of LH front seat for easy removal
NoteMove seat to middle of track at most upright position with seat fully up off floor
- Move RH front seat forward
-
Remove RH front door sill trim panel
Note8x clips, 3x datums
-
Remove RH rear sill assembly
Note8x clips, 1x datum
-
Release RH front seat belt
NoteTurn release mechanism counter clockwise, turn back clockwise after releasing
-
Remove bolts securing rear of RH front seat tracks to the floor panel
Note2x patch bolts, T45P, 34 Nm, Discard after removal
- Move RH front seat backward
-
Remove bolts securing front of RH front seat tracks to the floor panel
Note2x patch bolts, T45P, 34 Nm, Discard after removal
-
Adjust position of RH front seat for easy removal
NoteMove seat to middle of track at most upright position with seat fully up off floor
-
Move 40 seat fully backwards
NoteUsing easy entry unlatch seat and move it fully backwards, Latch seatback to lock into position
-
Move 60 seat fully backwards
NoteUsing easy entry unlatch seat and move it fully backwards, Latch seatback to lock into position
-
Remove 2nd row mid carpet floor board
Note5x clips, Recommend assistance, Tilt front edge upwards and remove in vertical position
-
Open hood
NoteVia center display > Controls > Frunk Open
-
Remove rear underhood apron
Note11x clips, 2x datums
-
Power off vehicle via center display
NoteControls > Safety & Security > Power Off
-
Disconnect LV battery connector and First Responder Loop
Note2x connectors, Lift up and release green locking tab, Pull black connector lock outwards to release connection, Release red lock tab on FRL
-
Position chair to gain access below seat bottom and disconnect RH side body harness from seat controller
Note2x connectors, 1x clip, Release red locking tab on black connector
-
Remove RH front seat from vehicle
NoteRecommend assistance, Use caution to not damage other components
-
Position chair to gain access below seat bottom and disconnect LH side body harness from seat controller
Note2x connectors, 1x clip, Release red locking tab on black connector
-
Remove LH front seat from vehicle
NoteRecommend assistance, Use caution to not damage other components
-
Release console back panel assembly
Note6x clips, 7x datums, Disengage bottom clips last and pull rearward due to alignment
-
Remove console back panel assembly
Note1x connector, Connector lock for lamp located underneath bracket
-
Release LH and RH rear console carrier
Note2x bolts, 10mm, 12 Nm
-
Remove LH front floor mat
-
Remove LH outboard footwell cover
Note2x magnets, 2x datums
-
Remove LH inboard footwell cover
Note1x cover, 1x clip, 1x datum, 1x screw, 8 mm, 1 Nm
-
Remove LH console side carpet
Note11x clips, 2x datums
-
Release LH center console lower bracket from IP carrier
Note1x bolt, 10mm, 10 Nm
-
Remove RH front floor mat
-
Remove RH footwell cover
Note3x magnets, 1x connector, 4x datums
-
Remove RH console side carpet
Note11x clips, 2x datums
-
Release RH center console lower bracket from IP carrier
Note1x bolt, 10mm, 10 Nm
-
Release center console connectors to body harness
Note4x connectors
-
Release LH and RH console carrier center bracket
Note2x bolts, 10mm, 12 Nm
-
Remove console assembly
NoteLift at rear, rotate front from under IP and out passenger door, Take care not to scratch seats, IP or inner door panel, Recommend assistance if needed
-
Remove LH front seat outboard riser
Note2x bolts, 13mm, 33 Nm, Discard patch bolts after removal
-
Remove 1st row podium LH inner seat riser trim covers
Note2x clips, Remove inner outboard cover first then inner inboard cover
-
Remove 1st row RH inner seat riser trim covers
Note2x clips, Remove inner outboard cover first then inner inboard cover
-
Remove seat harness from inner seat riser on LH and RH sides
Note2x clips
-
Remove center console HVAC duct
Note1x brush clip
-
Remove 1st row podium seat riser carpet
Note1x push clip
-
Release duct from 1st row podium
Note2x tabs
-
Remove 1st row podium
Note4x bolts,13mm, 33 Nm, Discard bolts after removal
-
Remove 2nd row 7s front floor board from vehicle
Note4x clips
-
Install 2nd row 7s front floor board into vehicle
Note4x clips
-
Install 1st row podium
Note4x bolts,13mm, 33 Nm, Install new patch bolts
-
Secure duct onto 1st row podium
Note2x tabs
-
Install 1st row podium seat riser carpet
Note1x push clip
-
Install center console HVAC duct
Note1x brush clip, Slide duct into HVAC assembly and ensure fully seated
-
Secure seat harness to inner seat riser on LH and RH sides
Note2x clips
-
Install 1st row podium RH inner seat riser trim covers
Note2x clips, Install inner inboard cover first then inner outboard cover, Be sure to route seat harness through inner outboard cover
-
Install 1st row podium LH inner seat riser trim covers
Note2x clips, Install inner inboard cover first then inner outboard cover, Be sure to route seat harness through inner outboard cover
-
Install LH front seat outboard riser
Note2x bolts, 13mm, 33 Nm, Install new patch bolts
-
Install console assembly
Note3x datums, Carefully maneuver front of assembly under and into IP carrier and lower rear into place, Align datums into IP carrier and engage forward, Recommend assistance if needed
-
Secure LH center console lower bracket to IP carrier
Note1x bolt, 10mm, 10 Nm
-
Secure RH center console lower bracket to IP carrier
Note1x bolt, 10mm, 10 Nm
-
Secure center console connectors to body harness
Note4x connectors, Ensure all connector locks engage
-
Secure LH and RH console carrier center bracket
Note2x bolts, 10mm, 12 Nm
-
Install RH console side carpet
Note11x clips, 2x datums
-
Install RH footwell cover
Note3x magnets, 4x datums, 1x connector
-
Install RH front floor mat
-
Install LH console side carpet
Note11x clips, 2x datums
-
Install LH inboard footwell cover
Note1x cover, 1x clip, 1x datum, 1x screw, 8 mm, 1 Nm, Align datums and footwell vent before installing screw
-
Install LH outboard footwell cover
Note2x magnets, 2x datums
-
Install LH front floor mat
-
Secure LH and RH rear console carrier
Note2x bolts, 10mm, 12 Nm
-
Install console back panel assembly
Note1x connector
-
Secure console back panel assembly
Note6x clips, 7x datums, Engage bottom clips first due to forward facing alignment
-
Install RH front seat into vehicle
NoteRecommend Assistance, Take care not to damage surrounding components while lifting the seat into the vehicle
-
Position chair to gain access below seat bottom and connect RH side body harness to seat controller
Note2x connectors, 1x clip, Engage red locking tab on black connector, Recommend assistance
-
Position RH front seat upright for bolt installation
NoteRecommend assistance
-
Install LH front seat into vehicle
NoteRecommend Assistance, Take care not to damage surrounding components while lifting the seat into the vehicle
-
Position chair to gain access below seat bottom and connect LH side body harness to seat controller
Note2x connectors, 1x clip, Engage red locking tab on black connector, Recommend assistance
-
Position LH front seat upright for bolt installation
NoteRecommend assistance
-
Connect First Responder Loop and LV battery connector
Note2x connectors, Secure FRL first, Seat LV battery connection and push black connector lock inwards to secure, Engage upper locking tab when fully seated
-
Install rear underhood apron
Note11x clips, 2x datums
- Close hood
- Move RH front seat forward
-
Secure RH front seat belt
NoteEnsure audible click is heard during install, perform pull test to confirm secure
-
Install bolts securing RH front seat rear tracks to vehicle
Note2x patch bolts, T45P, 34 Nm, Install new bolts
- Move RH front seat backward
-
Install bolts securing both RH front seat front tracks to vehicle
Note2x patch bolts, T45P, 34 Nm, Install new bolts
- Move RH front seat to original position
-
Install 2nd row mid carpet floor board
Note5x clips, Replace clips if damaged, Install rear of panel into position and then secure clips
-
Install RH rear sill assembly
Note8x clips, 1x datum
-
Install RH front door sill trim panel
Note8x clips, 3x datums
-
Move 2nd row 40 seat to original position
- Close RH front door
- Move LH front seat forward
-
Secure LH front seat belt
NoteEnsure audible click is heard during install, perform pull test to confirm secure
-
Install bolts securing LH front seat rear tracks to vehicle
Note2x patch bolts, T45P, 34 Nm, Install new bolts
- Move LH front seat backward
-
Install bolts securing both LH front seat front tracks to vehicle
Note2x patch bolts, T45P, 34 Nm, Install new bolts
- Move LH front seat to original position
-
Install LH rear sill assembly
Note8x clips, 1x datum
-
Install LH front door sill trim panel
Note8x clips, 3x datums
-
Move 2nd row 60 seat to original position
-
Calibrate the rear doors.
NoteIf the "Calibration Needed" message appears on the vehicle touchscreen, touch and hold Calibrate to calibrate the rear doors.
- Raise LH and RH front windows
- Close LH front door