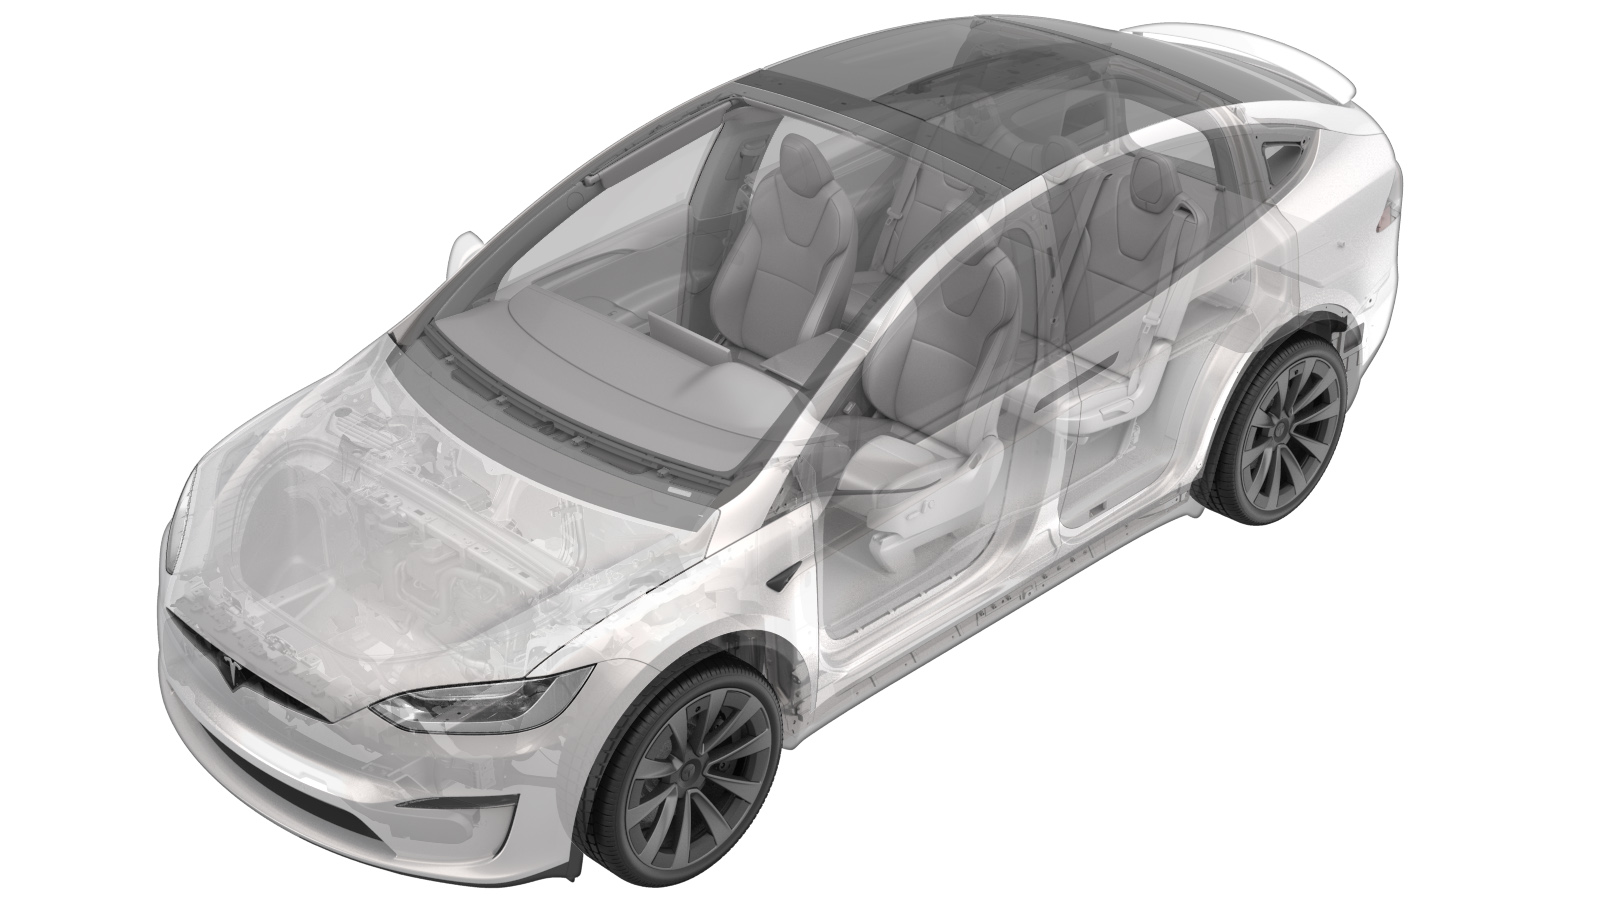
Inductive Charger - Center Console (Remove and Replace)
 Correction code
15193902
0.12
NOTE: Unless otherwise explicitly
stated in the procedure, the above correction code and FRT reflect all of the work
required to perform this procedure, including the linked procedures. Do not stack correction codes unless
explicitly told to do so.
NOTE: See Flat Rate Times to learn
more about FRTs and how they are created. To provide feedback on FRT values, email ServiceManualFeedback@tesla.com.
NOTE: See Personal Protection to make sure proper PPE is worn when
performing the below
procedure.
Remove
-
Pull upwards from the bottom of the
center console phone dock assembly to release the clips (x4), and then swing the dock
outward from under the instrument panel to release it from the center console.
-
Release the connector locks,
disconnect the electrical connectors (x3), release the clip that attaches the harness to
the center console, and then remove the center console phone dock from the center
console.
-
Remove the screws (x3) that attach the
inductive charge to the center console phone dock assembly.
 1.2 Nm (.9 lbs-ft)TIpUse of the following tool(s) is recommended:
- Torx T20 socket
-
Release the tabs (x2) at the top of
the center console phone dock assembly, angle the inductive charger up and slide it
outward to remove it from the dock assembly.
Install
-
Position the inductive charger into
the center console phone dock assembly, and then secure the tabs (x2) that attach the
charger to the assembly.
NoteSlide the inductive charger datums into the phone dock assembly before fully engaging the tabs.
-
Install the screws (x3) that attach
the inductive charge to the center console phone dock assembly.
 1.2 Nm (.9 lbs-ft)TIpUse of the following tool(s) is recommended:
- Torx T20 socket
-
Position the center console phone dock
assembly into the vehicle, connect the electrical connectors (x3), secure the connector
locks, and then secure the clip that attaches the harness to the center console.
-
Position the center console phone dock
into the center console, and then secure the tabs (x4) that attach the assembly to the
center console.
NoteSlide the datums forward into the IP and secure tabs down into center console
-
Release the tabs (x4) that attach the
instrument panel service panel to the instrument panel, and then remove the service
panel from the IP.
- Connect a laptop with Toolbox to the vehicle.
-
In Toolbox, click SERVICE
CAN REDEPLOY, and then click Run and allow the
routine to complete.
NoteClick X at the top right of window to close once complete.NoteThe routine will state pass but the update will continue to run in the background.NoteThe UI will show update progress.
- Disconnect Toolbox and remove the laptop from the vehicle.
-
Position the IP service panel into the
IP, and then secure the tabs (x4) that attach the service panel to the IP.