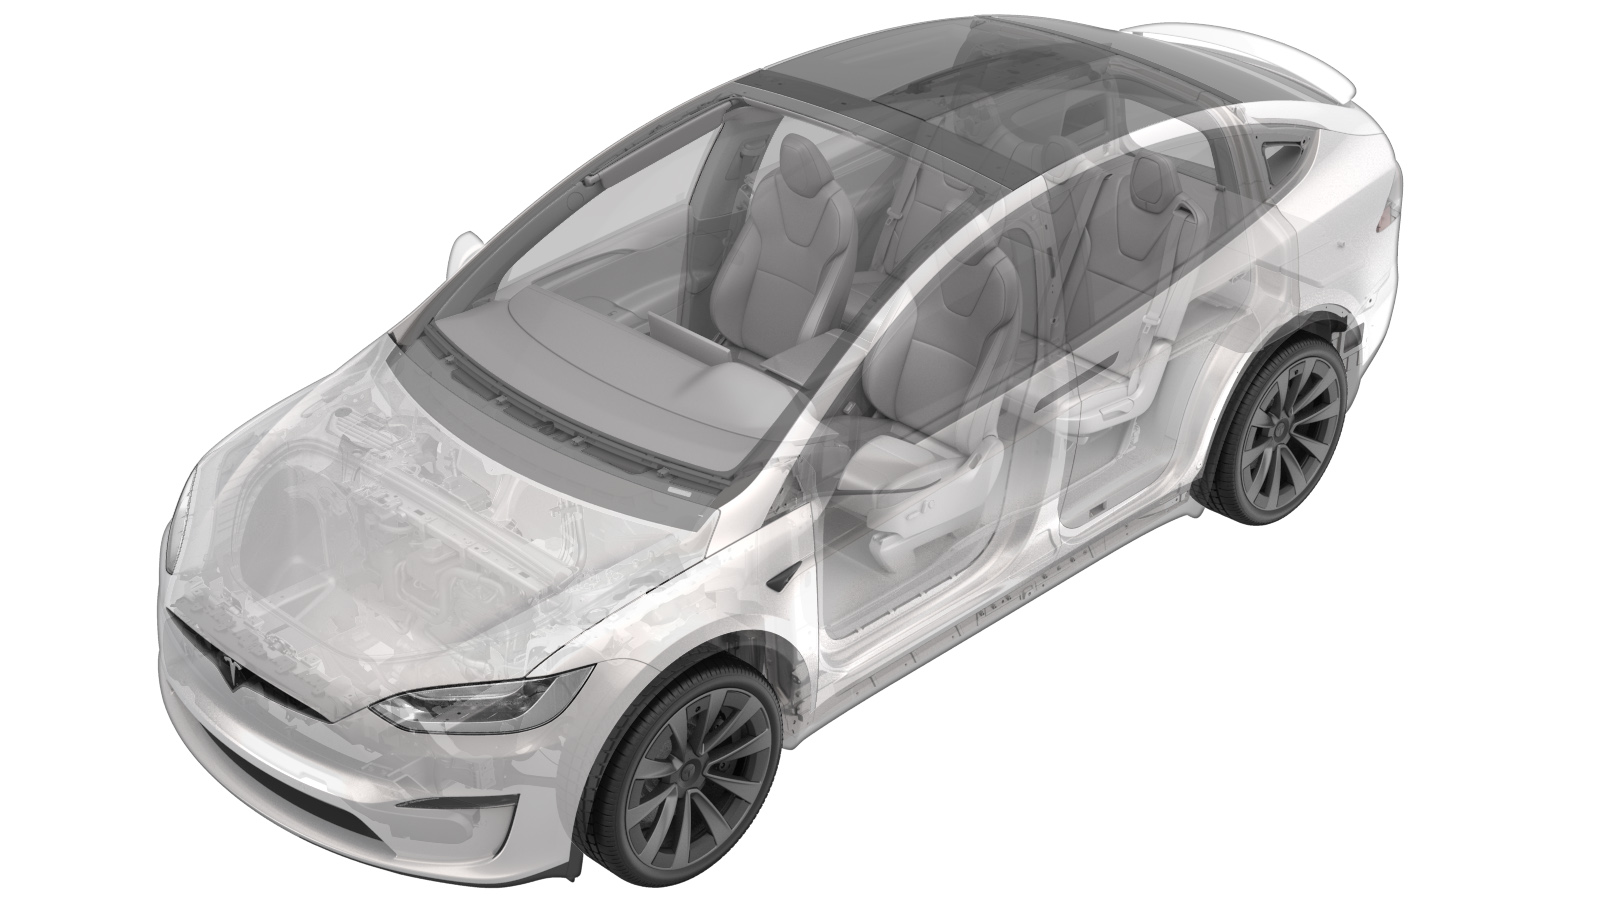
Podium - 1st Row (Remove and Replace)
 Correction code
13012412
1.98
NOTE: Unless otherwise explicitly
stated in the procedure, the above correction code and FRT reflect all of the work
required to perform this procedure, including the linked procedures. Do not stack correction codes unless
explicitly told to do so.
NOTE: See Flat Rate Times to learn
more about FRTs and how they are created. To provide feedback on FRT values, email ServiceManualFeedback@tesla.com.
NOTE: See Personal Protection to make sure proper PPE is worn when
performing the below
procedure.
Correction code
13012412
1.98
NOTE: Unless otherwise explicitly
stated in the procedure, the above correction code and FRT reflect all of the work
required to perform this procedure, including the linked procedures. Do not stack correction codes unless
explicitly told to do so.
NOTE: See Flat Rate Times to learn
more about FRTs and how they are created. To provide feedback on FRT values, email ServiceManualFeedback@tesla.com.
NOTE: See Personal Protection to make sure proper PPE is worn when
performing the below
procedure.
Remove
- Open all the doors and lower the LH front window.
- Move the driver seat forward.
-
Use a flathead screwdriver to
rotate the lock mechanism on the front seat belt linkage counterclockwise to
release it from the pretensioner, and then slide the linkage off the
pretensioner and set it aside.
CAUTIONDO NOT rotate clockwise to avoid damage to the mechanism.NoteThe linkage design may vary, but will function the same.NoteThe lock screw will remain in the horizontal position when released.NoteA light audible click will be heard when the linkage is released.
-
Remove and discard the bolts (x2) that
attach the rear of the driver seat seat tracks to the vehicle.
 34 Nm (25.1 lbs-ft)TIpUse of the following tool(s) is recommended:
- Torx Plus T45 socket
- Move the driver seat rearward.
-
Remove and discard the bolts (x2) that
attach the front of the driver seat seat tracks to the vehicle.34 Nm (25.1 lbs-ft)TIpUse of the following tool(s) is recommended:
- Torx Plus T45 socket
- Move the driver seat to the middle of the track and the seat back to the most upright position.
- Repeat step 2 through step 7 for the front passenger seat.
- Remove the rear underhood apron. See Underhood Apron - Rear (Remove and Replace).
- Disconnect LV power. See LV Power (Disconnect and Connect).
- Position the driver seat to gain access to the underside of the seat.
-
Release the clip that attaches the LH
side body harness to the seat assembly, and then release the connector lock and
disconnect the LH side body harness electrical connectors (x2) from the seat
controller.
NoteRelease the red locking tab on the black connector before disconnecting the connector.
- With assistance, remove the driver seat from the vehicle.
- Repeat steps 12 and 13 for the front passenger seat.
- Remove the 1st row center console assembly from the vehicle. See Center Console Assembly - 1st Row (Remove and Install)
-
Remove and discard the bolts (x2) that
attach the driver seat outer riser assembly to the vehicle, and then remove the assembly
from the vehicle.33 Nm (24.3 lbs-ft)TIpUse of the following tool(s) is recommended:
- 13 mm socket
-
Release the clips (x2) that attach the
driver seat inner riser outboard cover to the riser, and then remove the cover from the
riser.
-
Release the clips (x2) that attach the
driver seat inner riser inboard cover to the riser, and then remove the cover from the
riser.
-
Release the clips (x2) that attach the
driver seat harness to the driver seat inner riser, and then release the harness from
the riser.
-
Remove and discard the bolts (x2) that
attach the front passenger seat outer riser assembly to the vehicle, and then remove the
assembly from the vehicle.33 Nm (24.3 lbs-ft)TIpUse of the following tool(s) is recommended:
- 13 mm socket
-
Remove the clip that attaches the
center console HVAC duct to the vehicle, and then remove the duct from the
vehicle.
-
Remove the clip that attaches the 1st
row podium seat riser carpet to the vehicle, and then remove the carpet from the
vehicle.
-
Release the tabs (x2) that attach the
duct to the 1st row podium.
-
Remove and discard the bolts (x4) that
attach the 1st row podium to the vehicle, and then remove the podium from the
vehicle.33 Nm (24.3 lbs-ft)TIpUse of the following tool(s) is recommended:
- 13 mm socket
Install
-
Position the 1st row podium into the vehicle, and then install new bolts (x4) that
attach the podium to the vehicle.33 Nm (24.3 lbs-ft)TIpUse of the following tool(s) is recommended:
- 13 mm socket
-
Secure the tabs (x2) that attach the duct to the 1st row podium.
-
Position the 1st row podium seat riser carpet into the vehicle, and then install the
clip that attaches the carpet to the vehicle.
-
Position the center console HVAC duct into the vehicle, and then install the clip
that attaches the duct to the vehicle.
NoteSlide the duct into the HVAC assembly and make sure the duct is fully seated.
-
Secure the clips (x2) that attach the driver seat harness to the driver seat inner
riser.
-
Position the front passenger seat
inner riser inboard cover onto the riser, and then secure the clips that attach the
cover to the riser. Repeat this step for the front passenger inner riser outboard
cover.
NoteInstall the inboard cover first, and then the outboard cover.NoteBe sure to route the seat harness through the outboard cover.
-
Position the driver seat inner riser
inboard cover onto the riser, and then secure the clips that attach the cover to the
riser. Repeat this step for the driver seat inner riser outboard cover.
NoteInstall the inboard cover first, and then the outboard cover.NoteBe sure to route the seat harness through the outboard cover.
-
Install the 1st row center console assembly. See Center Console Assembly - 1st Row (Remove and Install)
NoteThe front seats will be installed at a later step.
-
Position the driver seat outer riser assembly into the vehicle, and then install new
bolts (x2) that attach the assembly to the vehicle.33 Nm (24.3 lbs-ft)TIpUse of the following tool(s) is recommended:
- 13 mm socket
-
With assistance, position the driver
seat into the vehicle.
CAUTIONTake care not to damage the surrounding components while lifting the seat into the vehicle.
- With assistance, position the driver seat to gain access to the underside of the seat.
-
Secure the clip that attaches the LH
side body harness to the seat assembly, connect the LH side body harness electrical
connectors (x2) to the seat controller, and then secure the connector lock.
- With assistance, move the driver seat to the upright position.
-
Position the front passenger seat outer riser assembly into the vehicle, and then
install new bolts (x2) that attach the assembly to the vehicle.33 Nm (24.3 lbs-ft)TIpUse of the following tool(s) is recommended:
- 13 mm socket
-
With assistance, position the front
passenger seat into the vehicle.
CAUTIONTake care not to damage surrounding components while lifting the seat into the vehicle.
- With assistance, position the front passenger seat to gain access to the underside of the seat.
-
Secure the clip that attaches the RH
side body harness to the seat assembly, connect the RH side body harness electrical
connectors (x2) to the seat controller, and then secure the connector lock.
- With assistance, position the front passenger seat to the upright position.
- Connect LV power. See LV Power (Disconnect and Connect).
- Install the rear underhood apron. See Underhood Apron - Rear (Remove and Replace).
-
Calibrate the rear doors.
NoteIf the "Calibration Needed" message appears on the vehicle touchscreen, touch and hold Calibrate to calibrate the rear doors
- Move front passenger seat forward.
-
Install the front seat belt
linkage to the pretensioner:
-
Install new bolts (x2) that attach the
rear of the front passenger seat seat tracks to the vehicle.34 Nm (25.1 lbs-ft)TIpUse of the following tool(s) is recommended:
- Torx Plus T45 socket
- Move the front passenger seat rearward.
-
Install new bolts (x2) that attach the
front of the front passenger seat seat tracks to the vehicle.34 Nm (25.1 lbs-ft)TIpUse of the following tool(s) is recommended:
- Torx Plus T45 socket
- Move the front passenger seat to the original position.
- Close the RH front door.
- Repeat step 22 through step 27 for the LH side of the vehicle.